Simul Blog
How to create a flowchart in Word
A flowchart is an illustration of the different steps of a process in sequential order.
In simple terms, it is a graphical representation of logical steps using lines, shapes and arrows to show directional flow.
Flowcharts are very important in simplifying complex processes. They also act as a summary for procedures to make understanding them more straightforward. They are a starting point for breaking down lengthy and intricate systems.
Easy steps to create a flowchart in Word
Step 1
Open a blank document in Word.
Step 2
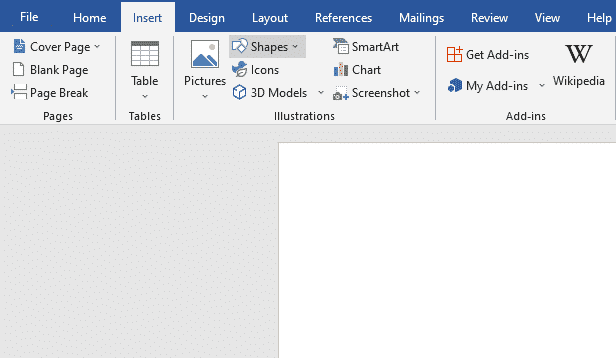
Go to the insert tab. A list of options will appear. Two options can give you the same result: ‘shapes’ or ‘SmartArt.’
Step 3
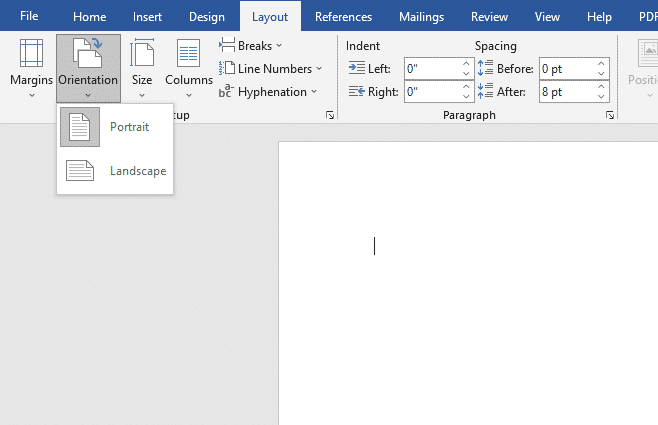
First, we turn the page round to have a landscape page. To do this, go to layout, click ‘orientation’ with a downward-facing arrow, and select landscape.
(Using shapes)
Step 4
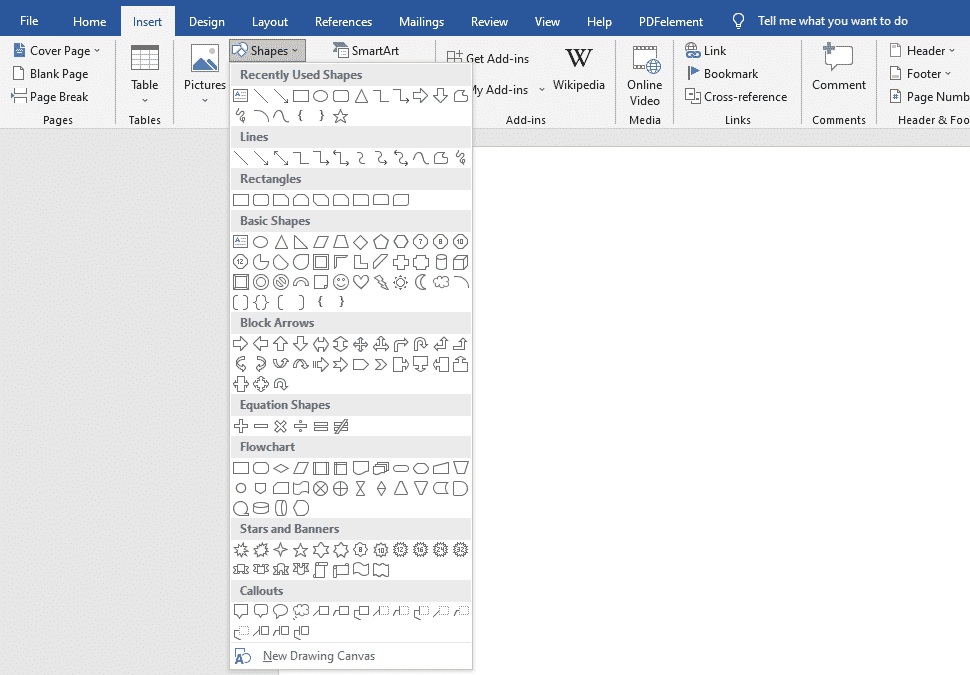
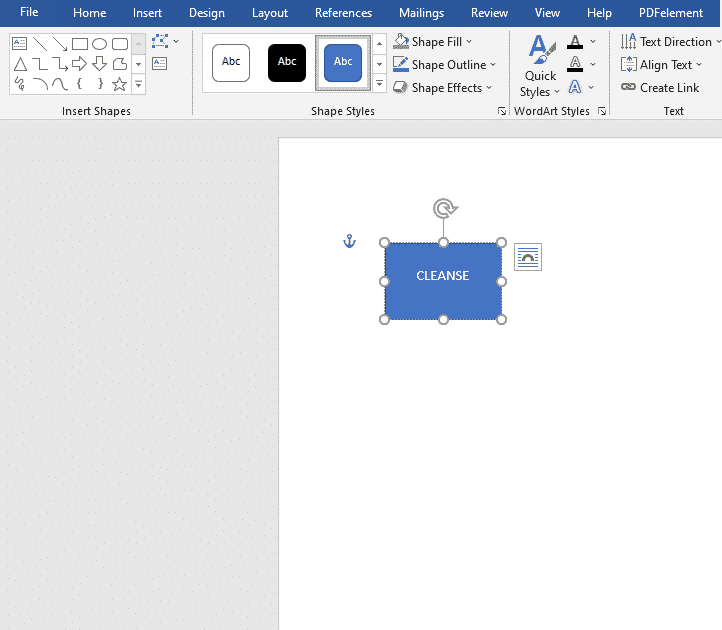
Go to ‘insert’ and select ‘shapes.’ A variety of shapes will come up. For simplicity, we will assign the rectangle.
You can determine the size of your shape using your mouse or touchpad. If you are having a hard time, you can double-click the touchpad to give you the perfect shape you selected.
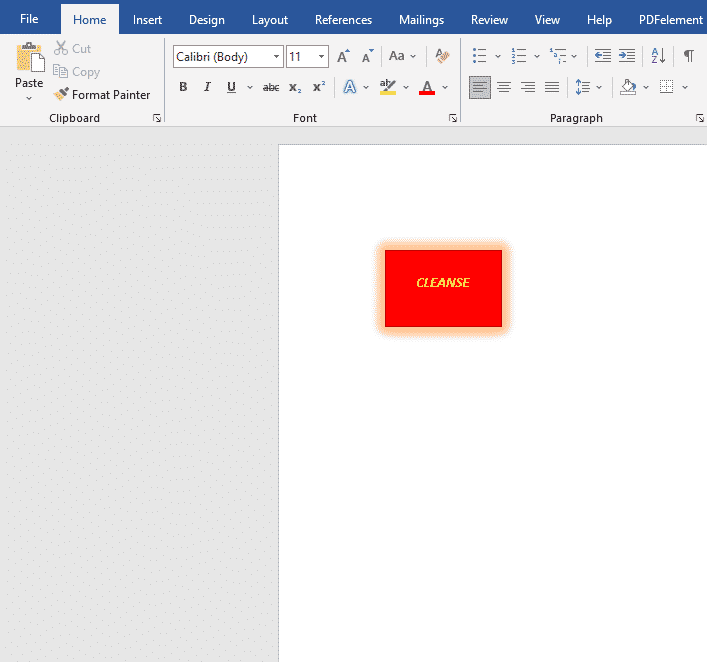
If you want the rectangles in your flowchart to be the same, it is advisable to pick your colour choice, text, and outlines first to duplicate the rectangle easily.
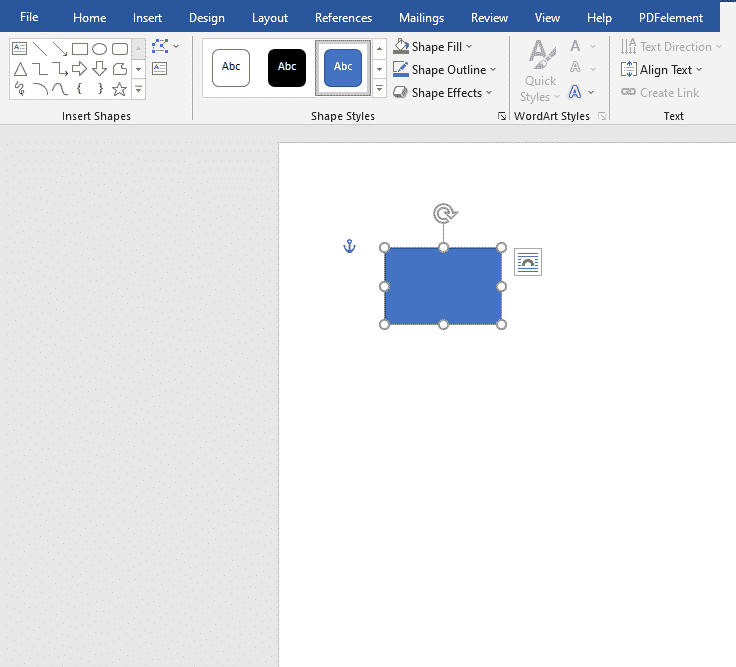
When you draw your rectangle, colour options will appear in the toolbar: You can find other options in ‘shape fill.’
Step 5
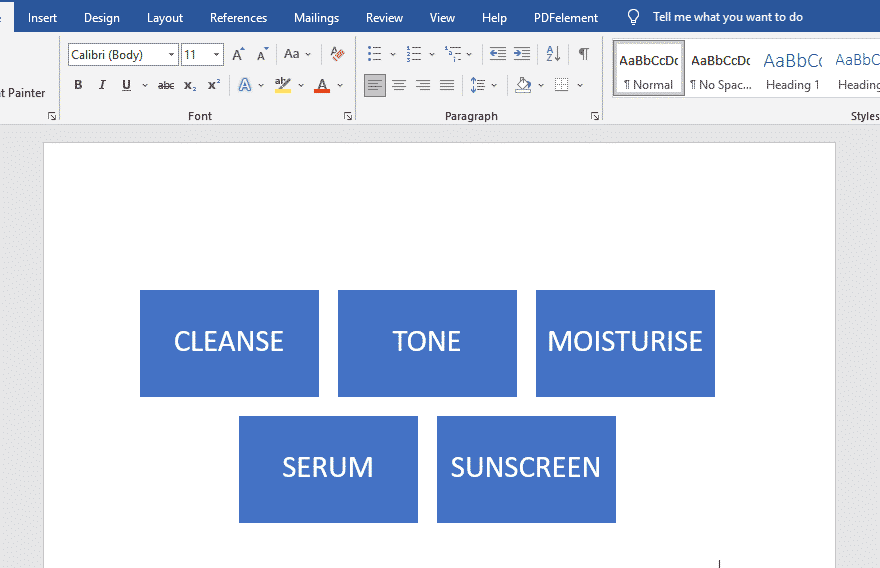
To write inside the shape, double click it. You can select a font and other specifications using the toolbar that pops up when you pick the shape.
Step 6
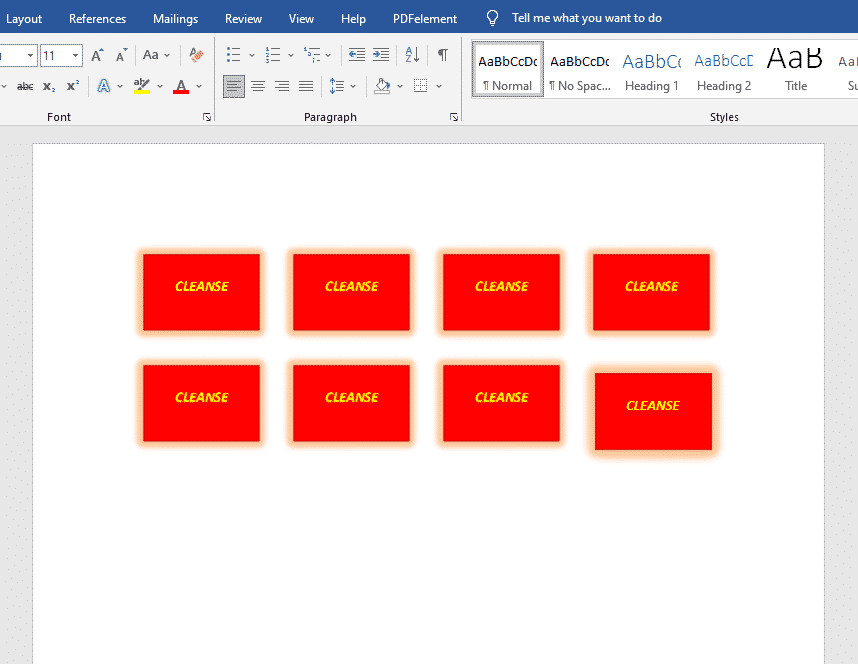
Once you have your desired shape, you can copy and paste it (Ctrl C + Ctrl V) into the positions you want.
Step 7
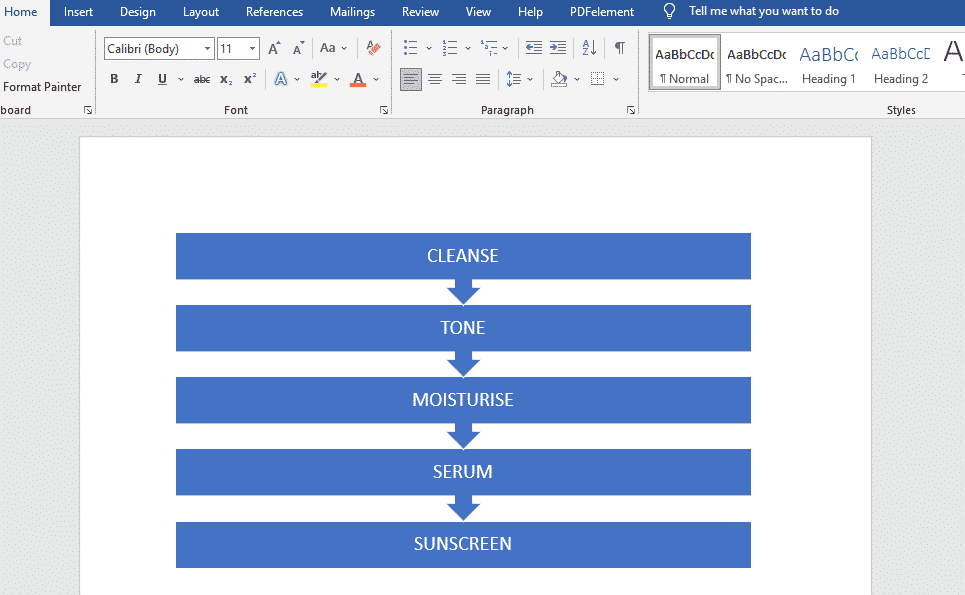
To get arrows that will join your shapes, go to insert, click shapes, and then lines.
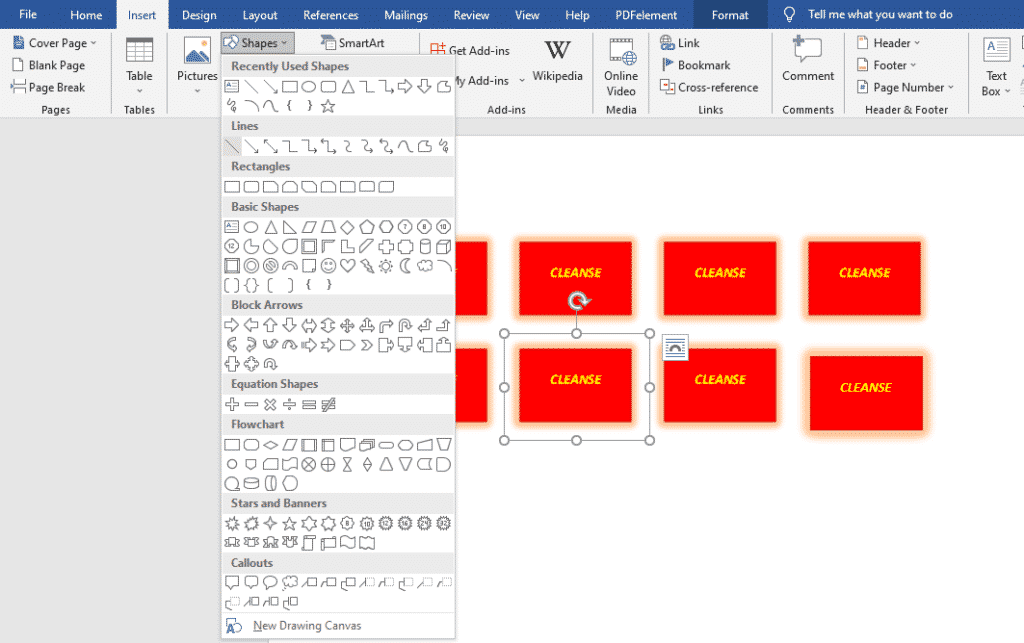
Once you have selected your arrow, you can now drag it from one shape to another.
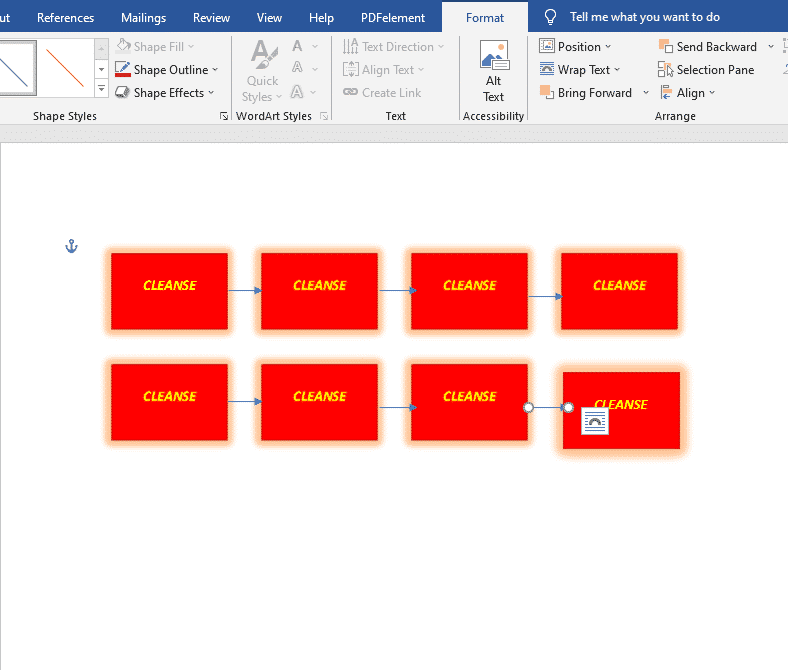
You can make changes to your arrow by right-clicking on it to change its colour, width among others edits.
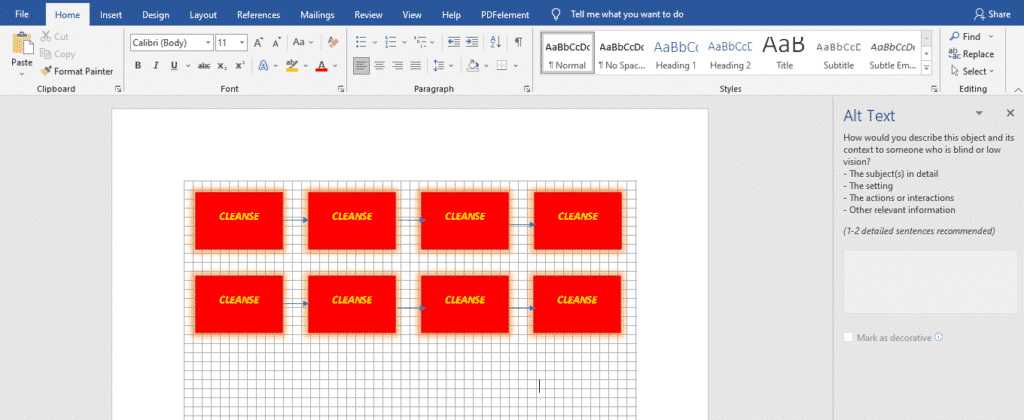
To make sure your flowchart looks symmetrical, go to the top of your screen and select ‘view.’ Right under ‘mailings,’ you will see a vertical list of options—select gridlines. Now you can ensure all your shapes and lines are neatly organised.
Using SmartArt
Step 4
A box will pop up when you select SmartArt from the Insert tab. For flowchart-specific options, select ‘process’ from the left panel in the dialog box.
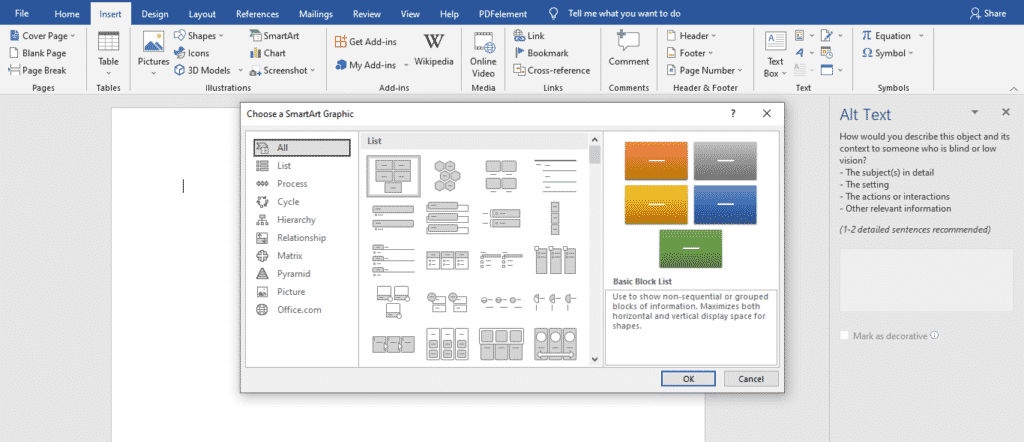
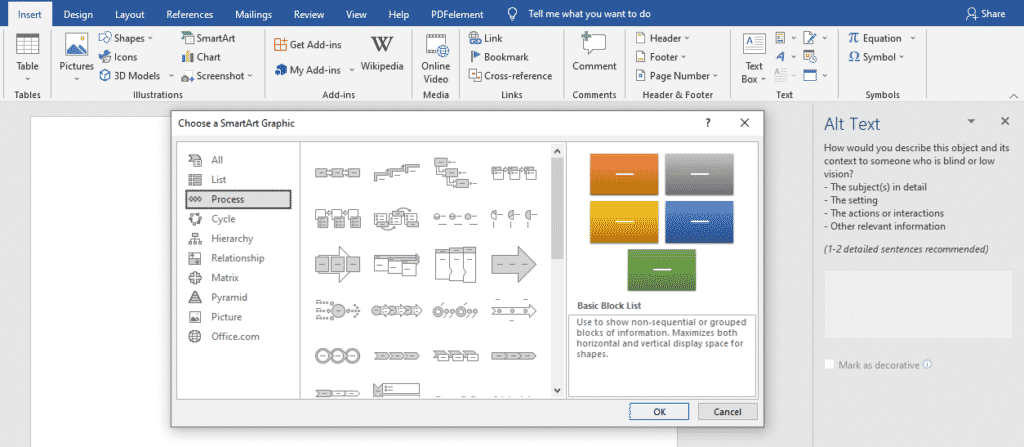
Keep in mind that this is merely a suggestion.
Step 5
Then, click the SmartArt selection you want to use, and immediately, a preview of that in-built flowchart graphic will show up in the right panel. Click OK to insert the selected graphic into your document.
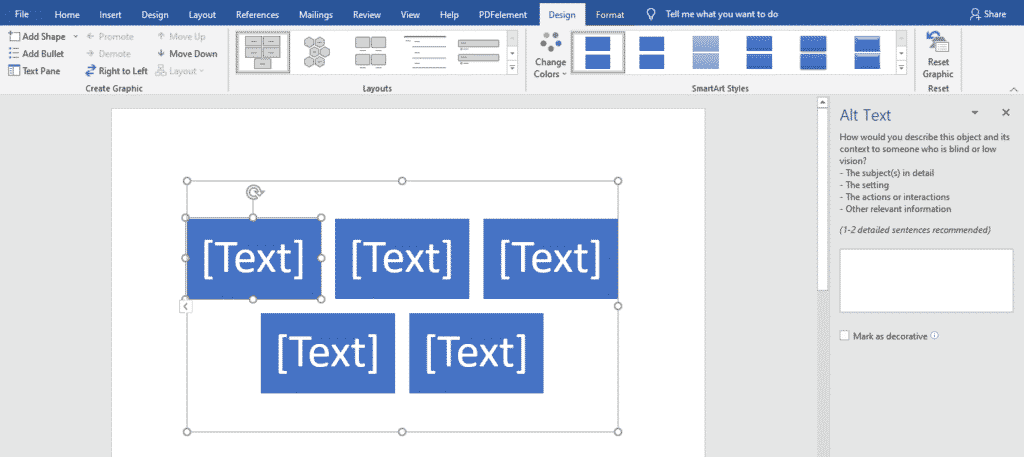
Step 6
To start typing, you can click on the shape or use the gallery box that shows up to the left of the outer boundary.
To add shapes, you can click on one specific shape, and a list will show up. Click ‘add shape’ and select to which direction you would like to add it.

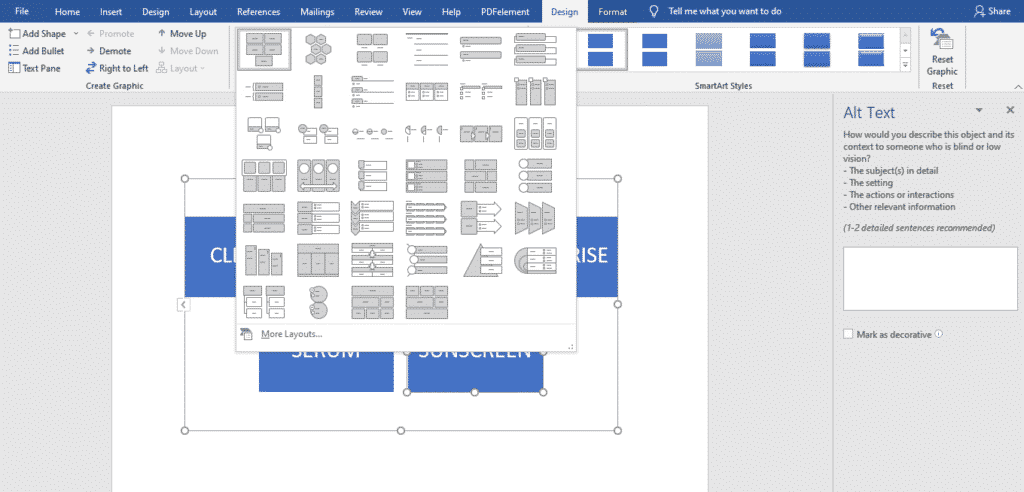
You can change the specifications of your flowchart using the design tab at the top of your screen.
Continue personalising your flowchart until you have you are satisfied.
Are you tired of handwriting your drafts until you have something concrete you can submit as a group?
When we have group projects, we cannot start typing until we have everyone’s thoughts compiled to save time.
With Simul Docs, even your initial thoughts can be documented at the same time. After writing your first draft in Microsoft Word, upload it to Simul Docs. This will automatically make it the first version. Now, another colleague can open it and make their edits. This will create another version different from the first. Every time another person opens a version and makes edits, a new version is created, with the latest changes. The best part is, even if you forget to turn on tracked changes, they are automatically documented!
If another co-worker is supposed to include their input, but they do not have Simul Docs. All you have to do is download the document or forward it by email. Alternatively, you can upload it to any storage software like one drive, and once their changes have been made, they can forward it to you once again, and you can open it in Simul Docs.
Once all the necessary edits have been made, you can save the final version containing all the modifications with one click.
Visit simuldocs.com and simplify group edits today.
Get Started For Free
See how Simul can help you with a 14 day free trial, and paid plans start at just $15 per month.