Simul Blog
How to use Microsoft Word’s Compare Feature
Sometimes, when you have finished editing a document, you want to compare the final copy to the original or rough draft. You may do this to see how significant the changes are and where exactly you have made changes. This is especially common in the legal profession with what is referred to as a legal blackline document or when preparing contracts. In addition, a client may ask for changes to be made in specific sections, and you want to highlight where modifications have been made. Word has a feature that lets you compare two documents in a third and separate document. To use this feature, follow the following simple steps.
- Open the two Word documents you want to compare.
- Click the “Review” tab in the Ribbon.
Several columns will appear. The third group from your right, ‘Compare,’ is our area of interest. You will see a drop-down symbol right under it.

- Click on the drop-down symbol.
When you do this, two options will be presented: ‘Compare’ and ‘Combine.’
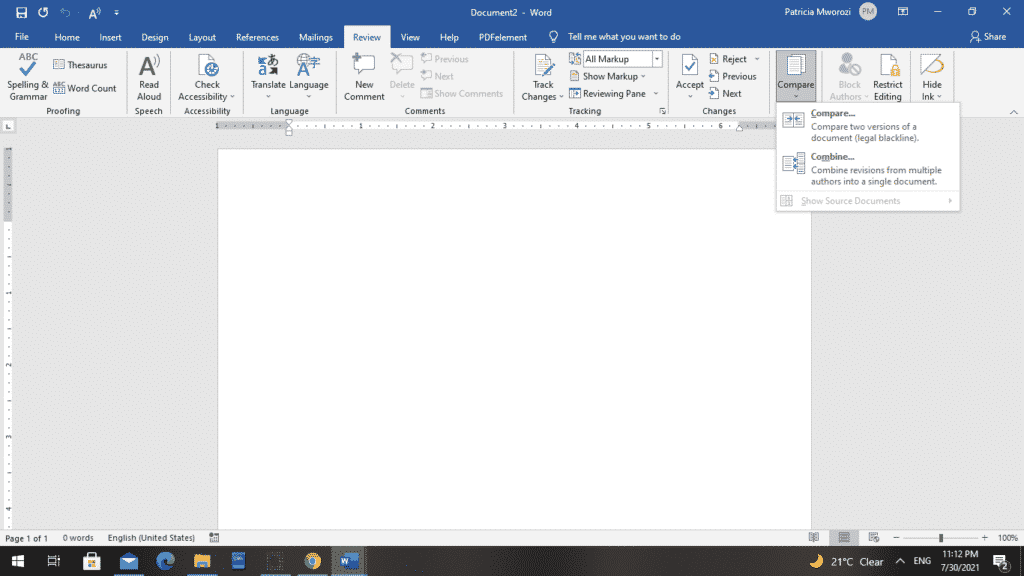
With ‘Compare,’ you can compare two versions of a document (legal blackline), and with ‘Combine,’ you can combine revisions from multiple authors into a single document.
- Select ‘Compare.’
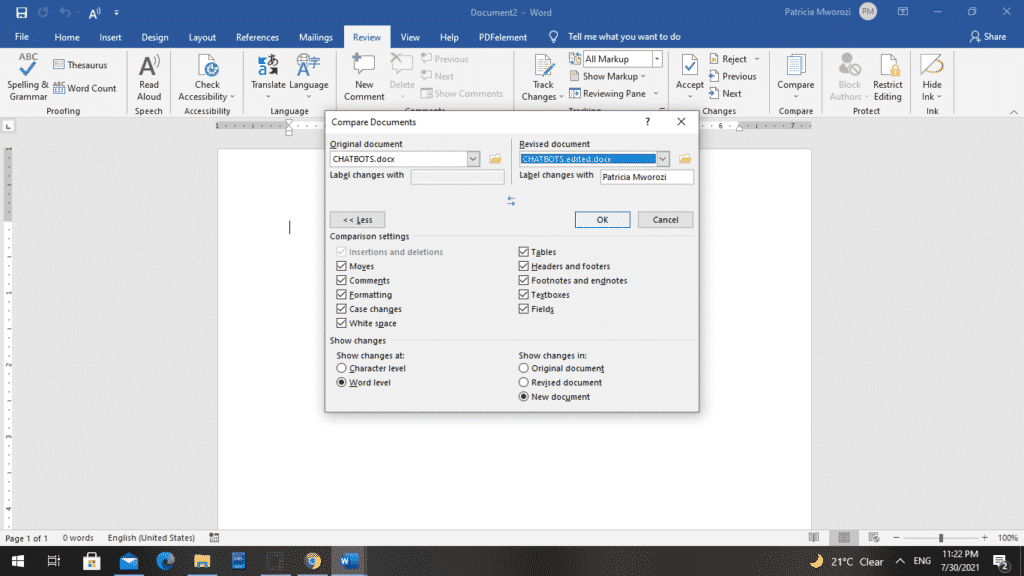
Doing this will open a ‘Compare Documents’ dialog box. On it, there are two sides: ‘Original Document’ and ‘Revised Document.’
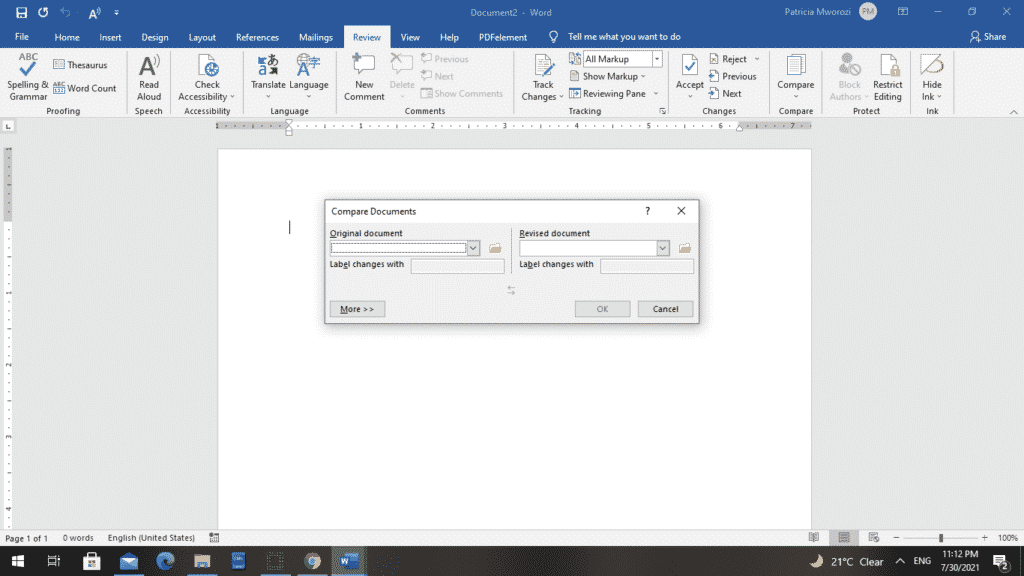
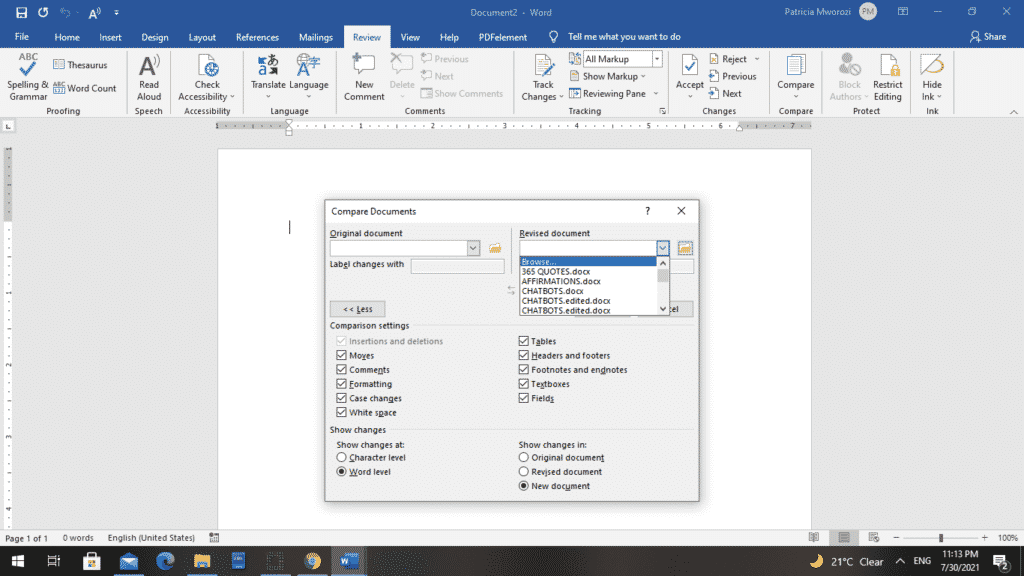
From the ‘Original document’ drop-down menu, choose your original document in the list shown.

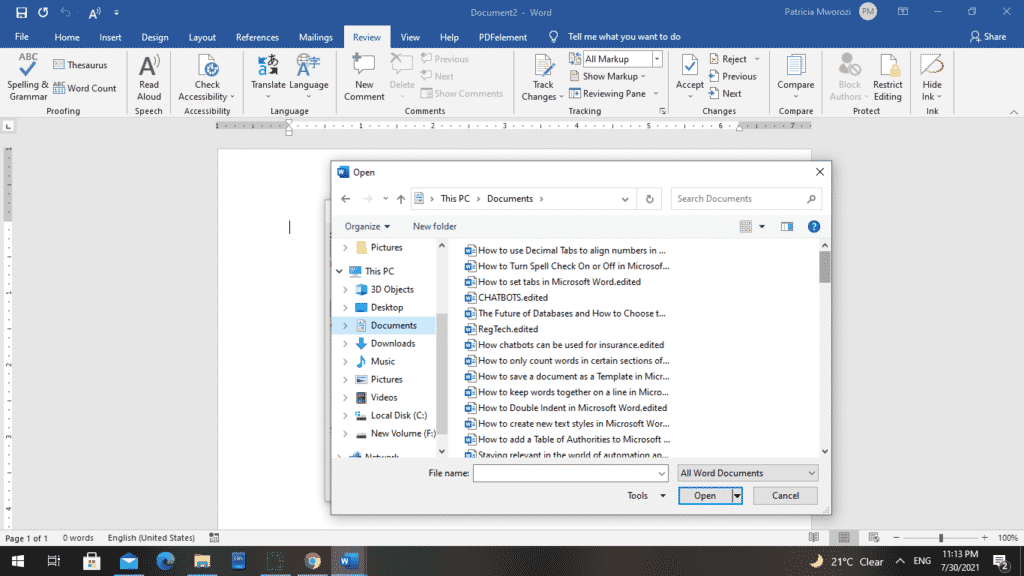
- If you forgot to open the original document before opening the ‘Compare Documents’ dialog box, you have two options. At the top of the list is the ‘Browse’ option. Thus, you can browse through your device and select the original file.
- Also, right next to the drop-down menu is a ‘File’ icon. You can use it to find your original document.
- Repeat the same process for the side of ‘Revised Document.’
- Under the ‘Revised document’ is another box that needs filling: ‘Label changes with.’ Pick and type the name of the document that will contain the changes made from the original and revised document. This is called the blackline document.
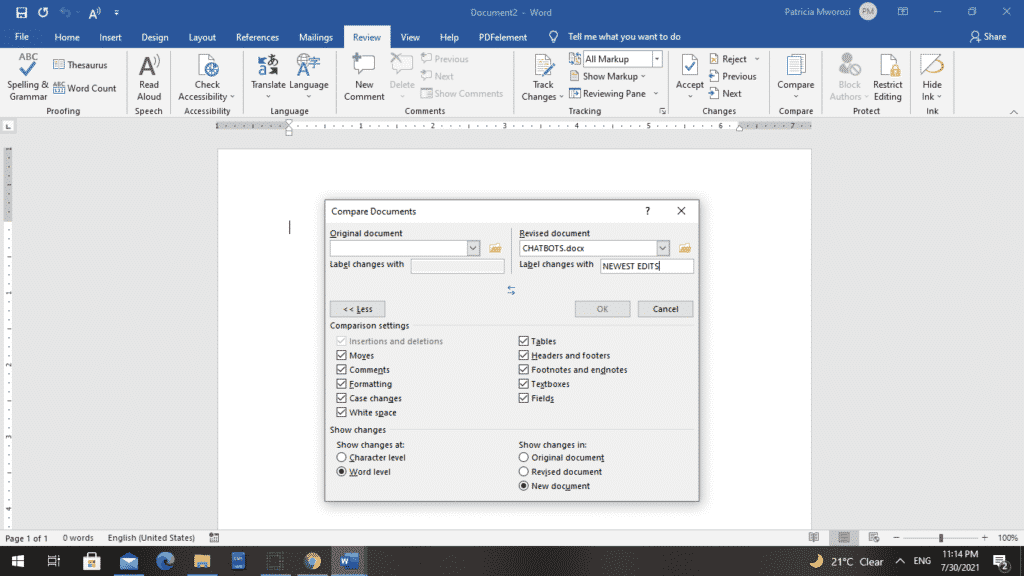
- At the bottom of your dialog box to the left is another setting labeled ‘More>>.’ When you click it, you can see many other modifications you can make to your new document.
- After you check or uncheck boxes to customise your document, you can click ‘<<Less’ to hide the menu. Any changes you make will be saved as the new default settings.
- When you are done with filling all the necessary boxes, click the “OK” button.
- You will see the original document and revised document on the right side of the screen.
- The compared document will appear at the center of the screen.
- Any revisions appear in the ‘Revisions’ section on the left side of the screen.
Have you heard of Simul Docs?
Simul Docs is a collaborative tool that can help you do all of the above but with the added benefit of doing it with colleagues. Two heads are better than one.
Simul Docs allows you to compare different versions of the same document to see where modifications have been made. The best part about this is that even if you forgot to turn on tracked changes, Simul Docs would still document every single change you made to a document when you were offline.
On top of this, your colleagues will be able to make their changes to the document.
The first step is downloading Simul Docs. After writing your first draft in Microsoft Word, upload it to Simul Docs. This will automatically make it the first version. Now, another colleague can open it and make their edits. This will create another version different from the first. Every time another person opens a version and makes edits, a new version is created with the latest changes.
If another co-worker is supposed to include their input, but they do not have Simul Docs. Then, all you have to do is download the document or forward it by email. Alternatively, you can upload it to any storage software like one drive, and once their changes have been made, they can forward it to you once again, and you can open it in Simul Docs.
Once all the necessary edits have been made, you can save the final version containing all the modifications with one click.
As you can see, you can do all this seamlessly under one roof: collaborating on a document, editing the document, and comparing different versions.
Visit simuldocs.com and simplify group edits today.
Get Started For Free
See how Simul can help you with a 14 day free trial, and paid plans start at just $15 per month.