Simul Blog
How to add a border to certain sides of a page in Microsoft Word
Gone are the days of adding a thick black border around your entire page, Microsoft now lets you customise borders with colours, width, artwork and even which sides of your page have a border and which don’t.
Allowing you to add a border to just the top of each page, or the top and bottom. Why not add a border to the top and left-hand side if that is going to be what makes your document stand out, these options are now available and you can customise a border to suit your document perfectly.
This feature is most commonly used to add borders, which will just appear as lines to the top and or bottom of your document.
Doing so will frame your page without making it look like a year 12 artwork paper, it’s a sleek way to draw in your reader’s attention without causing clutter on the page.

In this post we will show you how to add a border to a single side of your Word Document.
Adding a border to one side of your Word Document
- Open Word
- Select the Design Tab
- Select Page Borders
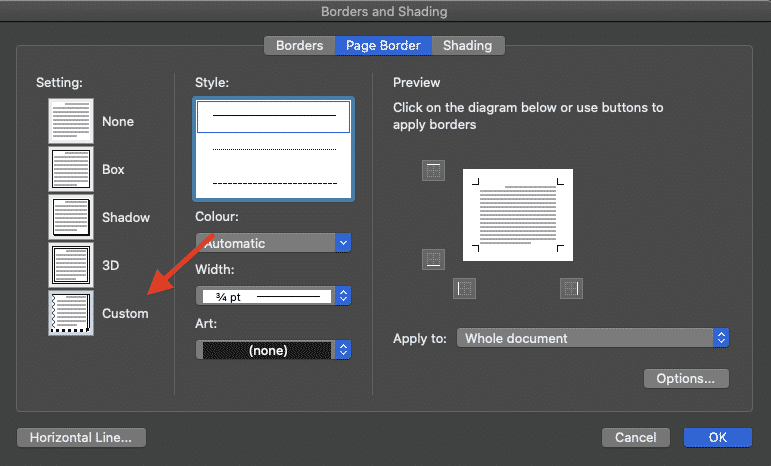
- In the Page Borders pop-out window, select Custom under settings
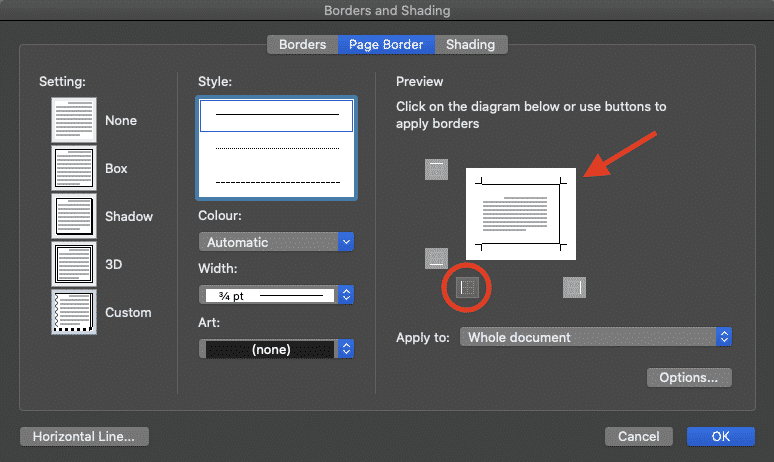
- In the Preview window, click on the diagram or use the buttons to select where borders are applied
- Press OK
After you have selected which sides of your document to insert borders to and press OK, your document will now only show borders on the selected sides. Pretty cool!
Looking for a simple solution to version control?
When collaborating with more than one person in Microsoft Word, version control quickly becomes torturous.
You have two options:
- Use an online shared drive system such as Google Docs which will go a little something like this:
You receive a link via email, you open the link to be presented with, ‘you don’t have access to this file’ {Face palm}
Next you request access and then wait for access….
- Use an internal shared drive, and email the updated files to alert your team of an update, which will end up a little something like this:
An endless back and forth with emails and attached documents, when someone updates a file, they send it back again and before you know it your inbox is so full of internal emails with documents attached that you lose the important client emails amongst the clutter.
Followed by questions such as ‘did they save that back onto the shared drive?’
Either option is possible, the first means you don’t have any version control or history. The second means you need a very succinct shared drive filing system that everyone works towards, keeping each new version in the same folder, or subfolder.
You take option 2, making sure that each new version has an easy and clear new file name, such as proposal_v8 or proposal_24July. So that it is easy to keep up to date on which file is the most recent and where you are up to in your steps towards that final version.
If only it actually worked that way.

If only everyone knew where to save new versions and did it, or kept to the file naming system and didn’t get creative adding new words to the end of your file names leaving you with something along the lines of proposal_v8_25July_update_JDedits_final_FINALFINAL. Leaving you with no way to easily find an old version to reference, or even knowing at a glance that that final actually was the final one, because it doesn’t look that convincing to me.
Version control doesn’t have to be this painful, thanks to purpose-built tools such as Simul Docs.
Simul Docs was built with version control in mind, to make collaborating easy and managing your files simple.
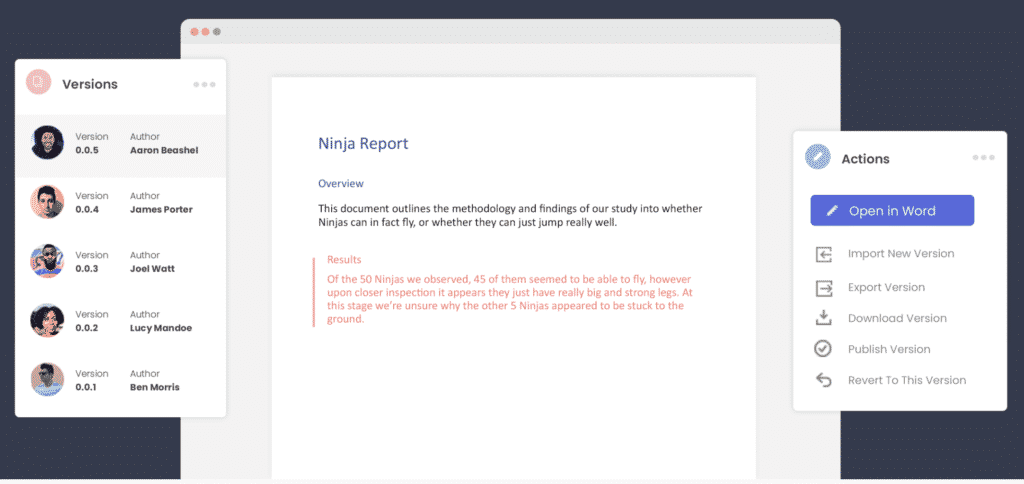
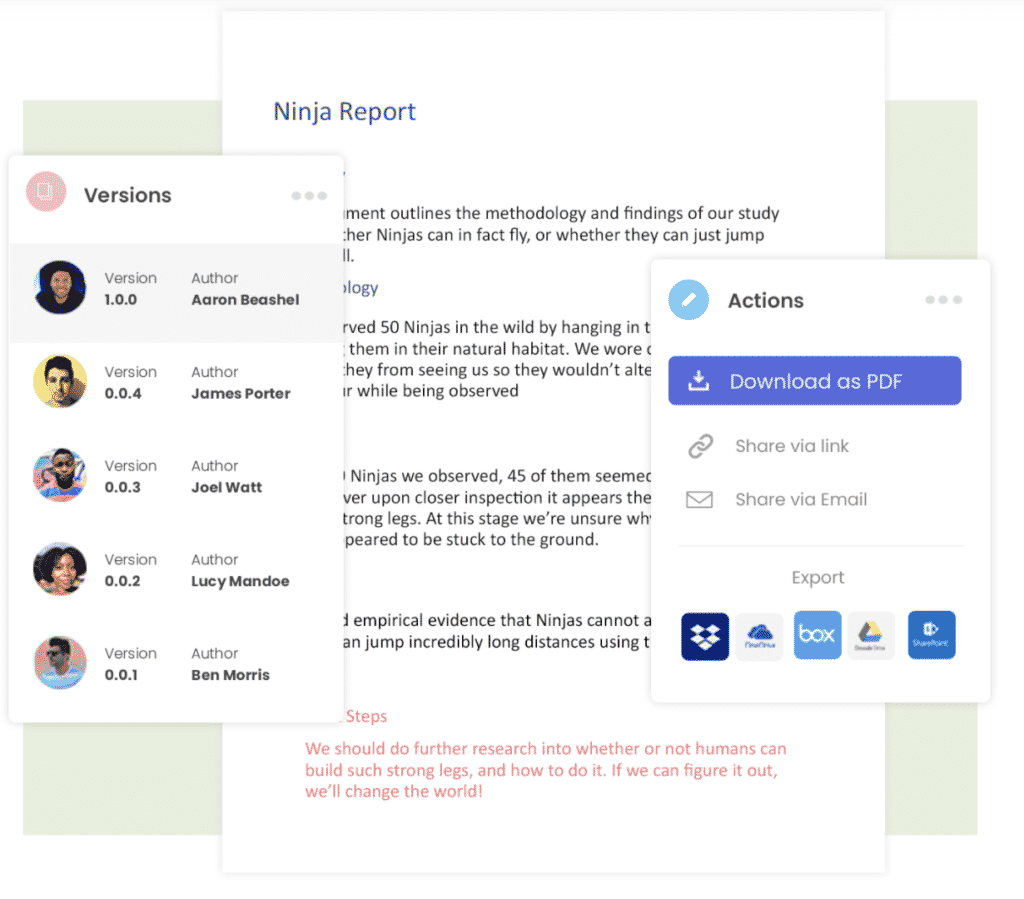
When you are working in Simul, version control, labelling and storage are done for you. Without you having to think about it. Once your document has been uploaded to your Simul dashboard and you have shared it with whomever you want to collaborate. All it takes is someone to open the document and make one change, for Simul to note this is a new version, giving the file a version number such as 0.0.2, followed by 0.0.3 and then 0.0.4. As more changes are made by other contributors, new versions are created and saved. Organised in order and easy to review at a glance due to the simple numerical file naming, the higher the number, the newer the version.
Continue collaborating and creating as many new versions as you please, there is no limit to how many Simul will keep a track of for you.
Then once you are done, finalising the document will take it from a 0.0.4 version to a 1.0.0.
But wait, you have one last change! That’s not an issue for Simul, make the change to your ‘final version’ and the updated version becomes version 1.0.1, because that just makes sense.
The version names were built to be easy for anyone to view and understand at a glance. Simul doesn’t want its users to feel like they need to unencrypt a file name to understand which one is the most recent or who the author was.
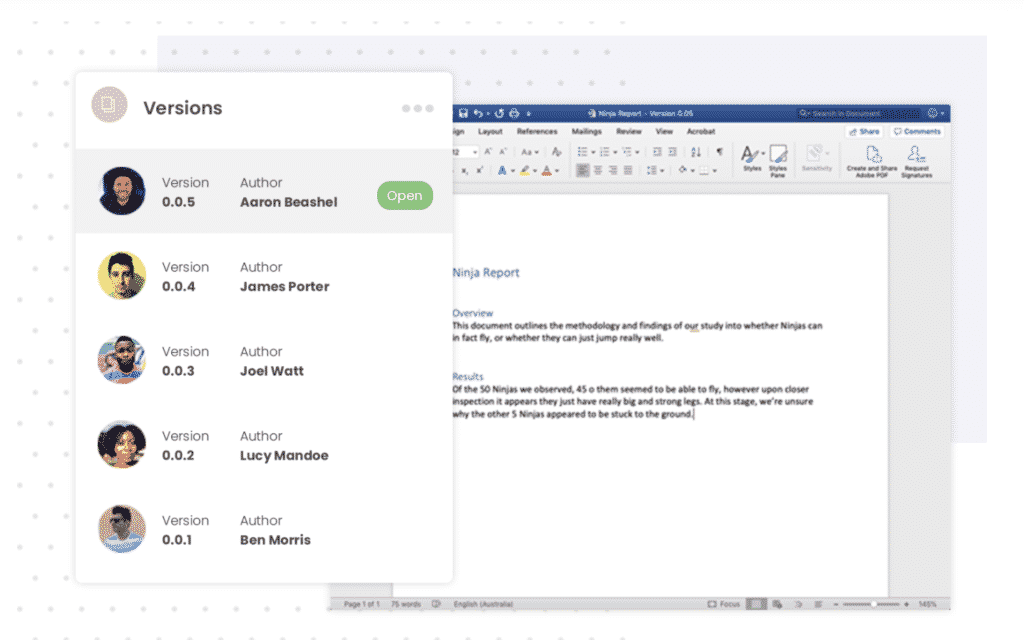
When a new version is saved, not only is it given a neatly and easy new version number, the author’s name is also saved next to the version making it easy for you to know who made changes where.

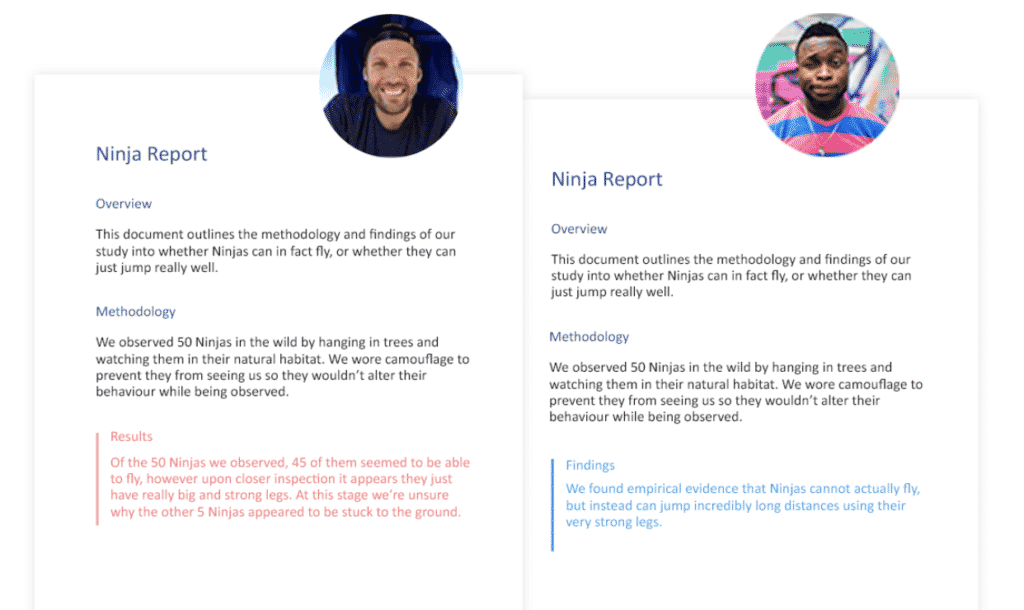
Open any version and see what changes were made, with tracked changes (which are automatic in Simul) on you can easily see what changed between versions and take comfort knowing nothing has been missed, forgotten or lost.
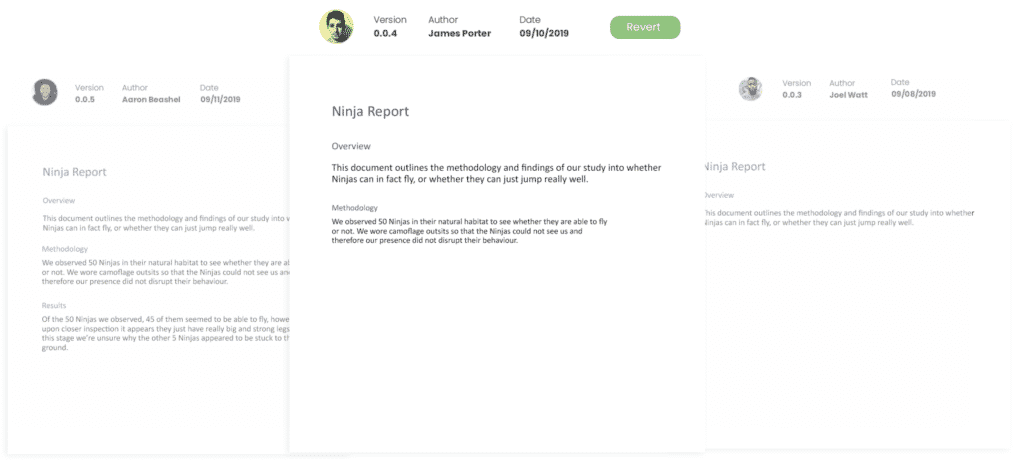
If two colleagues start working on the document simultaneously, Simul is smart enough to pick up on this as well. Without disturbing either author (because the creative thoughts are likely to be flowing) Simul just lets the author work away making their edits and quietly saves each authors document as separate ‘new’ versions. Let’s call one 0.0.5 and the other 0.0.6.
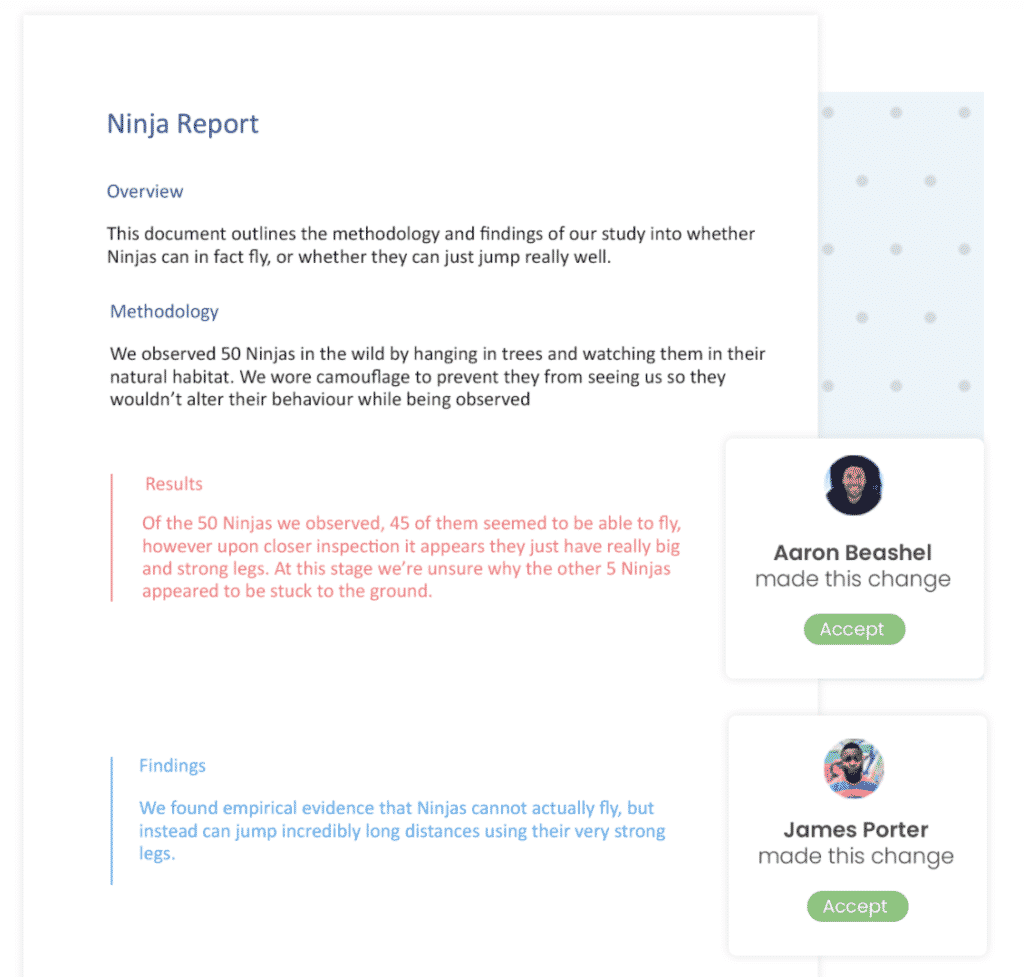
Once they are both finished, Simul will shoot you an email letting you know there are two new versions that require your attention. After you have reviewed the changes made by each author, accepting or rejecting their edits Simul offers you the option to merge them together at the click of a button.
Click merge and now we have a merged version, 0.0.7 and everyone knows what’s going on, which is the most recent file and no-body was restricted access or had to wait for another author was finished before they jumped in to start collaborating themselves.
Having a tool like Simul working in the background for you really does make collaborating easy.
Who knew such a simple tool could save you so much time, stress and frustration. But it does and it’s called Simul Docs.
Get Started For Free
See how Simul can help you with a 14 day free trial, and paid plans start at just $15 per month.