Simul Blog
How to add a Custom Cover Page to a Microsoft Word Document
Adding a cover page to the start of your Word Document is a great way to set the tone for your document. The cover page is the first thing your reader will see and should outline the documents title, author, maybe the date it was written or other key information that a reader may find useful to view at a glance before they dive into the rest of the document.
Microsoft Word does have a large number of pre-designed cover page options available. We wrote a post on how to insert there here.
If you are looking for something a bit fancy, or unique, creating your own custom cover page may be just what you need.
![How to Create an Amazing Report Cover Page Design [Plus Templates]](https://visme.co/blog/wp-content/uploads/2019/11/Know-your-reports-format-3.jpg)
Some companies require brand specific cover pages, you may need to follow brand guidelines with logo placements, colours and layouts in which case a customised cover page is perfect for you.
In this article, we will outline how to insert and create a custom cover page to the start of your Microsoft Word Document before leaving you to make it look picture perfect.
Creating a Custom Cover Page in Microsoft Word
- Open Word
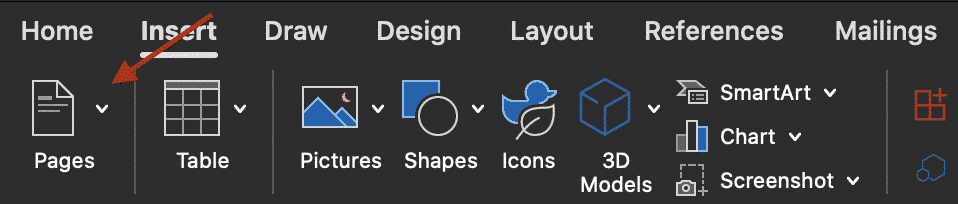
- Click Insert
- Click Pages
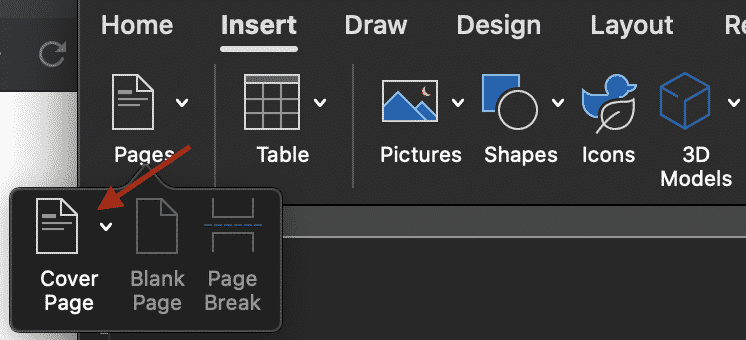
- Click Cover Page
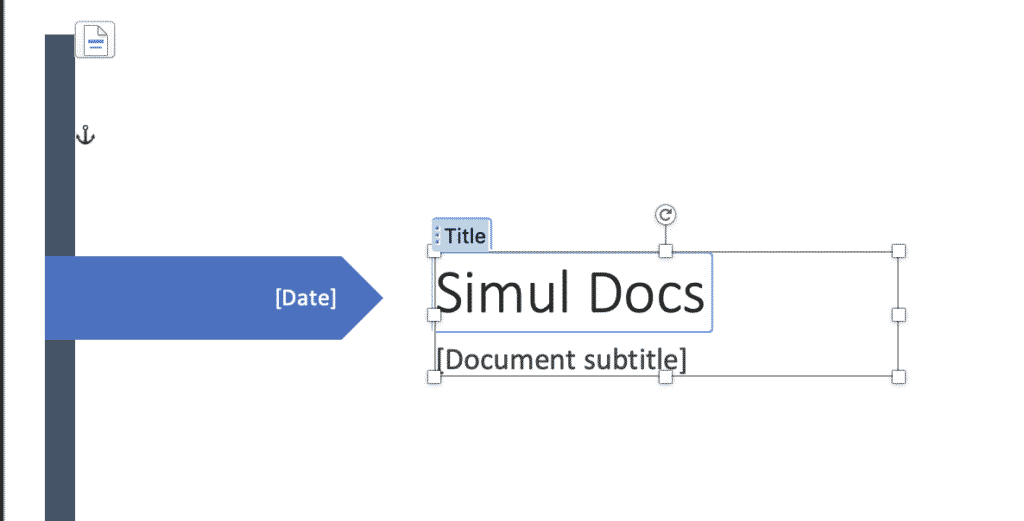
- Select a Cover Page template that best suits the cover page design you would like on your document
- Customise each text box by clicking the default text and typing
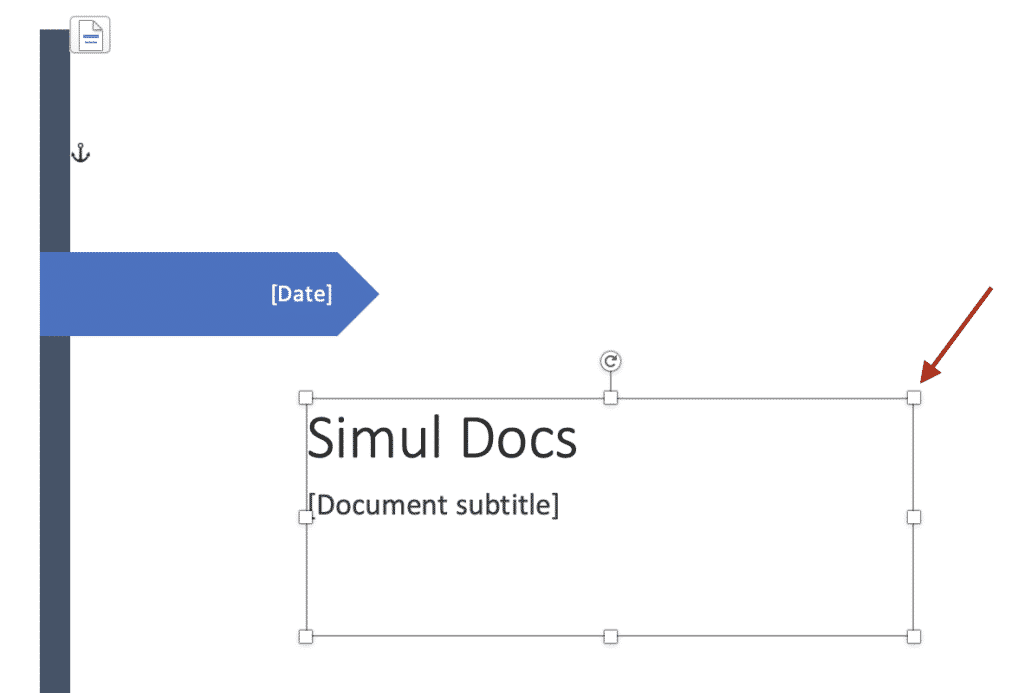
- Customise the size and location of shapes by clicking the feature and dragging it across the screen
- Insert custom images by clicking Pictures
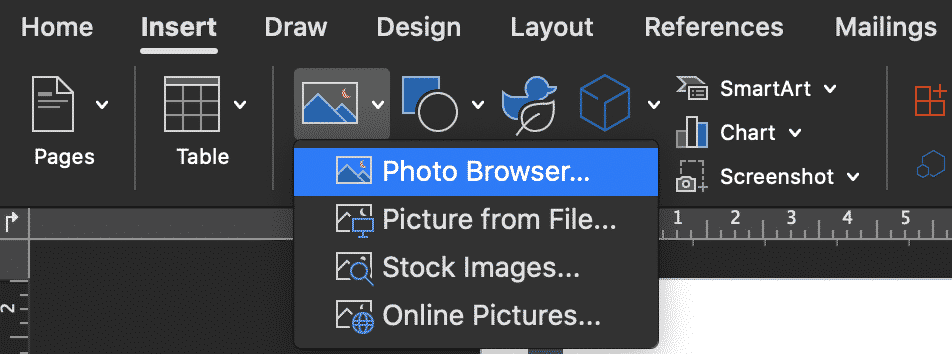
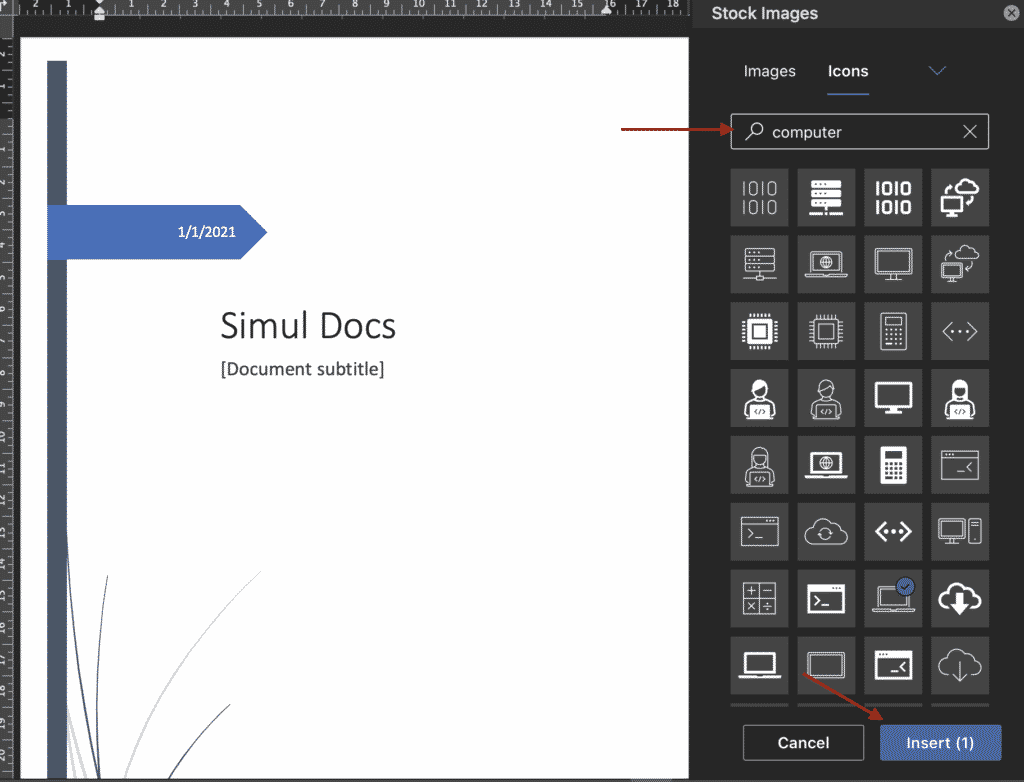
- Insert custom icons or symbols by clicking Icons
- Search for a suitable icon
- Click the icon
- Press insert
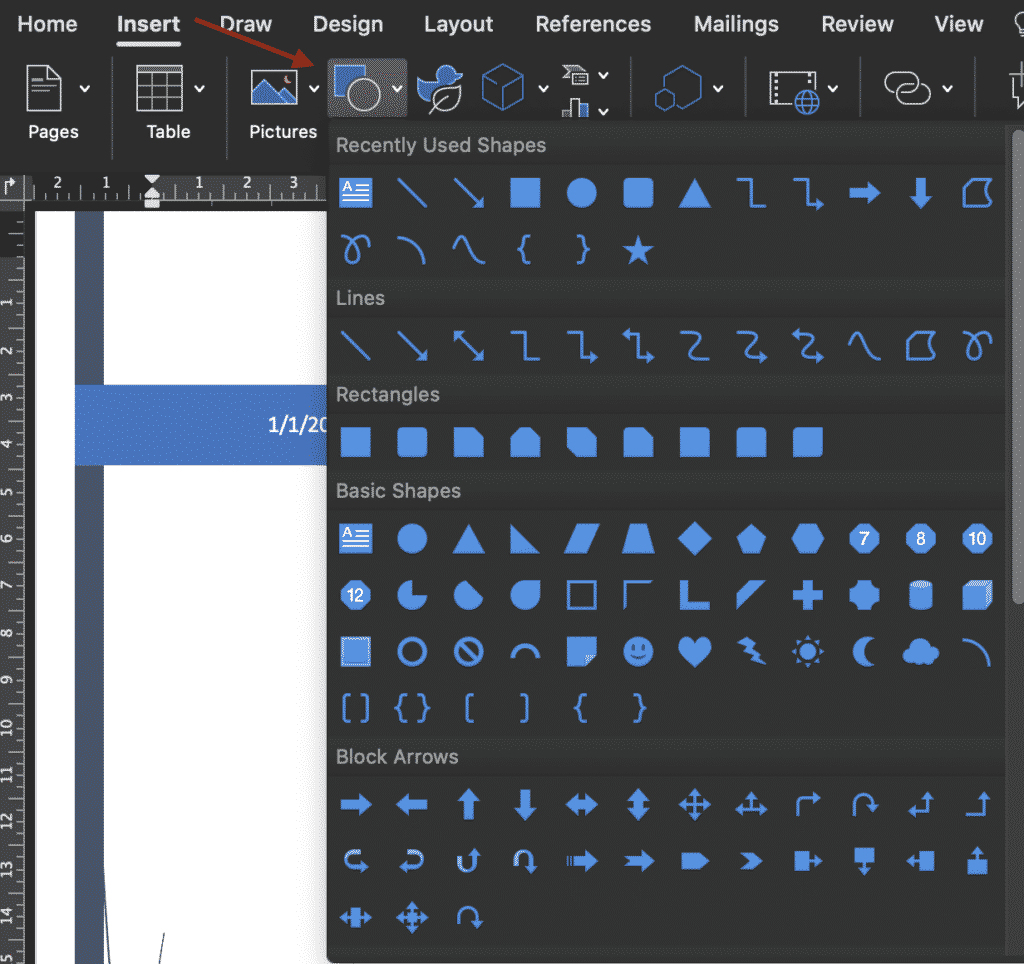
- Insert custom shapes, to add new boarders, lines or features by clicking Shapes
- Place your cursor where you would like the shape to be inserted
- Select the shape you want to insert
With so many different ways to customise a cover page, Microsoft has opened the doors for you to get creative and use text, images, photos, shapes and layout to design a cover page to suit your document perfectly.
On the hunt for an easier way to manage version control?
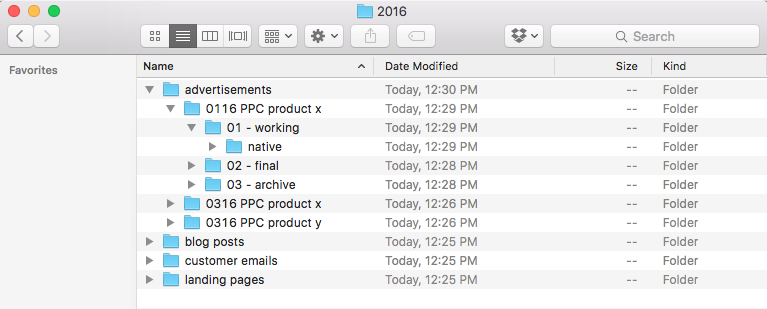
If you’re collaborating on Microsoft Word Documents and need to keep track of each new version along the way, it is likely that you (like so many of us) have a messy shared drive full of cluttered, badly named versions and no real way of knowing which one if the most recent and who made changes to what.
The endless scrolling through what feeling like 500 versions to figure out if Report_v9_edited_final_FINALFINAL_2 is actually the most recent version.
Is it the final one? Let’s say it is, now you have added your edits and are ready to save a new version, do you just add a _updated onto the end of the already long file name, or the current date – hoping no body else edits and saves on the same day?
Its a mind-field out there!
Then just to add another hidden bomb to the field, there is always one person in the team that saves a version in a different spot and it’s near impossible to figure out where it went.
Collaborating in Word can be challenging, with Version control the number one frustration for most small to large corporations who collaborate regularly and do not have an automatic version control tool on hand.
A tool that manages version control for you, such as Simul Docs will take all of the file naming and searching out of your job description leaving you to spend more time to edit.
Simul Docs manages version control for you. When you open a new file, Simul will save it as file 0.0.1, then John from Marketing opens your file, makes some changes and presses save – this becomes file 0.0.2 and so on.
It’s version control that makes sense.
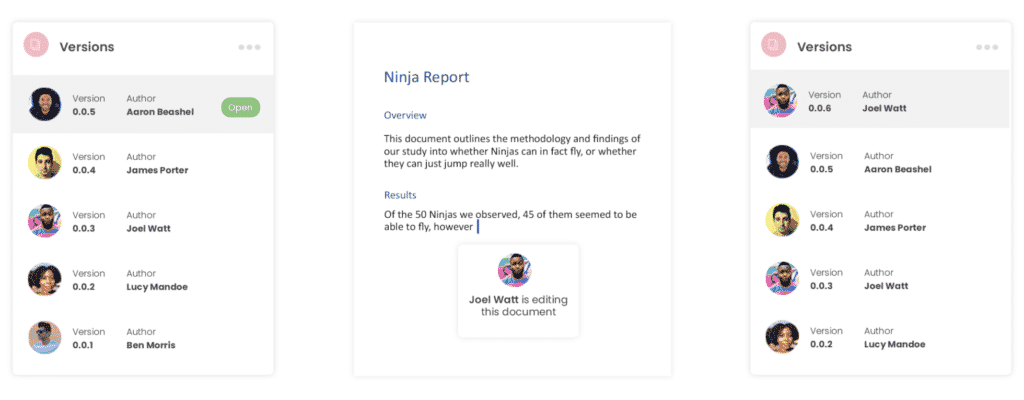
Then you want to go back and see what changes John has made over the course of the documents life. Well that’s easy, because Simul not only tracks the versions for you with the edits saved in each it places the authors name next to the document so you know who owns which version at a glance.
So now it’s your turn to edit the Word Document, which one is the most recent one?
Simul lists all of the versions in an easy to view ‘versions list’ at the side of your dashboard. The most recent version will be listed at the top, with the highest version number, e.g 0.0.5.
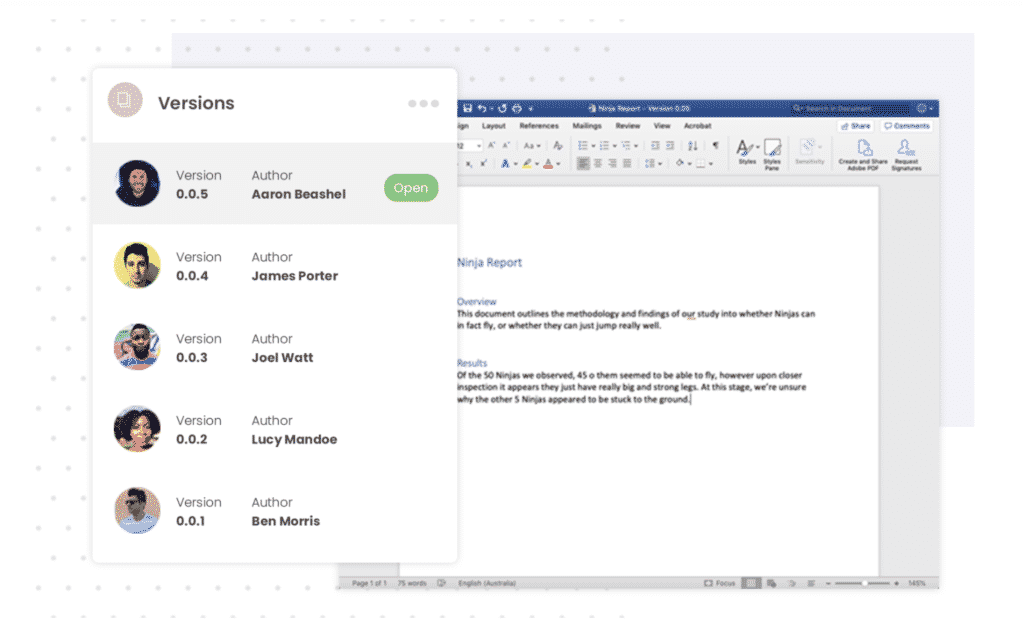
You can open version 0.0.5 at the click of a button, edit it directly in Simul or open it in Microsoft Word, depending on which interface you personally prefer working within.
Now that you are editing away, Simul also knows that you are going to want your changes tracked, so tracked changes are automatic, every, single, time you open the document. Because collaborating can be stressful enough without having to remember to turn on tracked changes or save the document as a new version before you start editing to avoid saving over the last file.
So now you’ve made your edits, with all of your changes tracked (thanks Simul!) and are ready to press save and share your file and let your team know you have finished. Simul has you covered again – when you press save Simul automatically sends an email to the document owner letting them know a new version is available for their review.
If you did want to share your document directly, Simul allows you to share via a directly link, email or to any of the popular cloud storage systems such as Dropbox, GoogleDrive, OneDrive and more.
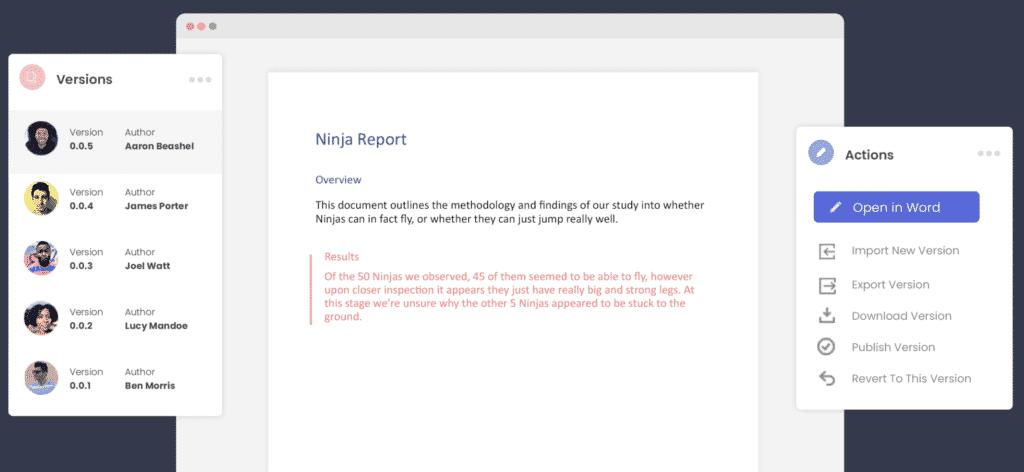
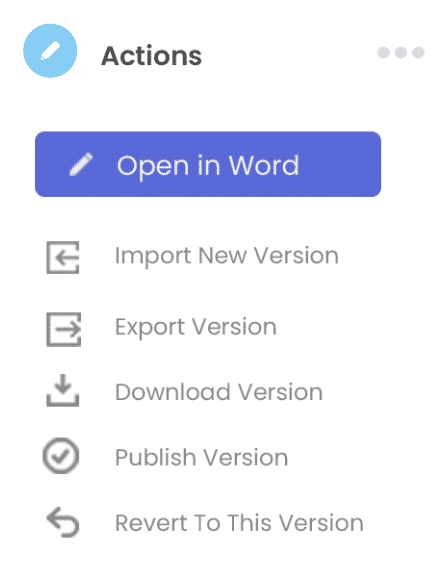
Save, export and download the document out of Simul docs at the click of a button. Simul gives you the option to do so in the original Word Document format or as a PDF.
With collaboration in mind, purpose built tools such as Simul Docs were built to make collaboration easy. From version control, to tracking changes, saving, editing, merging and more – Simul has you covered!
If you find yourself wasting time searching through a messy shared drive, we suggest you give Simul Docs a go.
With free trials available, you’ve got nothing to loose.
Get Started For Free
See how Simul can help you with a 14 day free trial, and paid plans start at just $15 per month.