Simul Blog
How to add a Header to your Microsoft Word Document
If you are working on a multi-page document and would like a logo to be visible at the top of each page or any descriptive information, a header is the perfect option. Most commonly used to add page numbers, a header can also be used to insert the document name, company logo, authors name or the date you created or last updated the file.
Text and images can be adding into your header.
Adding a header to your document makes it easy for a reader to see who wrote or owns the document at a glance. When inserting a header into your word document, Microsoft will automatically copy the header across every page of your document.
In this post we will show you how to add a header to your Microsoft Word document in 4 simple to follow steps.
Inserting a Header in Word
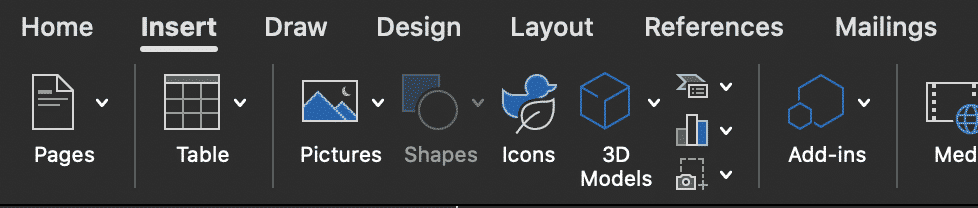
- Open Word
- Press the Insert tab
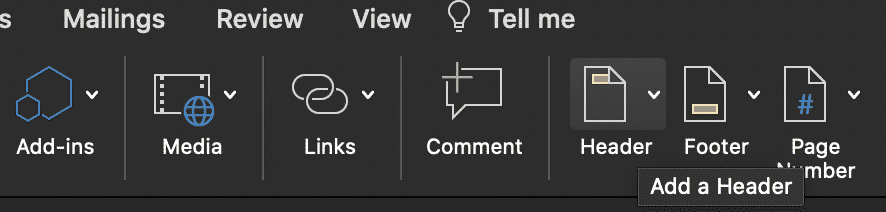
- Under Insert, Click Header
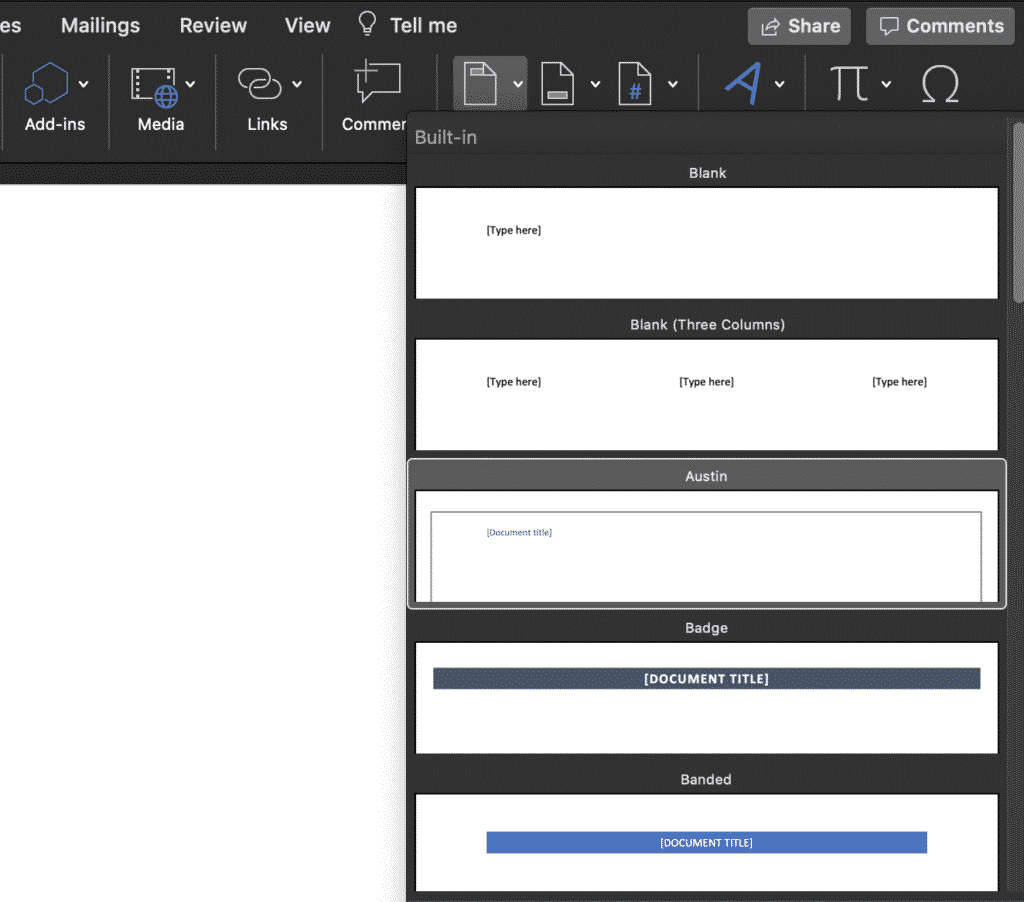
- Select the header of your preference to insert
After selecting the style of header you wish to add, Microsoft will automatically insert this header into each new page of your document.
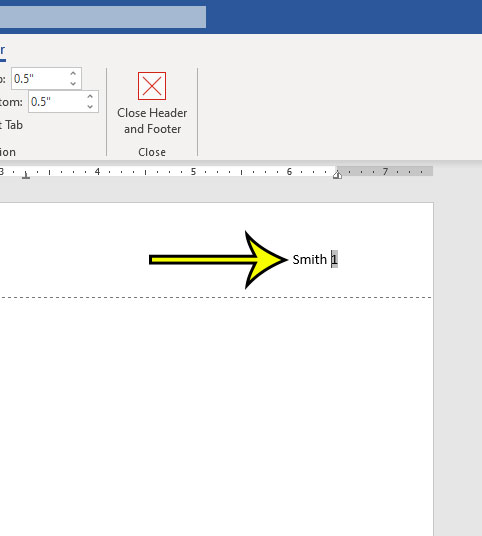
You can edit the text within the header by clicking on the header directly.
To remove your header, check out our blog post here.
Looking for a Better Way to Co-author Word Documents and Collaborate?
Although the built-in co-authoring tool available in Microsoft Word does provide some basic collaboration support, the cons really outway to pros for us, so we went searching for a better tool to solve this problem….and we found Simul Docs.
Simul Docs is a purpose built tool, that makes co-authoring easy and collaboration simple. Its everything you have been dreaming of and more.
By using Simul Docs to help you collaborate in Microsoft Word you can share and co-author the document with as many users as you want.
The document will stay ‘online’ for everyone at all times and if two people do start making changes simultaneously, Simul will pick up on the two new versions, saving them both as new versions, with their separate changes and alert the document owner that there are now two new versions that require his or her attention to review before merging them back into one file again.

Merging two files is easy, Simul knows that they may need to be merged together and will send you an email letting you know these documents require your attention.
When you open Simul you can easily accept or decline changes, once you’ve finished simply press ‘merge’ as pictured below.

Even if you have two documents, that need to be merged together that don’t live in Simul just yet, Simul has no issue helping you merge them together for you using the merge function.
Simply upload your original document from your computer, or cloud storage service such as Dropbox, GoogleDrive, OneDrive or Sharepoint.

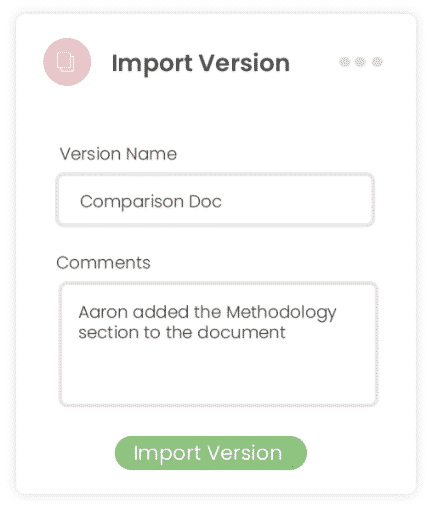
Once the original document is uploaded, upload the comparison document by selecting ‘Import New Version’ and selecting the comparison document from your computer or cloud storage provider.
Use the easy merge function in Simul to merge the two documents together.

Once merged, Simul will highlight the differences or changes between the two documents for you to review and accept or decline. Once you have finished your merged document will automatically be saved as a new file, ready for you to continue working on in Simul or export to your computer or cloud service provider.

It’s collaboration made easy and co-authoring in Word the way it should be.
So until Microsoft makes collaboration a little easier, you can lean on amazing tools such as Simul Docs to ensure you can collaborate without worrying about version control, edits, merging or who is editing when.
Get Started For Free
See how Simul can help you with a 14 day free trial, and paid plans start at just $15 per month.