Simul Blog
How to add captions to your graphics in Microsoft Word
When images and graphics are added to a Word document for whatever reason, you can add captions and descriptions to elaborate and leave explanations about the topic at hand. These can be used to inform readers and demonstrate as the document text progresses.
They can also help keep track of graphics and tables by numbering and naming each one, leaving the document organized while showing the connection to the text.
A step by step guide to adding captions to images and graphics in Microsoft Word
- Choose a picture or image, the one that requires a caption or description.
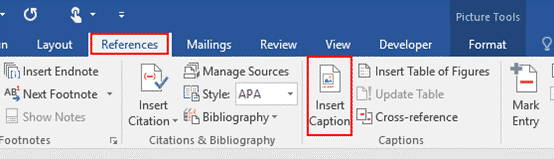
- Access the References tab and select Insert Caption in the Captions section.
- As soon as the Caption dialogue box appears, select New Label and then type the suitable caption or description in the New Label pop up box.
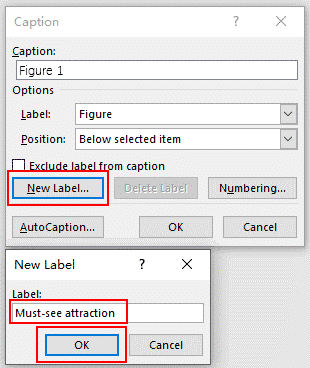
- Select OK when you are done.
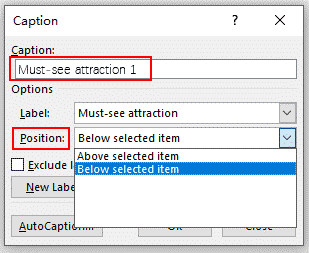
- The caption you typed will be submitted to the Caption Box and the Label Box. The sequence of numbers submitted will be generated automatically as well.
- You have the option to choose the position of the caption next to the image between the options, Above the selected item or Below the selected item. These options can be found in the drop-down list.
- You can refer to the example below. Word will re-number captions suitably if you add a new image within the same document.

Captions that are added in this manner will automatically number themselves chronologically, as working on the document progresses. When a new caption is attached to a previous graphic, it will then align and number everything that follows appropriately.
Here is a point to note: As caption numbers change you can make references to captions in the document by selecting the Cross-reference icon on the Reference tab and choosing the caption. Because of this, the reference in the text will change automatically when the number does.
How to add a table caption
A caption can be added to a table similar to the way you can add a caption to a figure or image. In case you have several types of captions in a document, you can customize the numbering style so that they all do not look the same.
- Select a table.
- Click the Insert Caption icon.
- Click the Label list arrow.
- Select the table.
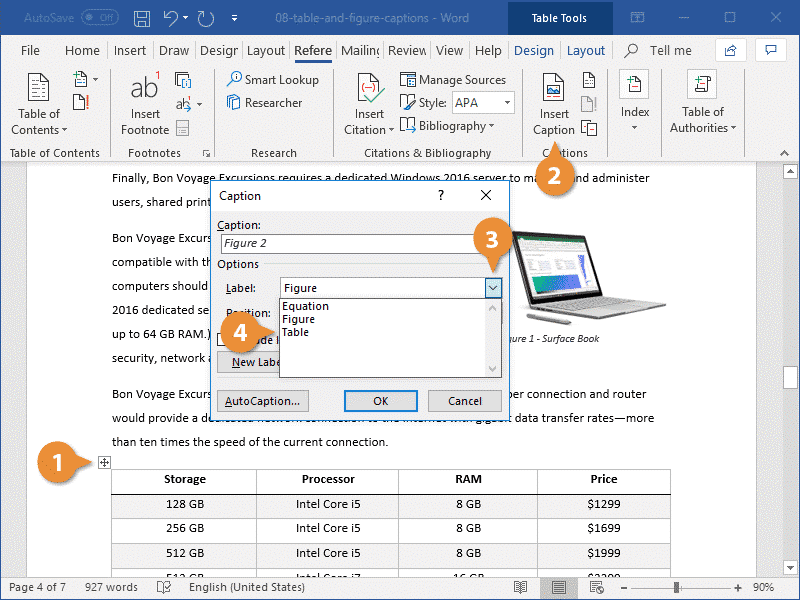
The caption label changes Table. It restarts the numbering to include table captions and changes the position of the caption.
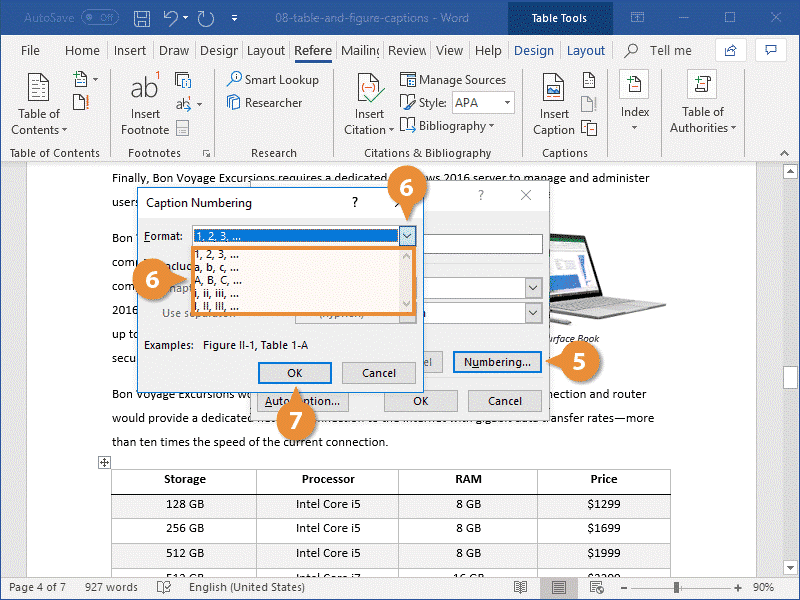
- Select the Numbering icon.
- Select the format list arrow and choose a new numbering format. Captions can be ordered with numbers, letters, or Roman numerals.
- Click OK then the numbering format will be applied.
- Type and submit a caption for the table then click OK.
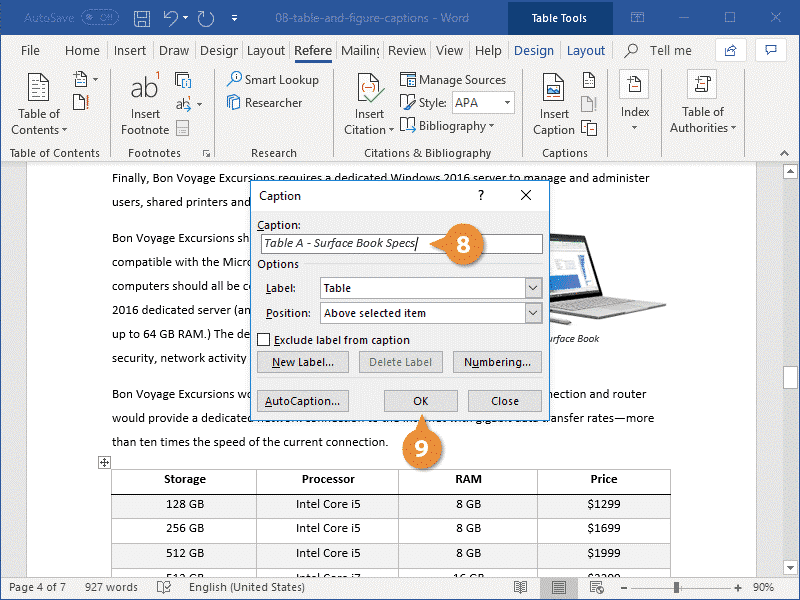
The table caption will then be added above to the table and will follow the particular numbering format.
Are you curious about what better way there is to collaborate and track changes in Microsoft Word?
When a team is collaborating on Microsoft Word, tracking changes during this process is vital. If the changes are not tracked there isn’t a proper way for the users to know who made what changes and when. This hinders the review process and the final draft because there will most likely be many unapproved changes with no way to know if they are suitable.
For this reason, Microsoft added the Tracked Changes feature to Word which is helpful only if you remember to turn it on. Sometimes, this is something many people forget to do during the editing process before making changes. It’s likely and we do too. It can be frustrating progressing with the document almost or over halfway and realizing that all this while, the feature has been off.

Then, you will have to re-read all the pages, each word one by one to take note of. Some will be easy to find while others for example those to do with punctuation will be more challenging.
Another user can join the document, make changes without anyone knowing because Microsoft Word will track only the changes you have asked it to. When you can’t control every edit that is made it becomes a high risk to your company or business especially if this is a very important document.

The solution to this that we have to share is for you to employ the use of a collaboration tool like Simul Docs that was created with all these challenges in mind. Simul is great for collaboration because it is aware that when you open a document and changes are made by anybody you would want them tracked. It’s imperative when multiple users are working on a document. These changes are tracked automatically.
They will have an Accept or Decline option next to them for approval during the review process similar to what you see in Word’s Track Changes feature so the main editor gets to sort what is suitable and what isn’t.

Other users can also leave comments and notes within the document for suggestions and elaborations related to the changes that they have and want to make. Everything is done live in the document by creating a conversation thread.

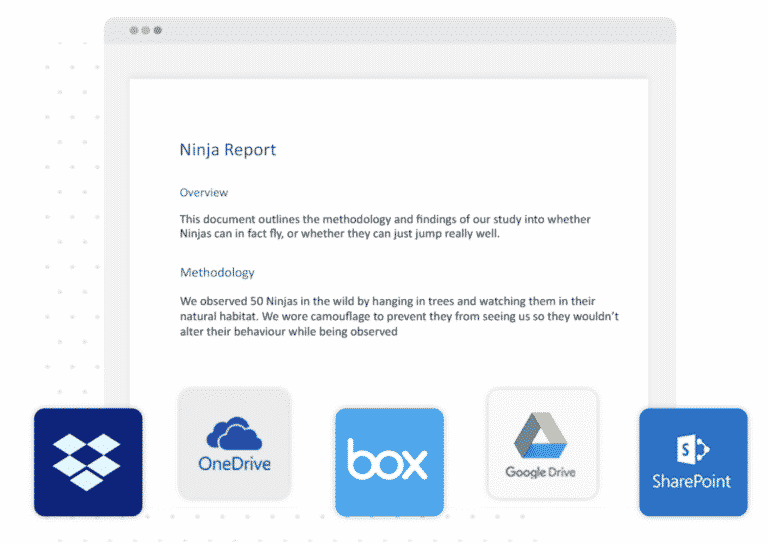
When you are done collaborating and are ready to share the document, export it, Simul has all the features needed to share wherever necessary via the preferred tool or source.
You can save your document as a Word file or PDF document.
Share it via a direct link, email or a cloud system such as GoogleDrive, OneDrive, Dropbox and more.
Don’t miss out on collaboration made easy and convenient. Work with Simul Docs today.
Get Started For Free
See how Simul can help you with a 14 day free trial, and paid plans start at just $15 per month.