Simul Blog
How to change the default font in Microsoft Word
When using Word, as you create a new blank document, starting with a fresh page, the default fonts in the application are usually Calibri or New Times Roman. It’s okay if this is the font that you want to use but if you want something different, you can change it because there are a wide range of fonts available. Doing so is simple.
If you have a favourite font that you use often, having to switch and change fonts every time you create a new document can get tiring. Here’s the good news, it is possible to change the default font in Microsoft Word.
Step by step guide to changing the default font
To change the default font, you need to open a new document and access the Font dialog box.
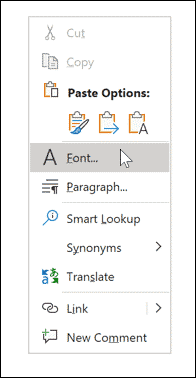
- Open the document and right-click in the text body wherever you can then select the Font option.
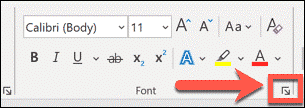
- On the other hand, you can select the Font dialog box launcher. To access it select the Home tab on the ribbon bar, then choose the small arrow button in the bottom right corner of the Font tab.
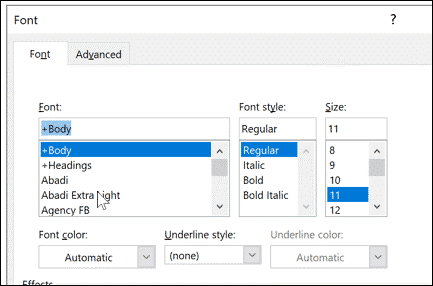
- When the dialog box opens, you can select the font that you want to use. You can also change the style, size and colour of the text.
- After selecting all your desired changes, click the Set As Default option. This will set the font you have chosen as the default for all your future documents.
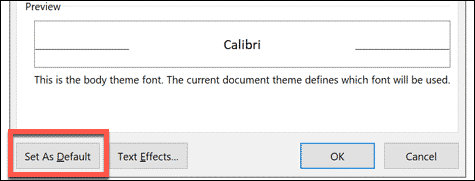
- Choose All Documents based on the normal template.
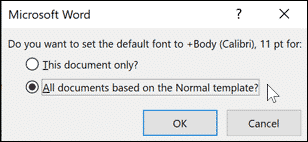
- Select OK to confirm your selection. After confirming your chosen don’t will appear as the new default font of any document.
By editing or deleting the Microsoft word template file
In case you have followed the above steps and it all isn’t working, the issue could be that you do not have permission to edit the Normal.dotm template file. This is the template that Microsoft Word uses to create new documents that have the default formatting settings.
Getting to access this file is normally limited in professional and workplace areas for security purposes. You may need to ask for permission to edit or delete the document. When you delete the template file, the default Word formatting settings will be reinstated.
How to delete the Microsoft Word template file
- To begin with, close any open Word documents that you may have or find.
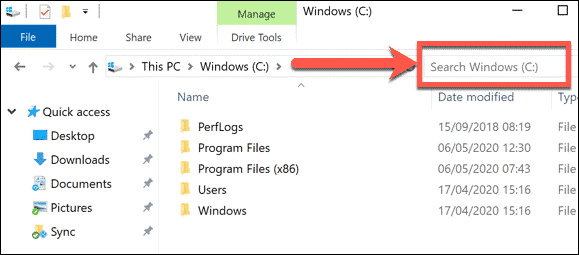
- Open a new File Explorer window and then type Normal.dotm in the search bar in the top right.
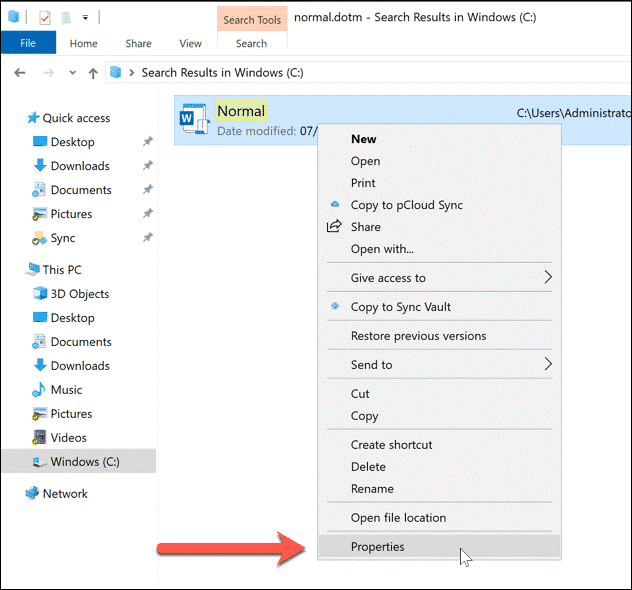
- Give Windows time to locate the file. To let changes affect the Word template file, right-click the Normal file and select Properties.
- When you get to the Normal properties window, make sure to choose the General tab. Uncheck the Read-only check box in the Attributes section to allow changes to the file to be made.
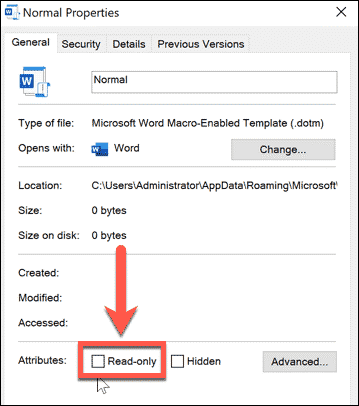
- Select Save to keep your settings permanent.
Then you should be able to make changes to your default Word formatting settings.
How to reset the Word Template file
If deleting the Word template file completely is what you want, you can do this. It will force Word to recreate the Normal.dotm template document using its preset default settings, including the default font choice.
- Open a new File Explorer window to reset your Word template file.
- Use the search bar in the top right to locate the Normal.dotm file.
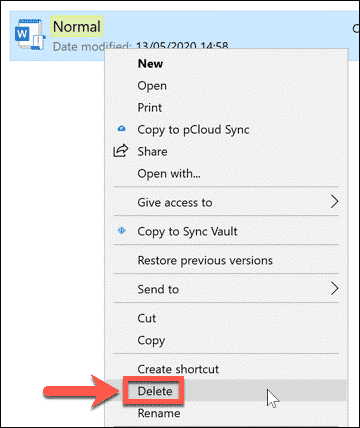
- When Windows has located the file, right-click and select Delete to trash the file.
After the file has been removed, open Word to restore the template with its default settings.
Did you know that there is an easier way to keep track of your Microsoft Word documents?
Keeping track of documents while collaborating with a team can be demanding when multiple versions of a file are being saved as many users make edits and changes.
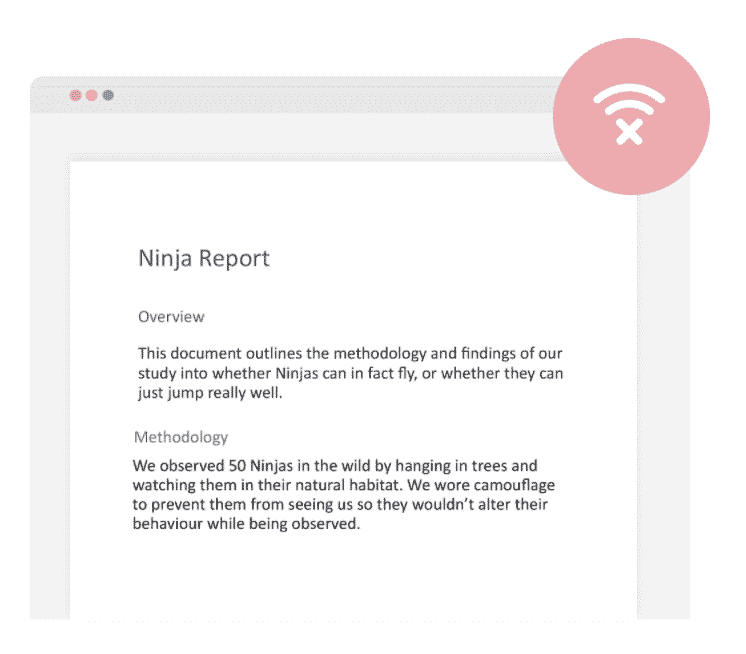
Using a shared drive, one of the users may decide to take the file, save it to their desktop to be worked on offline. People do this all the time for many valid reasons such as editing from an airport/aeroplane and working offline cannot be avoided. When they can access an internet connection again, it seems easy to just place the file back into the shared drive and continue collaborating with the rest of the team.

Here is where the problem arises. If someone made changes and saved them while one of the users had taken the file to work on offline, this will leave two updated versions of the same document and no way to which is the most recent.
Fortunately, there are helpful collaboration tools on the market such as Simul Docs that not only automatically track changes but also enhance version control.
Simul is aware of the fact that when you are making changes and working whether offline or online, you would want the file updated and saved as a new one. This is done automatically and you will not have to keep clicking “Save As” every time. It will create a new version every time an edit is made and approved.
Any of the users can access the document offline using Simul, make changes and re-format knowing that as soon as they get online and access an internet connection, the file will be updated for the rest of the team to see in line with the version history.

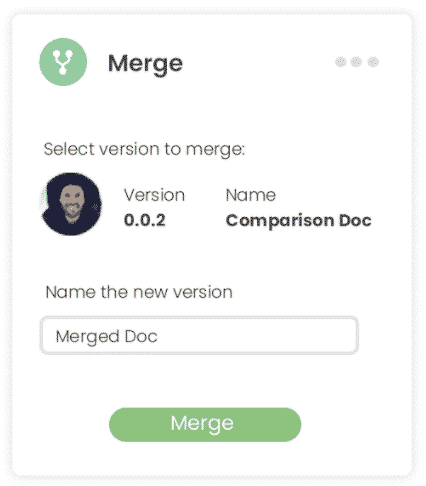
If two users are working on the file offline, when they get online the changes will be saved as two updates ready for approval by the document owner.

They can then be reviewed and merged with a click of a button.
Simul is providing the best solutions to Microsoft Word collaboration challenges and allows you to do so from anywhere at any time. Easy collaboration is addictive and you do not want to miss out on the convenience.
Get Started For Free
See how Simul can help you with a 14 day free trial, and paid plans start at just $15 per month.