Simul Blog
How to create a fillable form in Microsoft Word
Word allows you to personalize a fillable form using the ‘Developer’ feature. This allows you to have drop-down menus, check boxes and even date pickers. This step-by-step guide will show you how to create a fillable form.
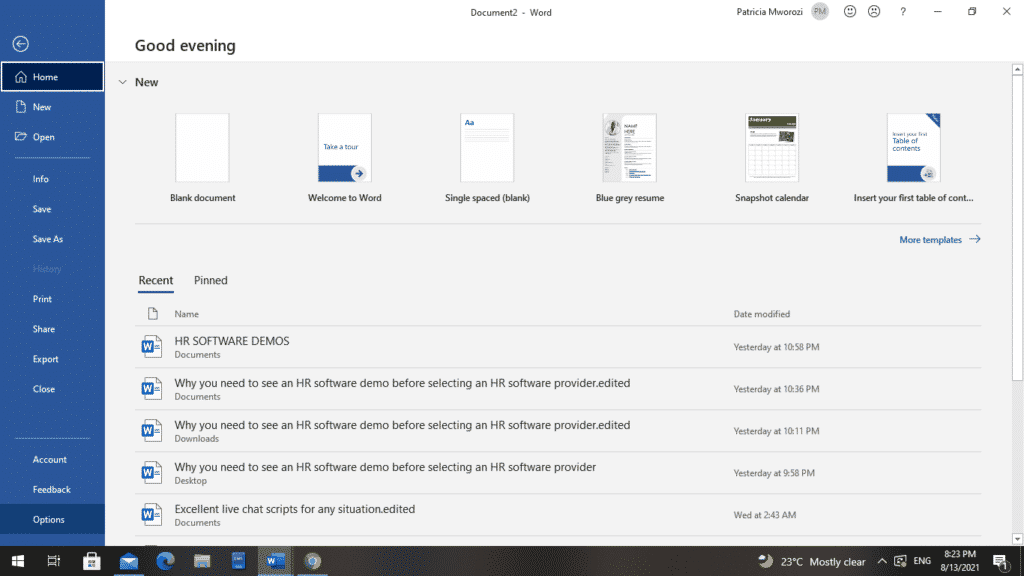
- Go to the ‘File’ tab on the Ribbon.
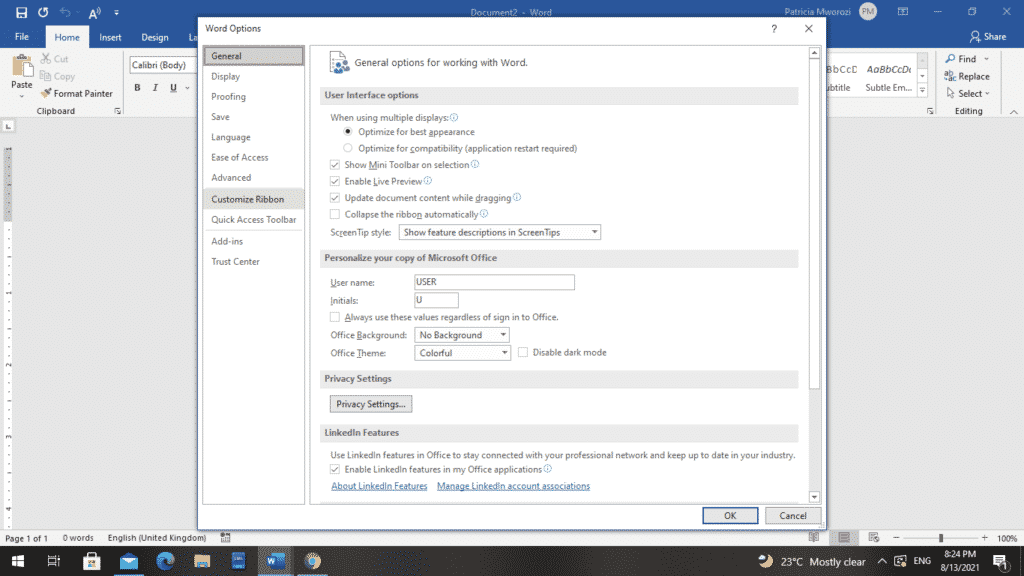
- On it, select ‘Options.’ A Word Options dialog box will appear.
- Choose ‘Customize Ribbon.’
- Another dialog box will appear.
This is the ‘Customize the Ribbon and keyboard shortcuts.’
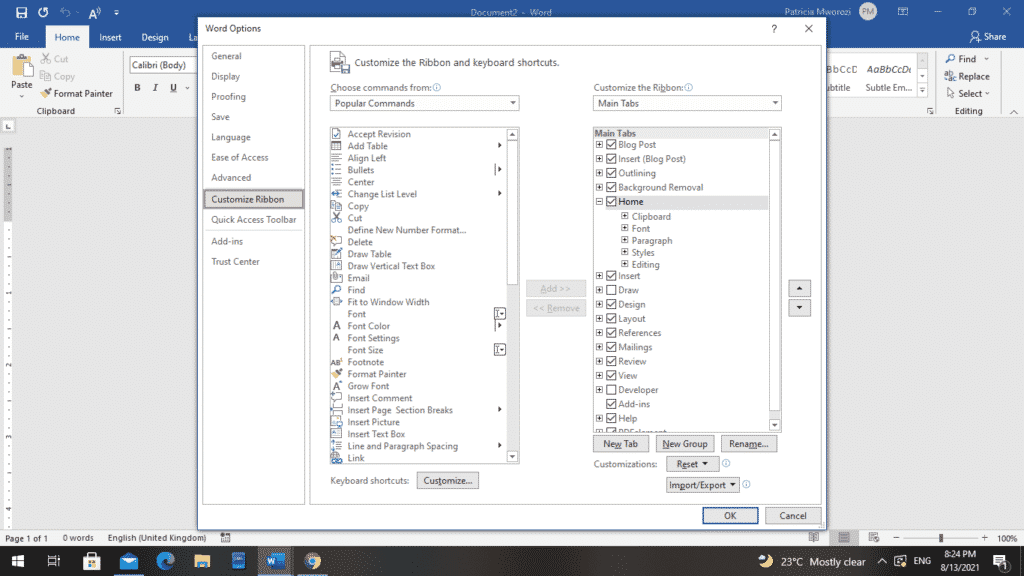
Under the drop-down menu titled, ‘Choose commands from,’ select ‘Main tabs.’
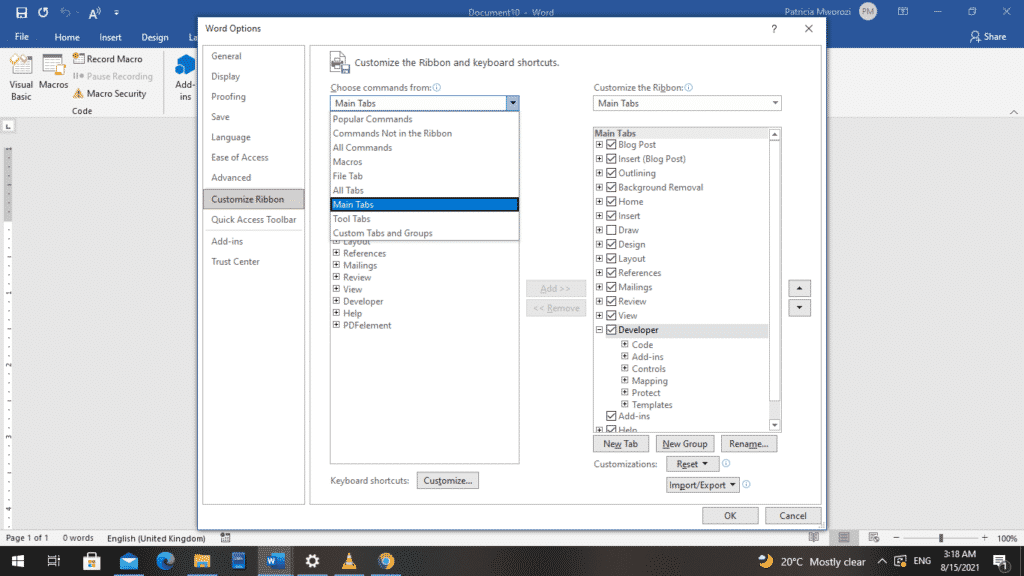
- When you do this, a new list under ‘Main Tabs’ appears.
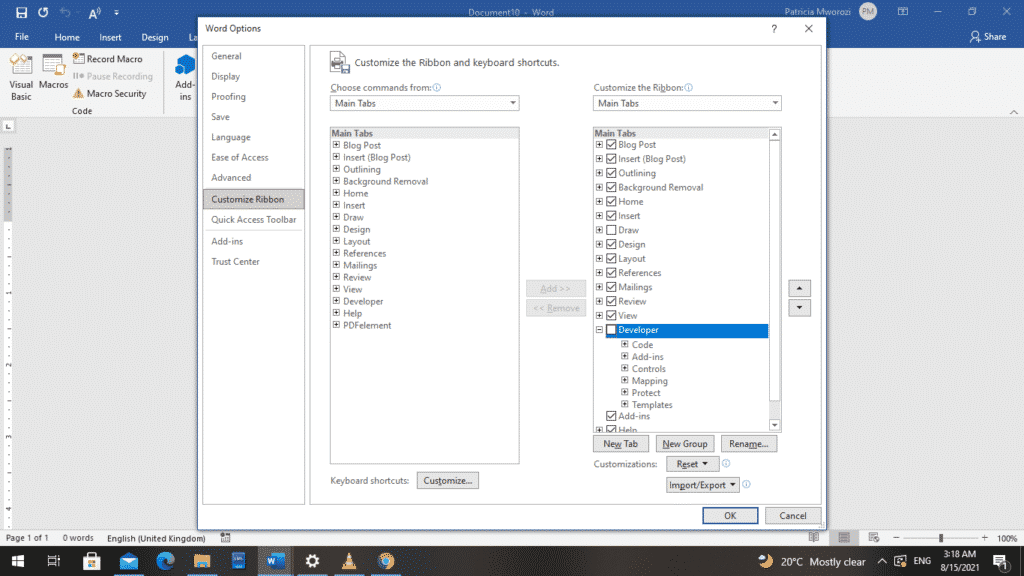
Select ‘Developer’ from the vertical list on the left.
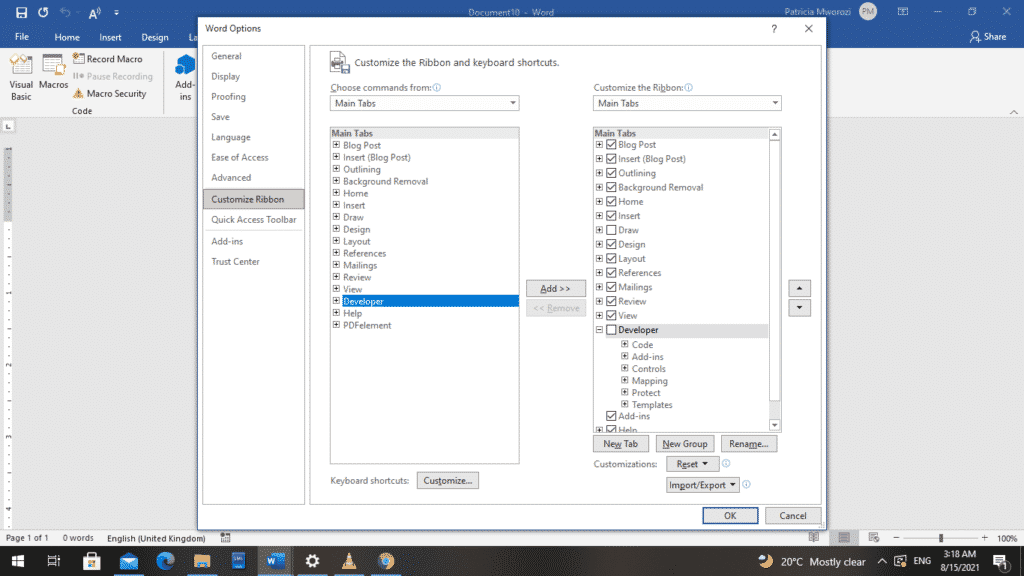
- Then, select the ‘Add>>’ button to add it to the right section of your dialog box.
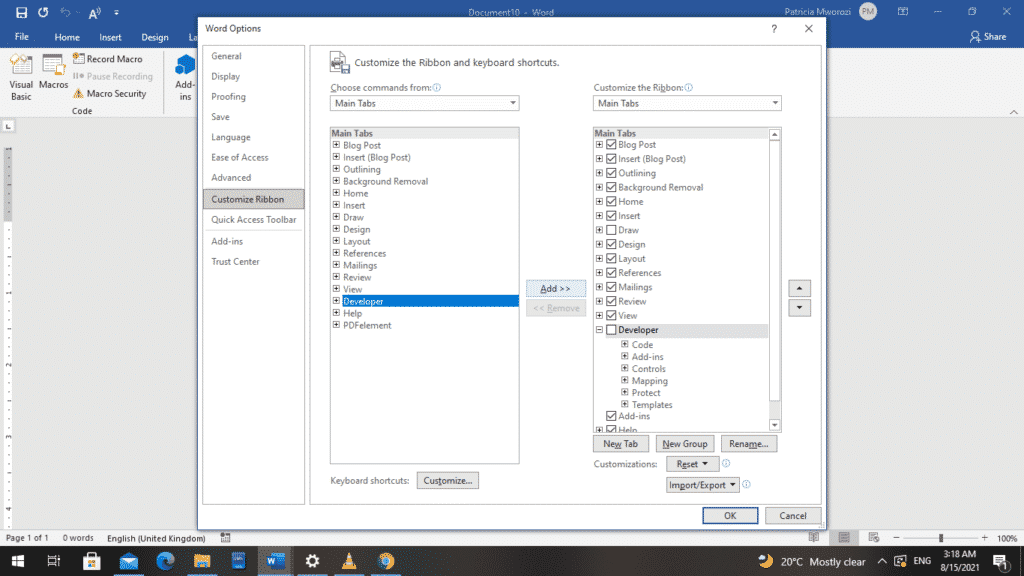
- If ‘Developer’ is already displayed in the right section, select the checkbox to enable it.
- Click ’OK.’
- Now you should see Developer appear on the Ribbon.
- Open a new Word document.
- Once you have a blank document, select ‘Developer’ on the Ribbon.
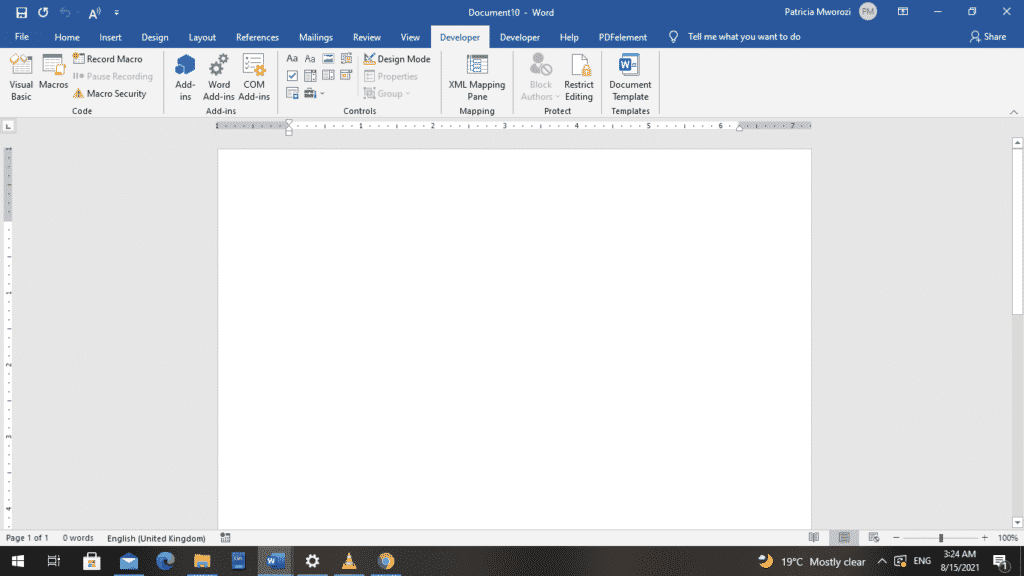
- From the several sections on your screen, choose ‘Design Mode’ under the ‘Controls’ area.
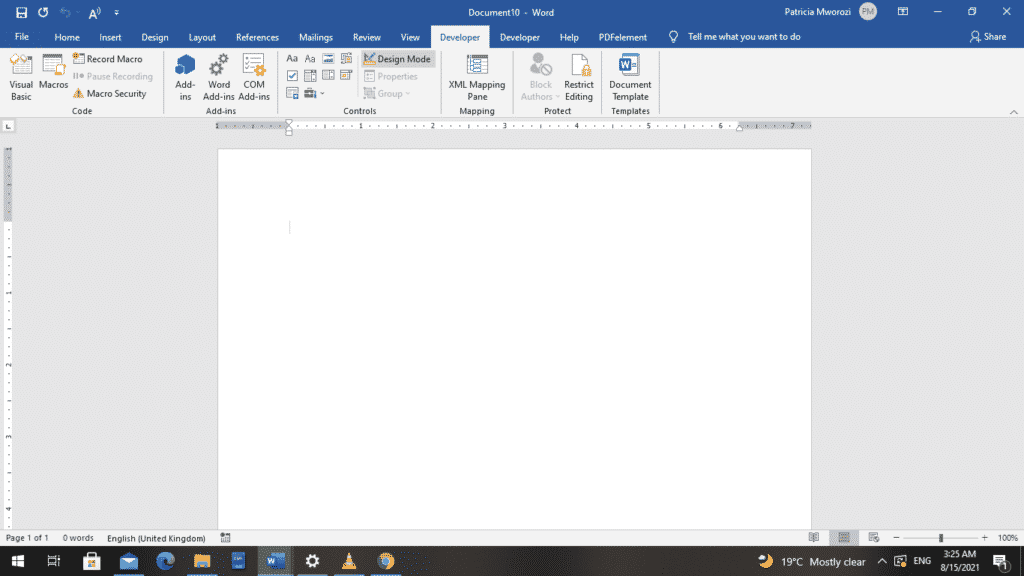
- You can start working on your form.
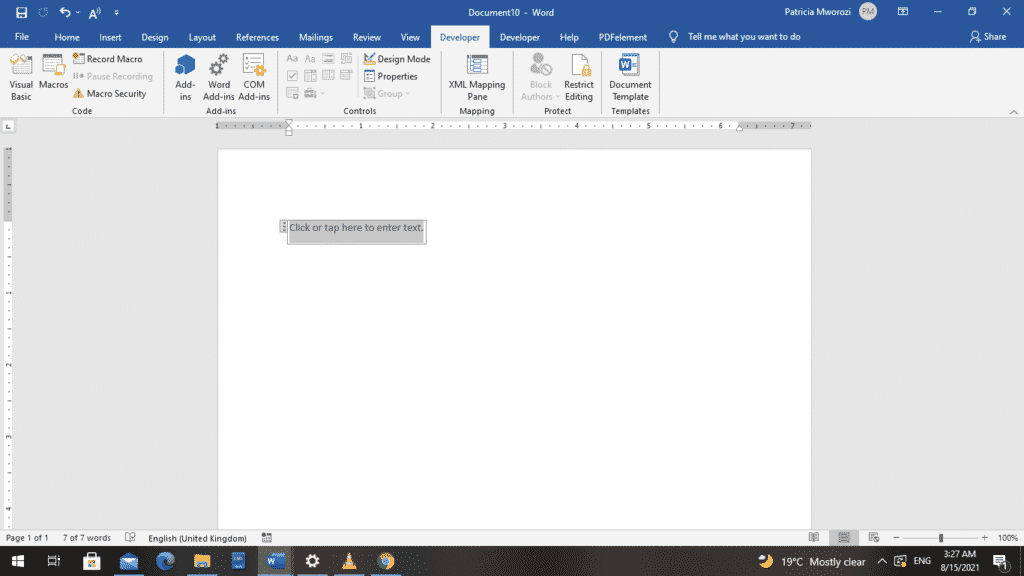
- To add a text field to your form, choose the ‘Plain Text Content Control.’

This will insert a text entry box into the fillable form. This button can be found in the ‘Controls’ area. This will insert a text entry box into the fillable form.
- You should be able to see a text box with ‘Click or tap here to enter text.’
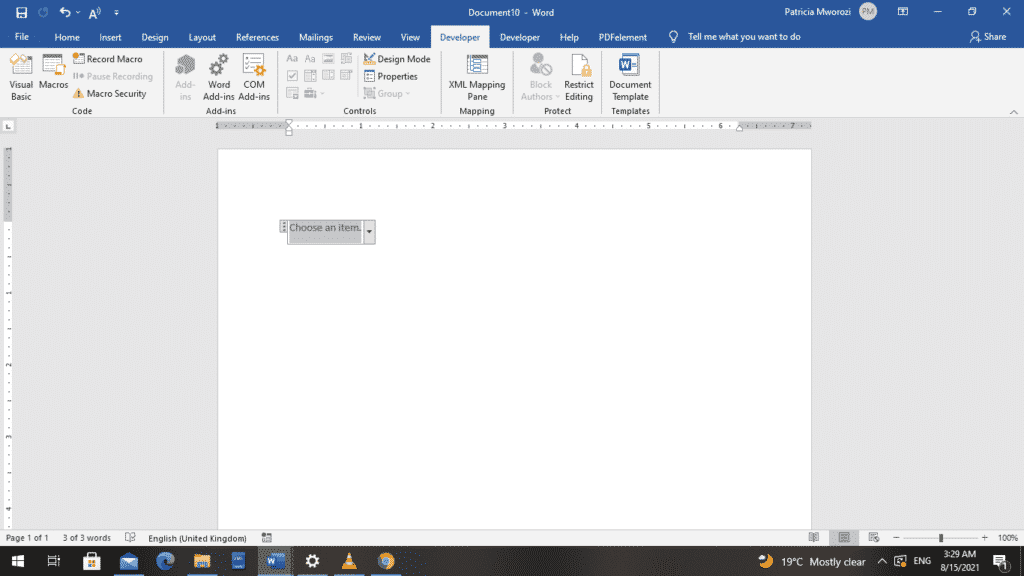
- Next, we are going to insert a drop-down list.
To do this, select the ‘Drop-Down List Content Control,’ still under the ‘Controls’ area. To confirm that you have the right control, leave the cursor on this button until the name appears.
- This will insert a drop-down list into the fillable form.
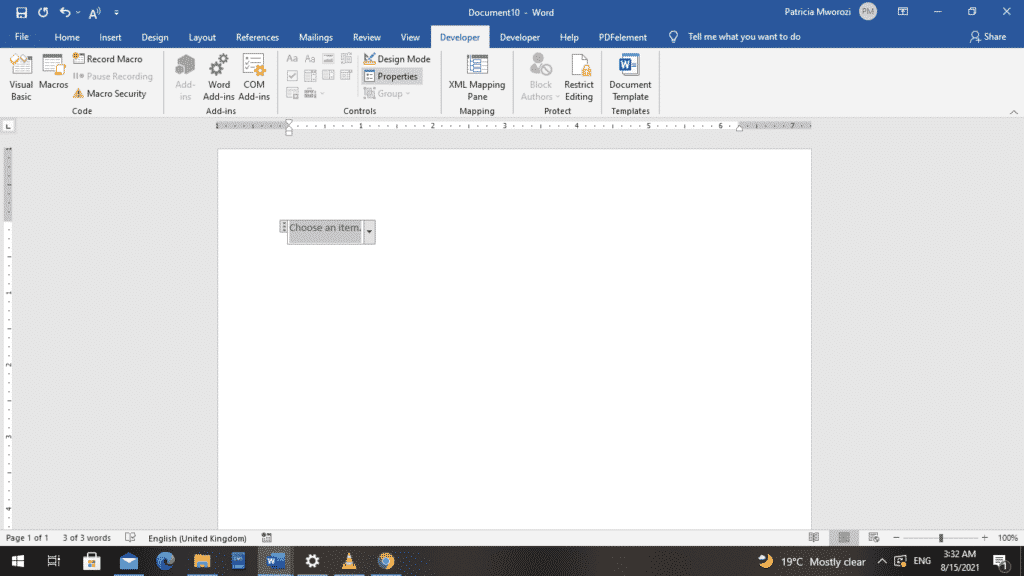
- However, to fill out the list box, you have to set up the list manually.
- With the ‘Drop-Down List Content Control’ still selected, choose ‘Properties.’
- A ‘Content Control Properties’ dialog box will appear.
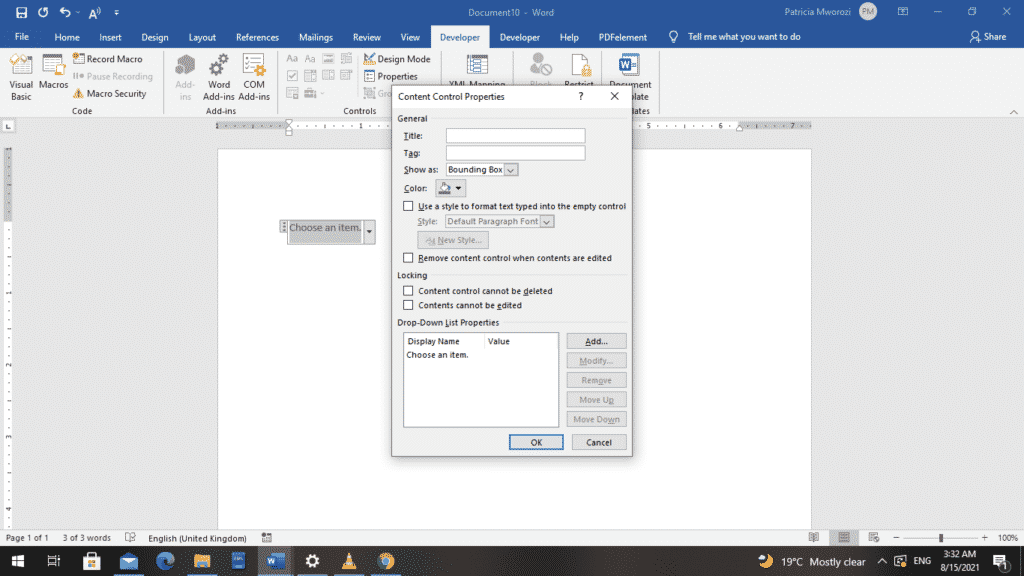
- Use the ‘Title’ field to name your drop-down list.
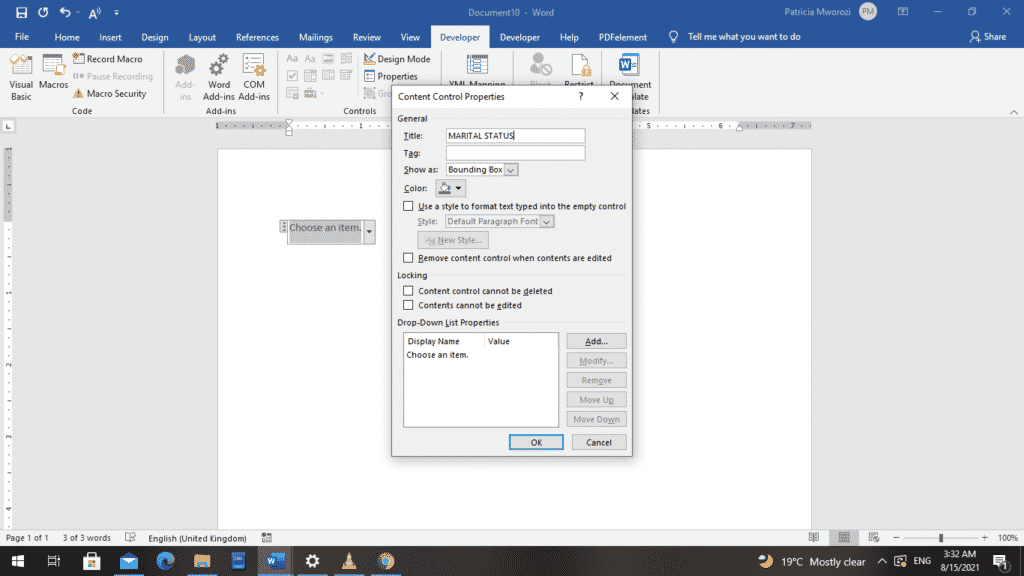
- Under the ‘Drop Down List Properties’ section, select the ‘Add’ button to add new items to the list.
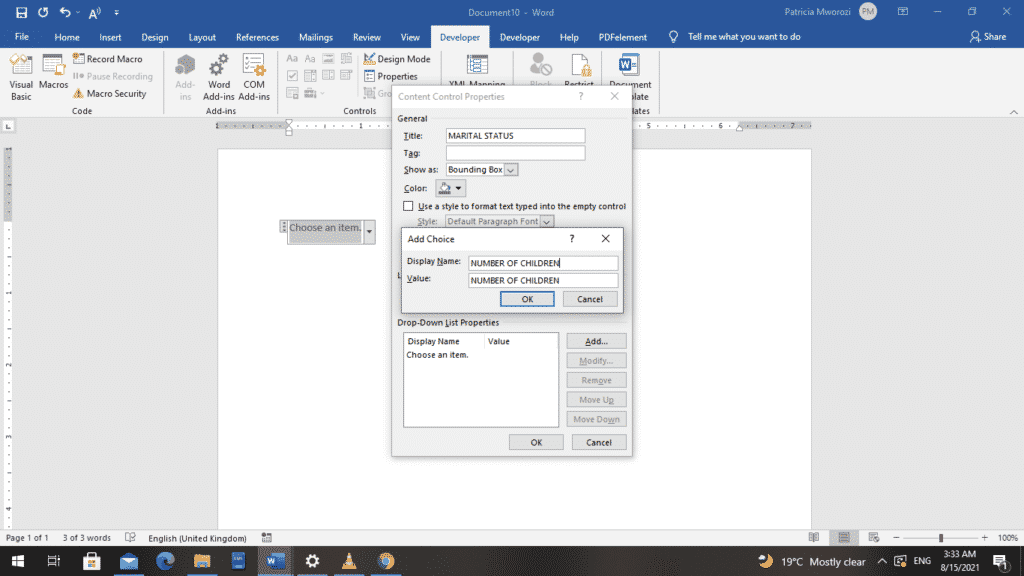
- When you have added all the options for your drop-down list, select ‘OK.’
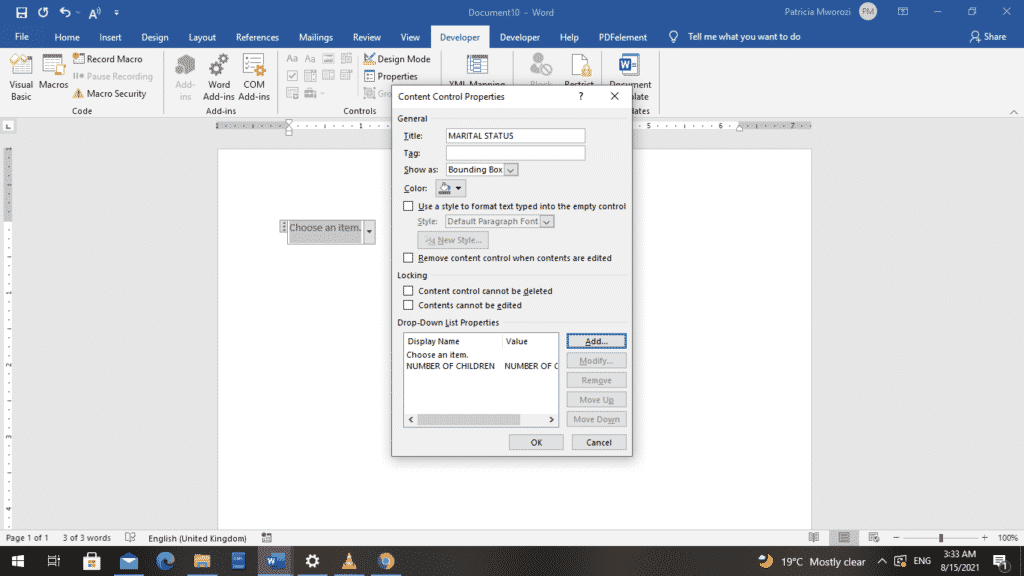
- Now, you’ll see the drop-down list appear in your fillable form.
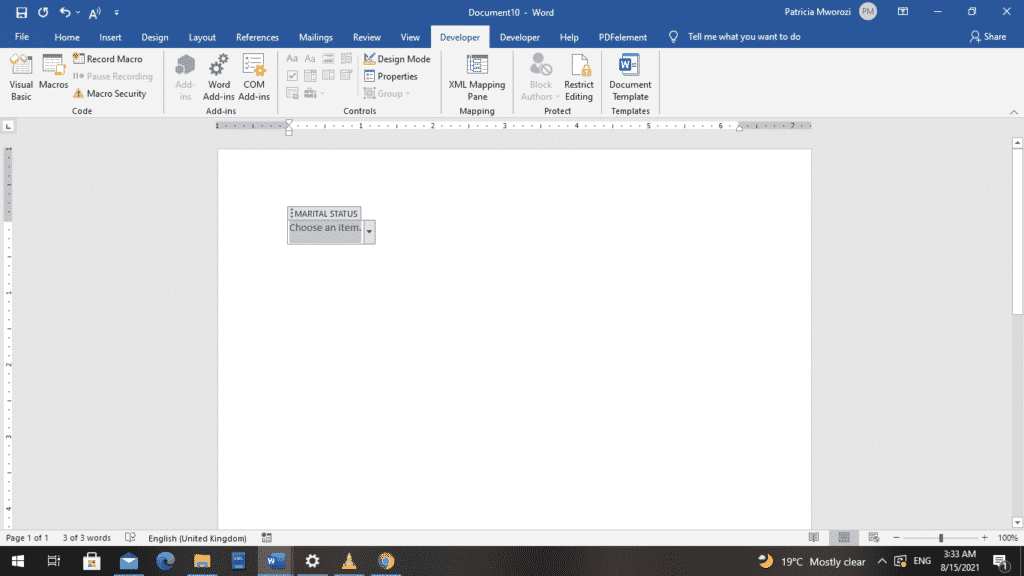
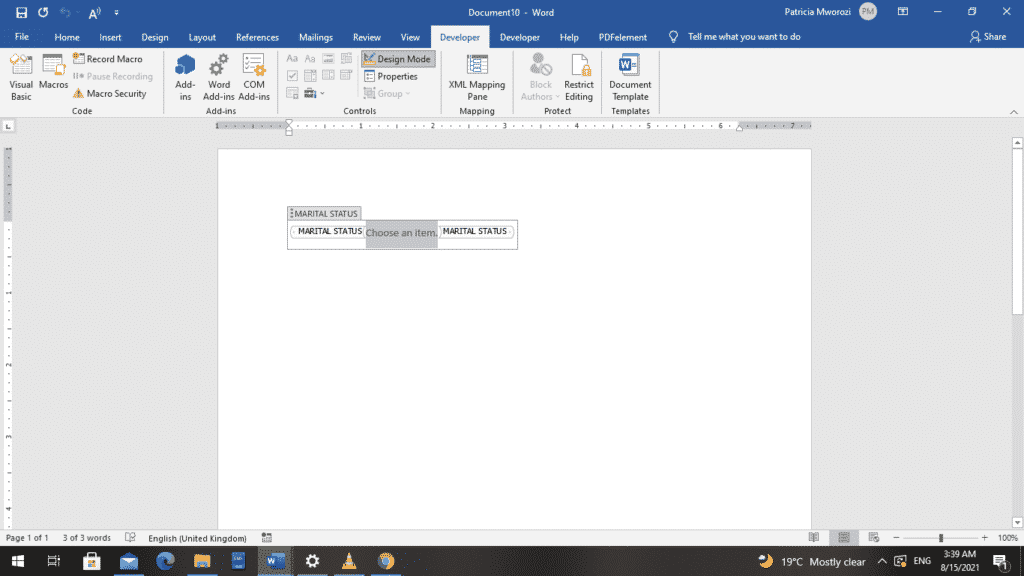
- You won’t see the drop-down list while you’re creating the form in Design Mode. However, you can select ‘Design Mode’ under the ‘Developer’ tab to turn it off and test what the drop-down list you have created looks like.
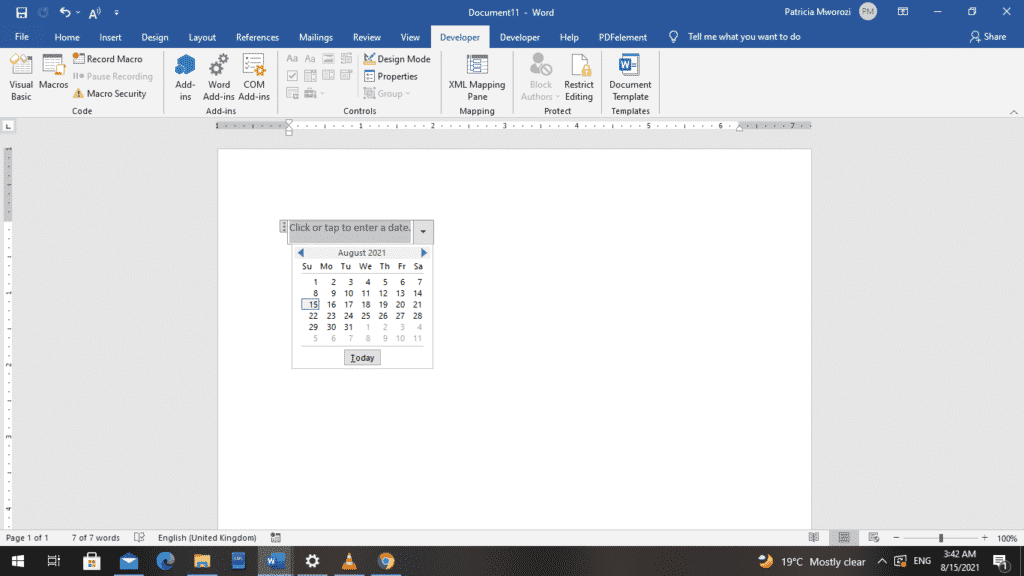
- Next, we are going to insert a date picker.
- To do this, we use the ‘Date Picker Content Control.’
We will still select this option from the ‘Controls’ area under the ‘Developer’ tab.
To modify this control, you don’t have to do anything. It will function as expected to allow the user to select a date for this field.
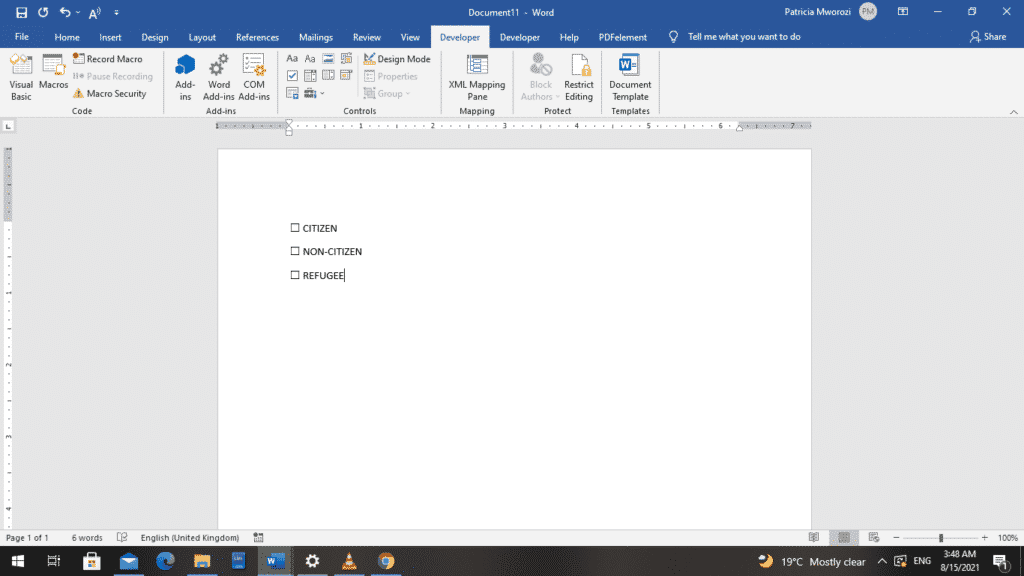
- Lastly, we are going to insert checkboxes into our form.
- To do this, we are going to use the ‘Check Box Content Control’ button.
- First, insert the number of checkboxes you need in your form after writing the question above it.
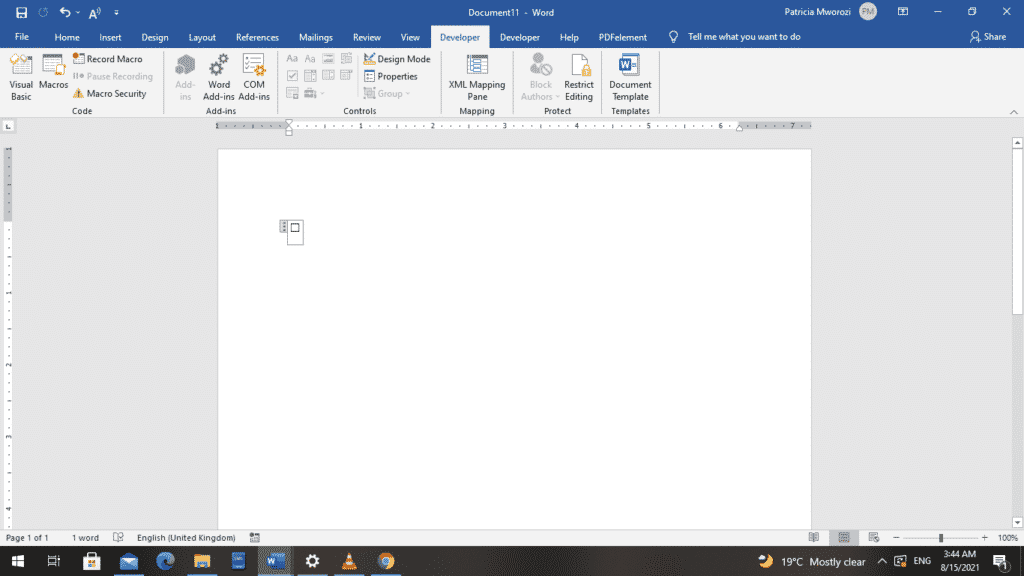
- Next, type the text for each selection beside each checkbox.
- We are finally done with our mock form. After that, you can add any number of controls to your form.
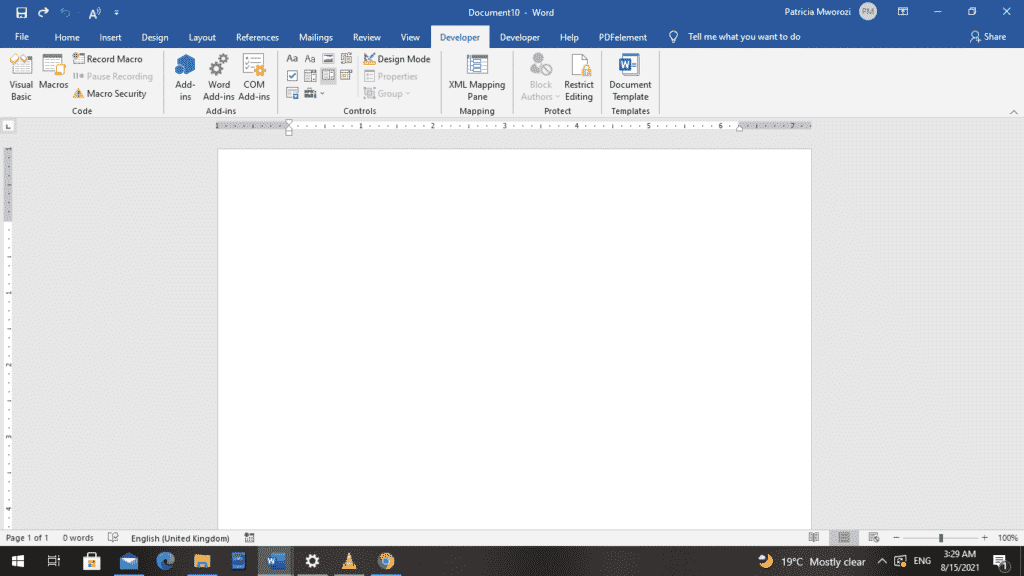
- Because ‘Design Mode’ is turned on, you cannot see the number of modifications to our form. To see these changes, select ‘Design Mode’ to turn it off.
- You should be able to see your completed form.
Are you working on a pitch with your colleagues and need a well-structured tool that will help you collaborate virtually without the back-and-forth emailing?
Simul Docs is the answer! With Simul Docs, even your initial thoughts can be documented at the same time. After writing your first draft in Microsoft Word, upload it to Simul Docs. This will automatically make it the first version. Now, another colleague can open it and make their edits. This will create another version different from the first. Every time another person opens a version and makes edits, a new version is created, with the latest changes. The best part is, even if you forget to turn on tracked changes, they are automatically documented!
If another co-worker is supposed to include their input, but they do not have Simul Docs. All you have to do is download the document or forward it by email. Alternatively, you can upload it to any storage software like one drive, and once their changes have been made, they can forward it to you once again, and you can open it in Simul Docs.
Once all the necessary edits have been made, you can save the final version containing all the modifications with one click.
Visit simuldocs.com and simplify group edits today.
Get Started For Free
See how Simul can help you with a 14 day free trial, and paid plans start at just $15 per month.