Simul Blog
How to create a split page in Microsoft Word
Splitting your page in Word allows you to see your text, images or information side by side without a border.
It’s a feature used by most frequently by writers and for presentation formatting, a split page will draw your reader’s attention to the two sections separately while allowing them to easily compare the information side by side.

Now if you are an old Wordperfect user, splitting your pages was an inbuild function; as easy as the click of a button. Unfortunately, it’s not quite that simple in Microsoft Word, but there is a way.
The plus side to splitting in Word is you can split your page in more than just one way. If you’d like 3 splits down the same page, its possible and actually pretty simple!
In this article, we will show you how to split your page in Microsoft Word in minutes.
Splitting your page in Microsoft Word
- Open your Word Document
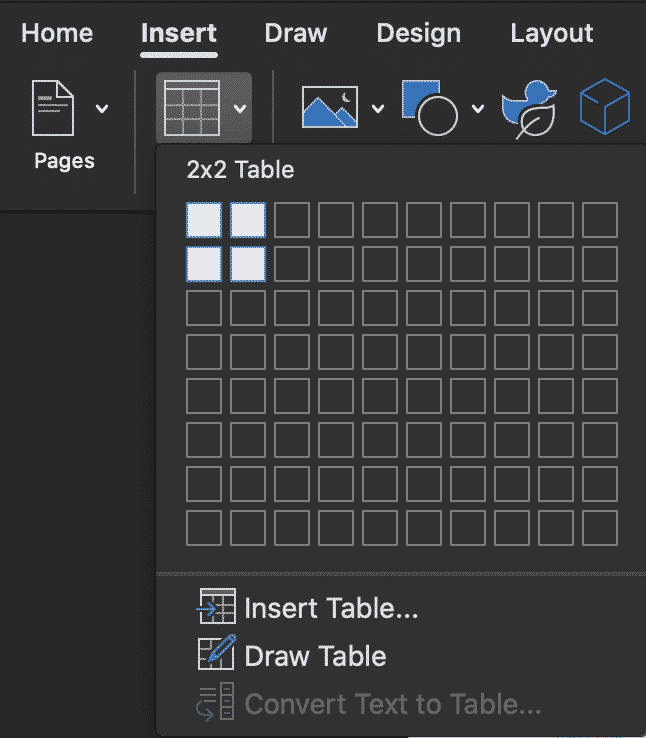
- Click the Insert Tab

- Click Table
- Under Table, Highlight 2 x 2 squares to create a table of ‘2’ high and ‘2’ wide
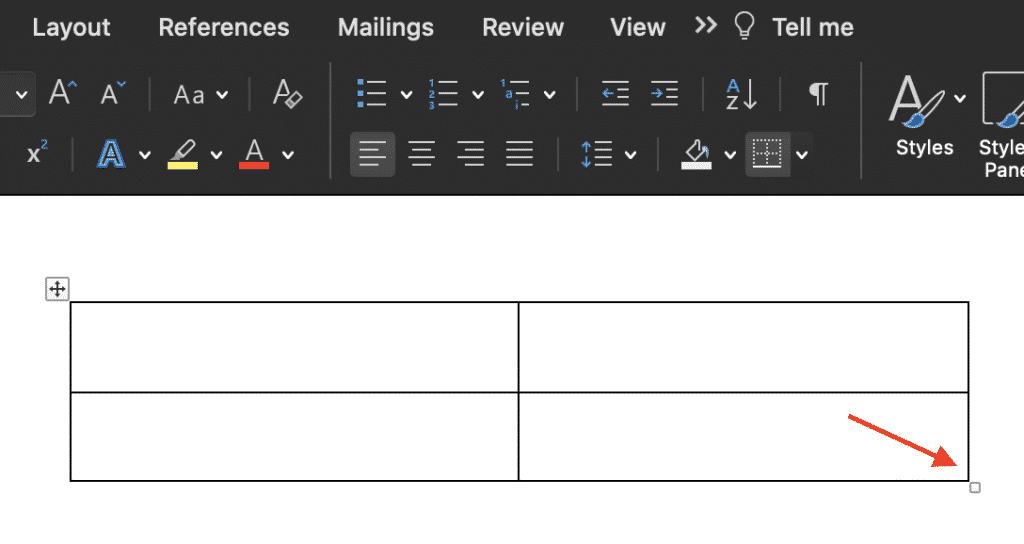
- Re-size your table according to your preferences by dragging the bottom right corner of the table
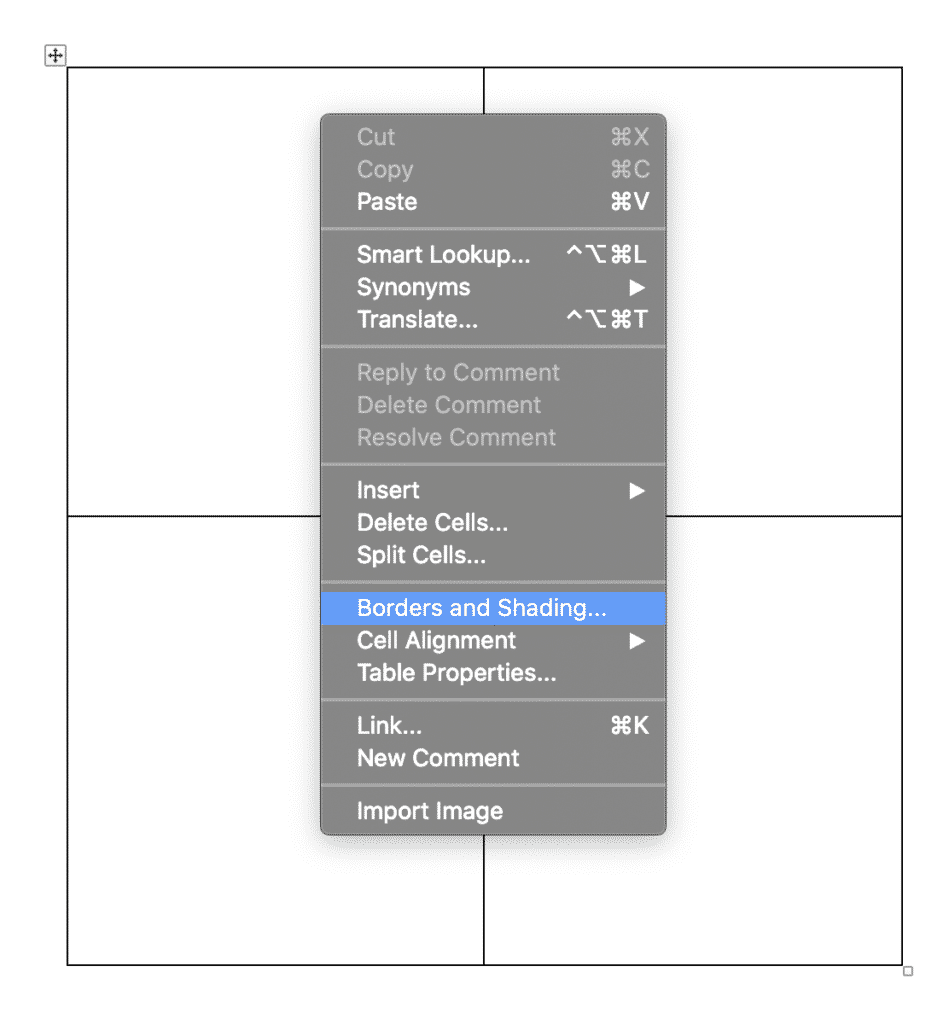
- Right Click anywhere in your box and select Borders and Shading
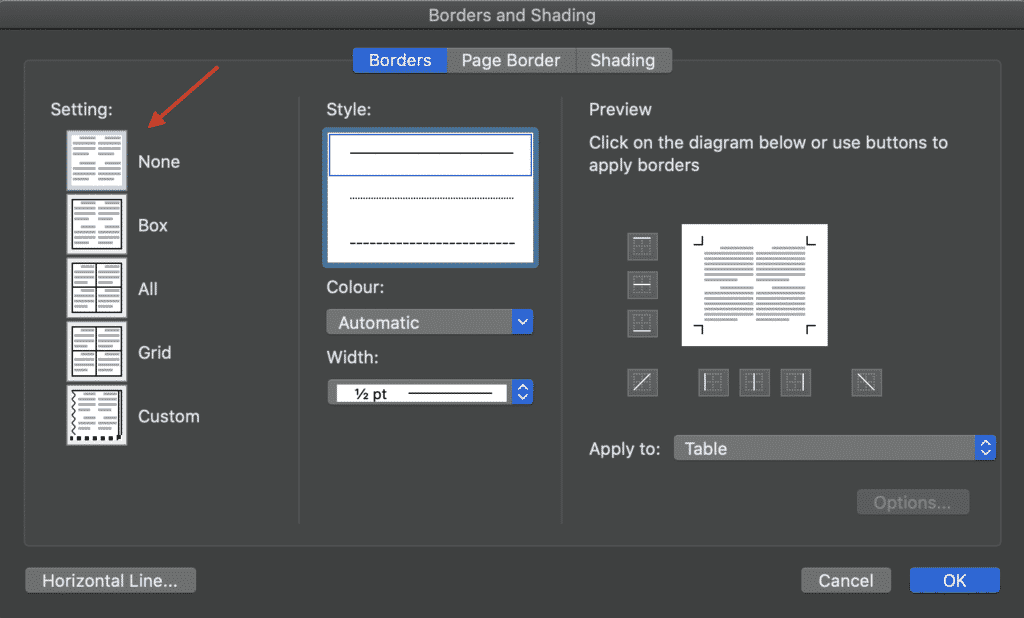
- Select None under Border Settings
- Press OK
You have now successfully split your page, using the table feature in Microsoft Word. You are able to re-size the boxes by dragging out the invisible table at any time.
Repeat the steps above to create multiple splits across your document.
Looking for a better way to collaborate in Microsoft Word, managing Tracked Changes?
We’ve all be there, when you are quickly making your final changes to a shared Microsoft word document and press save, then that sinking ‘I just saved over that file’ feeling hits your stomach…
You forgot to save your doc as a new version and accidentally just saved over the last version in the shared drive. And no, you didn’t remember to turn tracked changes on, so have no way of knowing exactly what you changed. Why does this happen to so many of us?

There should be an ‘automatically track every change I make for the rest of my working life’ button that we can install into Microsoft Word. There should be, but there isn’t.
With so many of us hitting the same pain points, there are some clever tools out there that allow you to continue working on Microsoft word documents while collaborating more seamlessly.
Tools such as Simul Docs make collaborating easy. They will always track your changes, even when you forget to turn them on. It’s automatic in Simul.
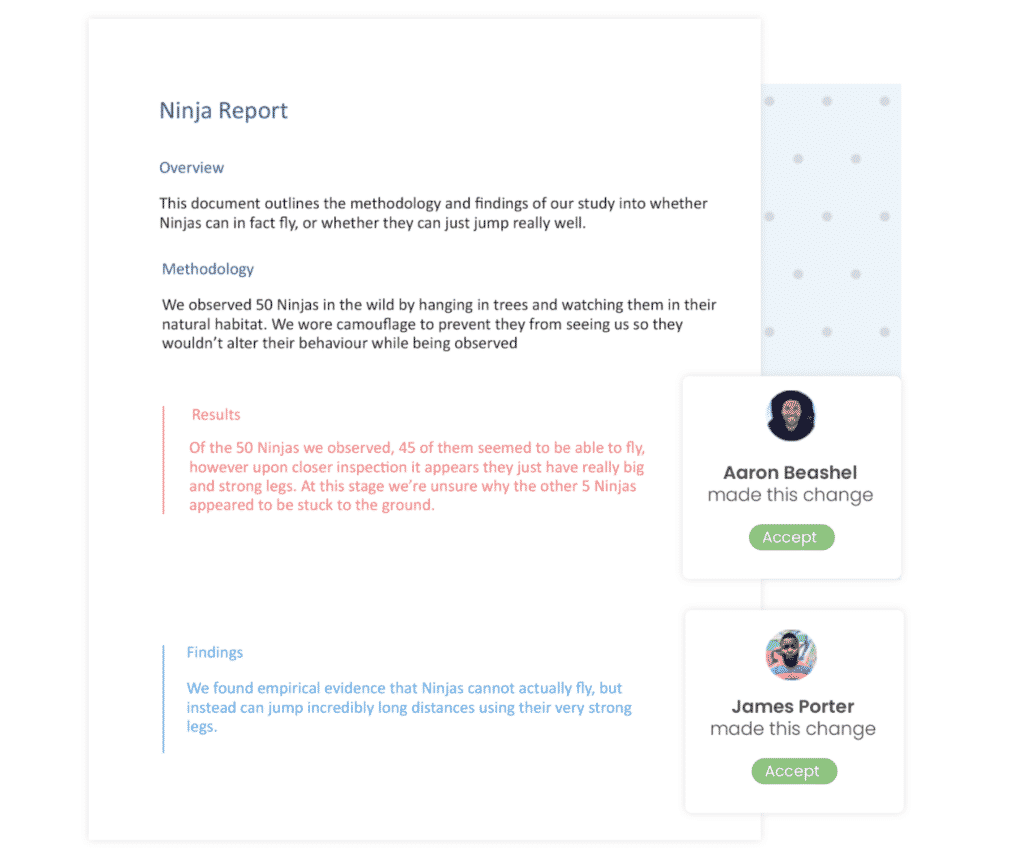
When you open a shared document, Simul Docs will also automatically save your document as a new version from the moment you start making changes. Leaving no room for error, you’ll never save over your document again.
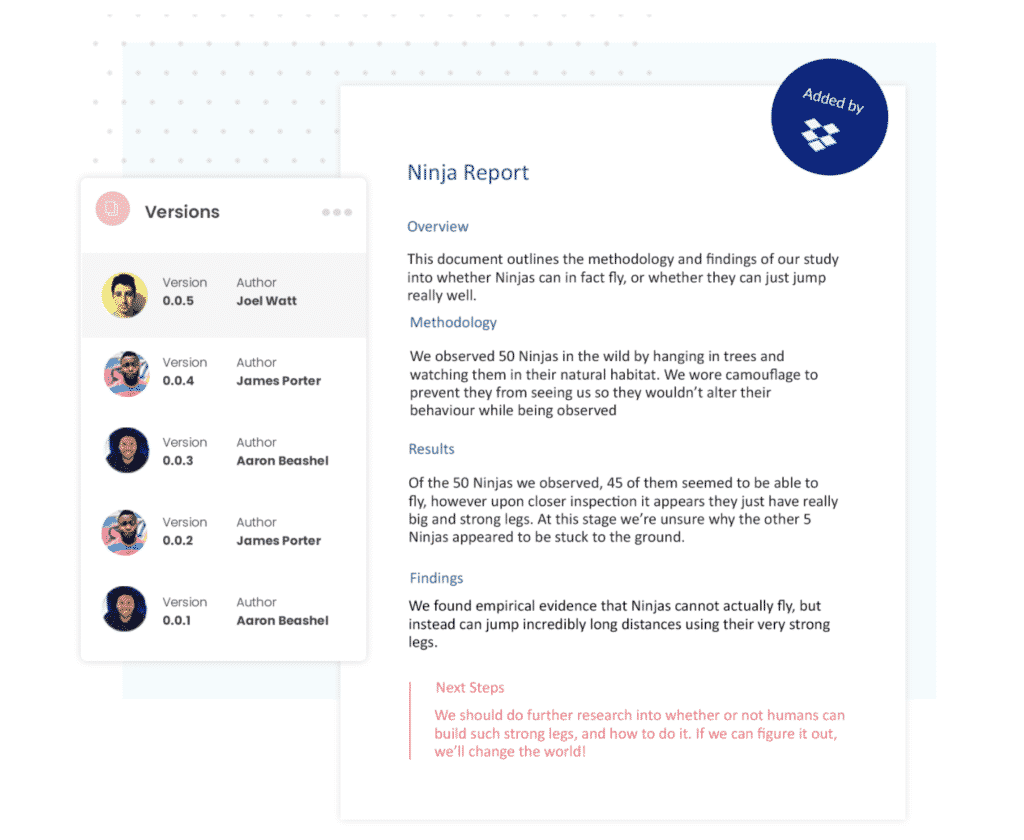
As your team continue to collaborate on the document, Simul Docs will continue to track all of the changes and save each version a new document. Placing each new version into an easy to use ‘Versions’ list, allowing you to refer back to an older version with ease, referencing old changes at the click of a button.
If you do forget to turn on your tracked changed, or accidentally save over older versions a tool like Simul Docs could save you time and a whole lot of frustration.
It’s worth signing up for a free trial. You’ve got nothing to lose, except the files you keep saving over!
Get Started For Free
See how Simul can help you with a 14 day free trial, and paid plans start at just $15 per month.