Simul Blog
How to customize the Quick Access toolbar in Microsoft Word
The Quick Access Toolbar in Word comprises a set of commands that happen to be independent of the tab on the ribbon that is displayed. You can move the Quick Access Toolbar from one of those two possible locations and you can add icons that represent commands to the Quick Access Toolbar.
Here are a few ways to customize The Quick Access Toolbar in Word depending on what you want to do and what you prefer to access;
Show or hide the Quick Access Toolbar
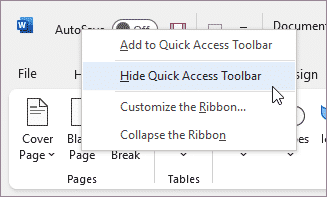
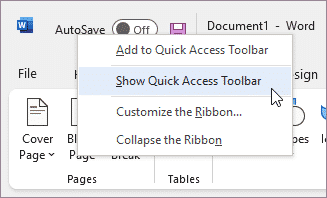
Rick-click in the upper left corner above the ribbon and do one the following:
- If the Quick Access Toolbar is shown, click Hide Quick Access Toolbar.
- If the Quick Access Toolbar is hidden, click Show the Quick Access Toolbar.
Move the Quick Access Toolbar
The Quick Access Toolbar can be located in one of two places:
- Upper-left corner, on the title bar (default location).
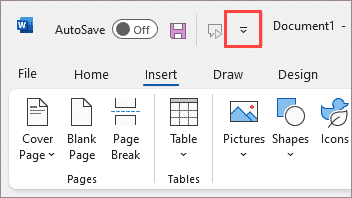
- Below is the ribbon.
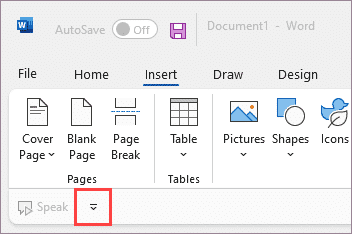
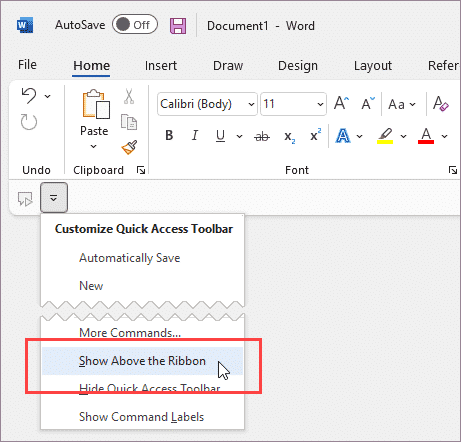
You can move the location of the Quick Access Toolbar from one to the other.
- Select Customize Quick Access Toolbar.
- In the list, select Show Below the Ribbon.
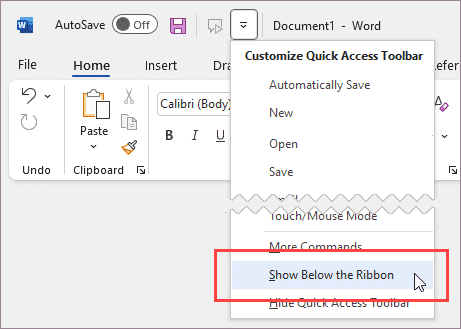
or Show Above the Ribbon.
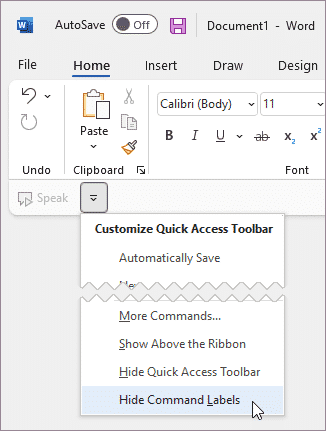
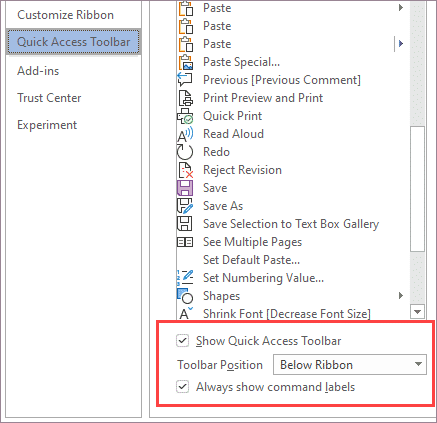
If the Quick Access Toolbar is set below the ribbon, you can show or hide the command labels.
- Select Customize Quick Access Toolbar.
- In the list, select Show Command Labels.
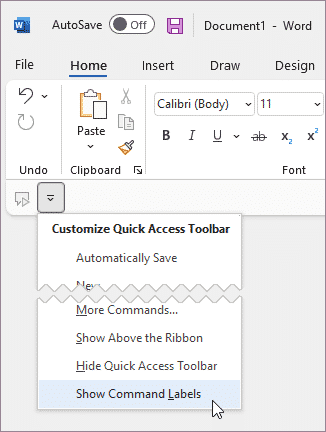
or Hide Command Labels.
NOTE: You can set the commands in Options (File > Options > Quick Access Toolbar).
Add a command to the Quick Access Toolbar.
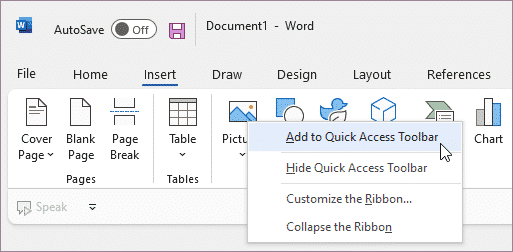
- On the ribbon, select the appropriate tab or group to display the command that you want to add to the Quick Access Toolbar.
- Right-click the command, and then select Add to Quick Access Toolbar on the shortcut menu.
Add a command to the Quick Access Toolbar.
- Select Customize the Quick Access Toolbar > More Commands.
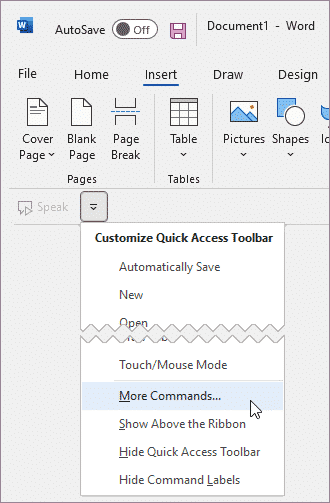
- When you access the Choose commands from the list, click Commands Not in the Ribbon.
- Find the command in the list, and then select Add.
NOTE: When you can’t find the command you want on the Commands Not in the Ribbon list, try setting Choose commands from to All commands.
Remove a command from the Quick Access Toolbar.
Right-click the command you want to remove from the Quick Access Toolbar, and then click Remove from Quick Access Toolbar on the shortcut menu.
Change the order of the commands on the Quick Access Toolbar.
- Right-click the Quick Access Toolbar, and then select Customize the Quick Access Toolbar on the shortcut menu.
- Under Customize Quick Access Toolbar, select the command you want to move, and then select the Move Up or Move Down arrow.
Group the commands by adding a separator between them.
You can group the commands by using the separator to make the Quick Access Toolbar appear to have sections.
- Right-click the Quick Access Toolbar, and then select Customize the Quick Access Toolbar on the shortcut menu.
- In the Choose commands from list, select Popular Commands.
- Select <Separator>, and then select Add.
- To place the separator where you want it, click the Move Up or Move Down arrow.
Reset the Quick Access Toolbar to the default settings.
- Right-click the Quick Access Toolbar, and then select Customize the Quick Access Toolbar on the shortcut menu.
- In the Customize the Quick Access Toolbar window, select Reset Defaults and then click Reset only Quick Access Toolbar.
Export a customized Quick Access Toolbar.
You can export your ribbon and Quick Access Toolbar customizations into a file that can be imported and used by a coworker or on another computer.
- Select the File tab.
- Under Help, select Options.
- Select Quick Access Toolbar.
- Select Import/Export, and then click Export all customizations.
Do you know that there is an easier way to keep track of your Microsoft Word Documents?
If you do not, here is how. Simul Docs is a great tool for collaboration that automatically tracks changes made to Microsoft Word documents. It accommodates sharing of edit commentary notes too. Keeping track of changes made to Microsoft Word documents can be challenging because there is minimal version control so what Simul seeks to do is bridge that gap.
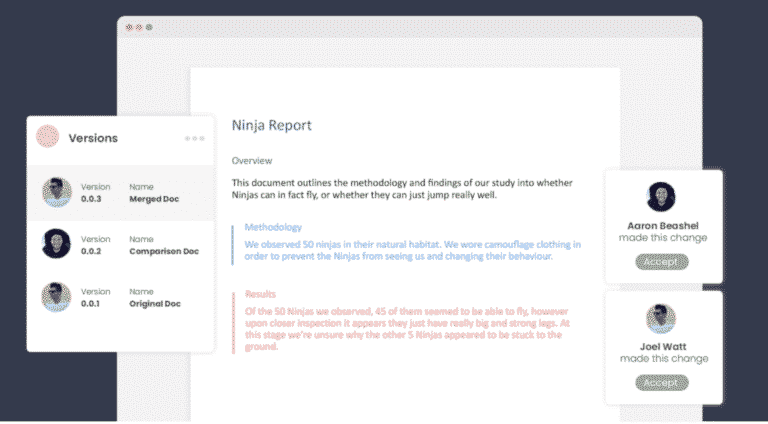
Users or editors have the chance to leave comments in the document to provide the additional and necessary information. They can also start a conversation thread with Simul facilitating short messages between them about the changes to be made in the document.

After the necessary exchange of notes in the comment section, once the team collaborating has agreed on what changes have been made, the document can then be saved and shared in any preferred format. It can be shared via a direct link, email, or a cloud system such as GoogleDrive, OneDrive, Dropbox, and more.
Make easy collaboration happen today. Work with Simul Docs to improve your Microsoft Word experience.
Get Started For Free
See how Simul can help you with a 14 day free trial, and paid plans start at just $15 per month.