Simul Blog
How to insert frames into Microsoft Word documents
In MS Word, there are only two ways to box your content: textboxes and frames.
You might not have ever heard of frames. This is because they preceded textboxes. Newer versions of Word now use text boxes. Although, one can activate and use frames.
Both frames and text boxes have their attributes. However, the capabilities of textboxes exceed those of frames.
Why may textboxes be preferred?
- They look more organized because you can create links allowing text to flow from one textbox to another.
- They have an extensive selection of text-wrapping options
- You can change the alignment and orientation of text in a textbox.
Why may frames be preferred?
Frames can be part of a paragraph-style definition. In addition, they accommodate comments, automatic numbering, endnotes and footnotes.
Similarities
- Both hold text.
- Both can have a border (you can add color to it)
- Both can contain images and other graphical features.
- Both can have a background fill.
- Both can be placed within a page margin.
MS Word does not show the Frame feature on the ribbon by design. Therefore, you must first add the Frame functionality to the ribbon to integrate frames into a document. This article will teach you how to activate the Frame feature and insert frames into your document.
- Open the document where you want to insert the frame.
- Go to the ‘File’ tab on the ribbon.
- From the backstage view, select ‘Options.’
- Word displays a ‘Word Options’ dialog box.
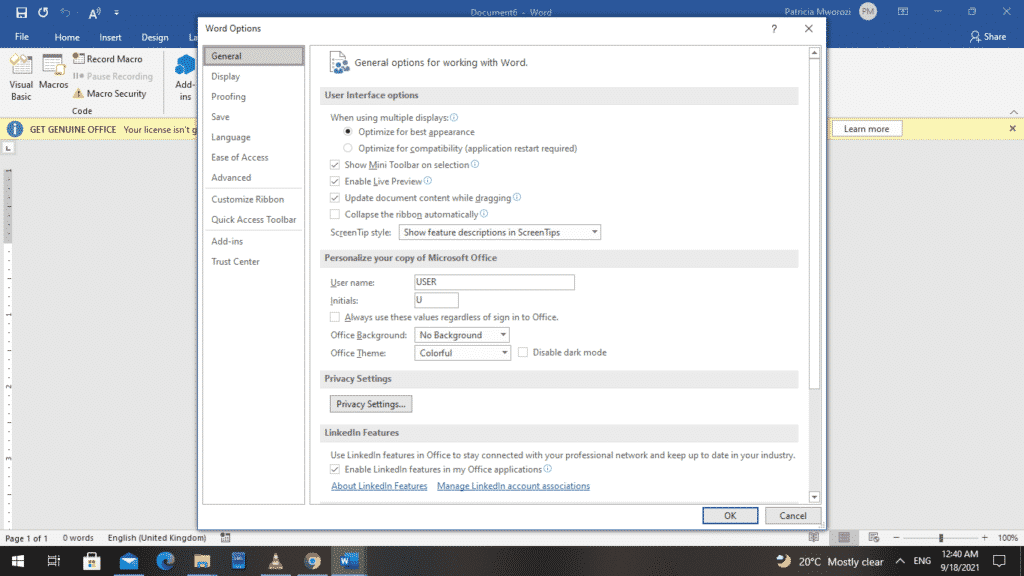
- From the left pane, choose ‘Customize Ribbon.’

- Another dialog box opens up when you do this: ‘Customize the Ribbon and keyboard shortcuts.’
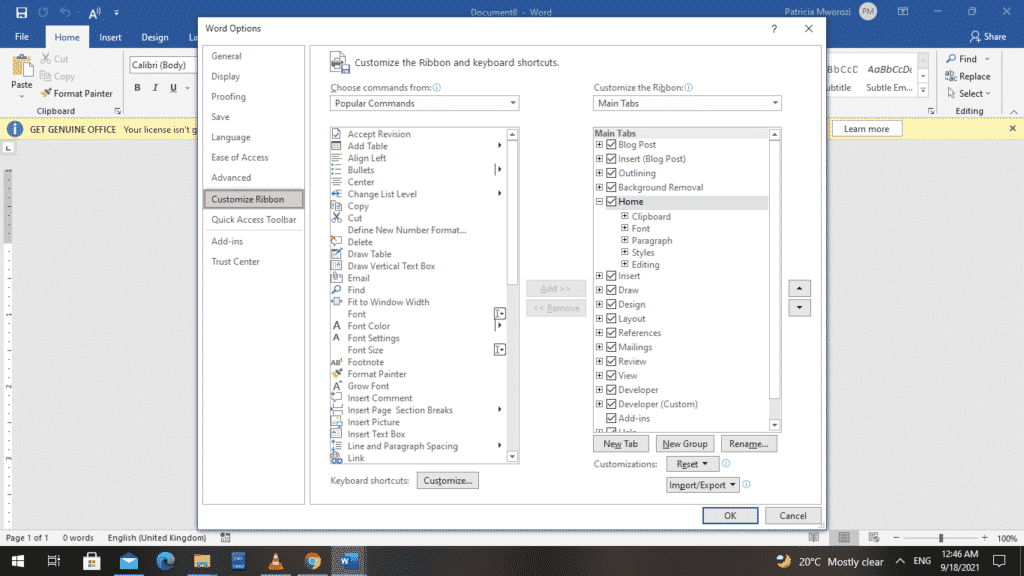
- On your left, under the ‘Main Tabs’ section, check ‘Developer.’ If it is already selected, leave it.
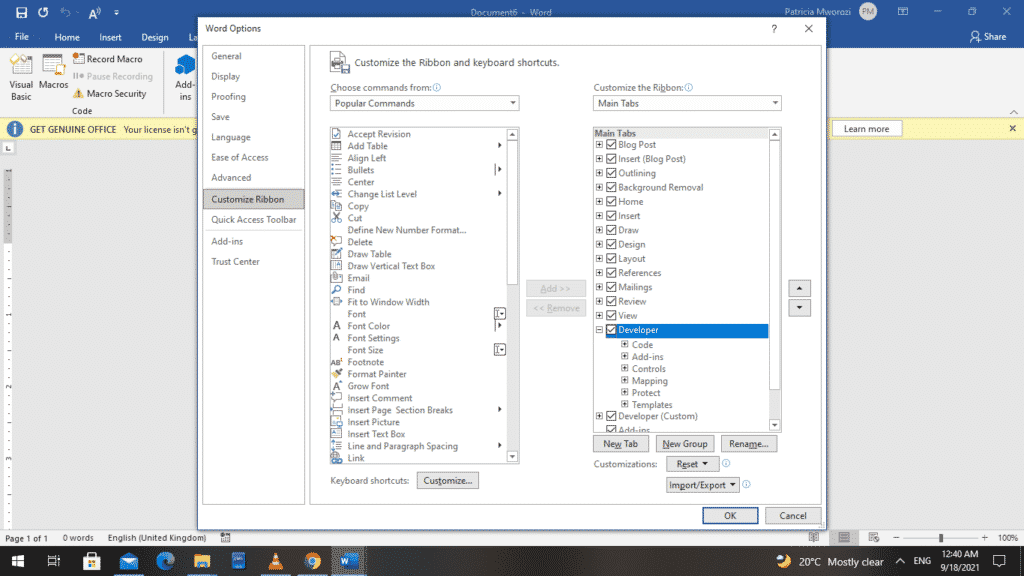
- Click OK.
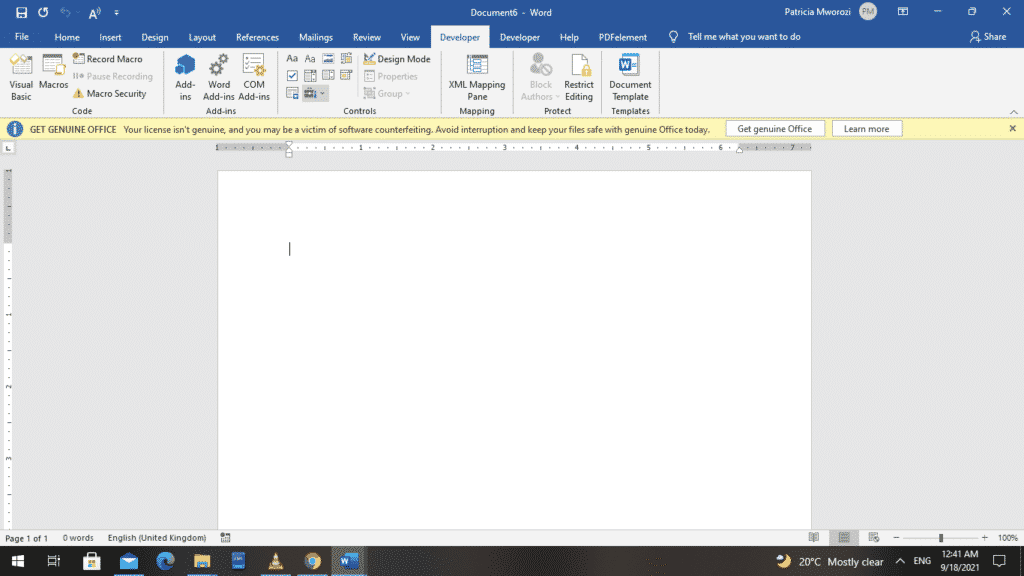
- Go back to the ribbon and select the ‘Developer’ tab.

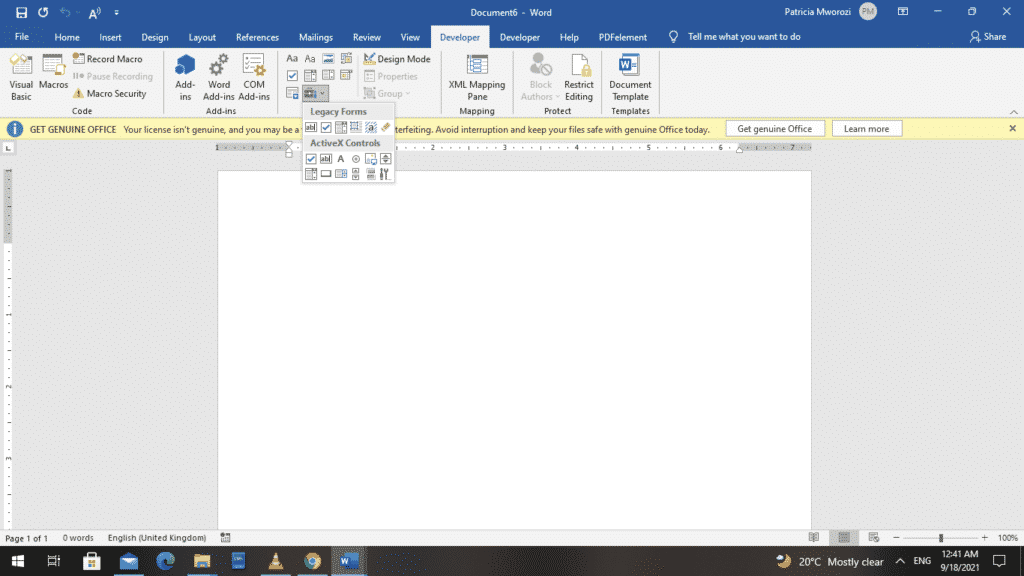
- Under the ‘Controls’ section, choose ‘Legacy Forms.’ The option itself is not written words if you think your Word version does not have this function. Instead, a small briefcase represents it.
- When you choose ‘Legacy Forms,’ another box appears on your screen. From it, select ‘Insert Frame.’ It is the fourth symbol from your left.
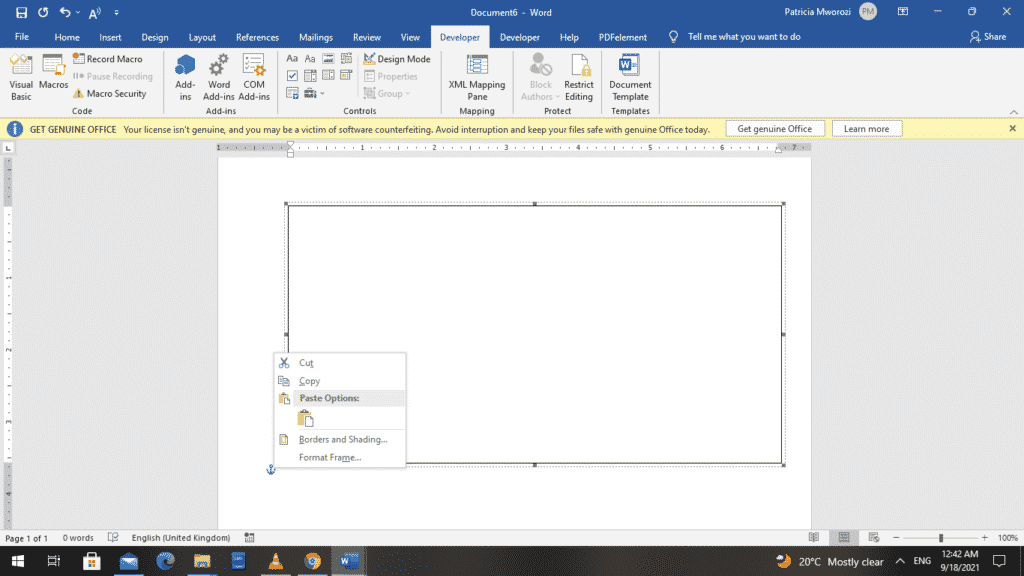
- You will notice that your pointer now appears as a cross. This is to allow you to draw the frame and adjust it to your preferred size.
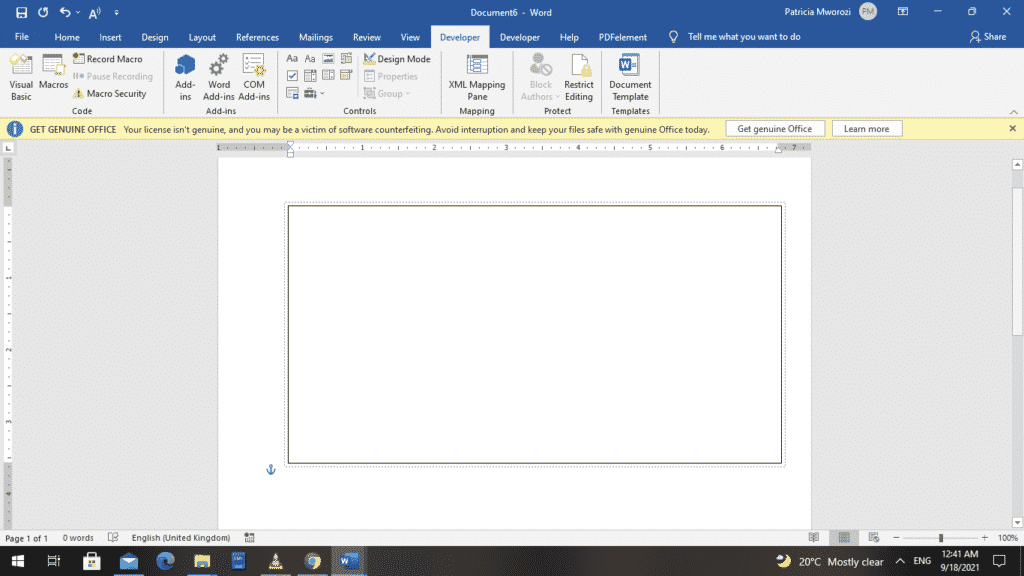
- By design, the frame has a border and is filled. You can adjust the appearance of your frame by right-clicking it and making changes from the contextual menu.
Do you ever have to work on written projects with colleagues but cannot find an organised and structured way to do it?
Group projects are already hectic, but we cannot run away from them. They are either mandatory for work or school.
You do not know who should write the first draft, who should edit or how long it will take, which word processor to use. Besides, many things always go wrong because of the many people involved.
Fortunately for you, Simul Docs can solve all these problems.
Download Simul Docs and get started. After writing your first draft in Microsoft Word, upload it to Simul Docs. This will automatically make it the first version. Now, another colleague can open it and make their edits. This will create another version different from the first. Every time another person opens a version and makes edits, a new version is created, with the latest changes. The best part is, even if you forget to turn on tracked changes, they are automatically documented!
Since it is a collaboration, a bonus feature is the ability to add comments to the document. If you want a colleague to review the changes by a specific time, or any other instructions, you can let them know in the comment section.
Let us say another co-worker is supposed to include their input, but they do not have Simul Docs. All you have to do is download the document or forward it by email. Alternatively, you can upload it to any storage software like one drive, and once their changes have been made, they can forward it to you once again, and you can open it in Simul Docs.
Once all the necessary edits have been made, you can save the final version containing all the modifications with one click.
Simul is the most convenient collaborative tool yet. Centralising your written project avoids mishaps like losing your work or losing its original format.
Visit simuldocs.com and simplify group edits today.
Get Started For Free
See how Simul can help you with a 14 day free trial, and paid plans start at just $15 per month.