Simul Blog
How to sort a table in Microsoft Word
You’ve created a table in your Microsoft Word document. Over time you’ve slowly added new lines, columns and editing your table to perfection.
Once you have inserted all of your desired content into the table, its a good idea to arrange it into some sort of order, making the table easy for your readers to navigate and understand. Yes, you can re-arrange each line manually using cut > paste if you are working on a table with more than a few lines this can become a very manual and time-consuming task.

Lucky for us, in Microsoft Word, you can sort and organise the contents of your table at the click of a button.
Whether that be the whole table, just a section, sorting by column or by line there is a customisation to suit everyone.
In this post, we will show you how to rearrange the contents of a table in Microsoft Word like a pro.
Sorting the contents of a table in Microsoft Word
- Open Word
- Select the Table
- Click Layout

- Select Sort

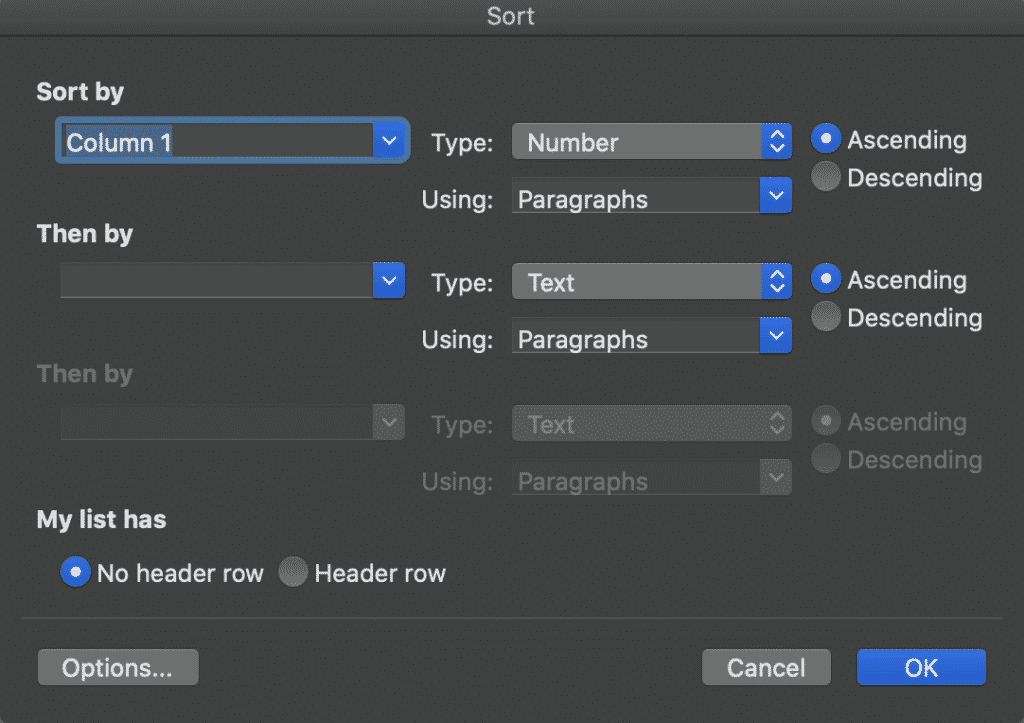
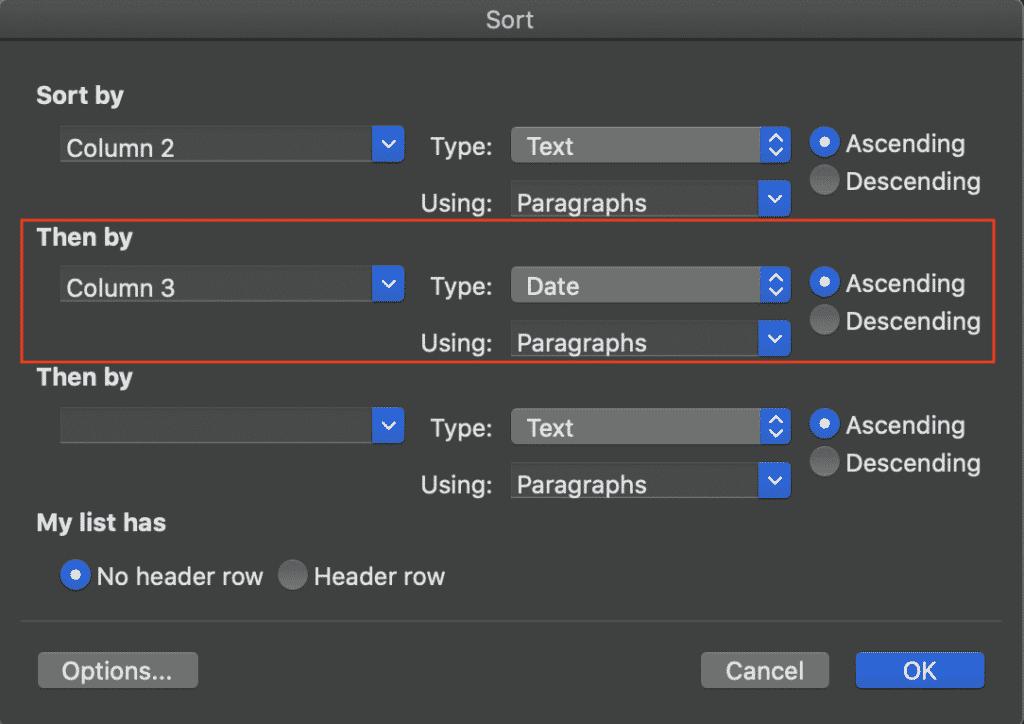
- In the dialogue box, select how you would like to sort the table
- Here you can select which column to sort by, how you would like the column sorted – Ascending or Descending order

- You can also select a secondary sorting order under ‘Then By’. In doing so, Word will sort by the first preference say Column 2, then by your second order

- Press OK
You have now successfully sorted your Microsoft Word table.
It’s worth noting here that if you edit any of the text or columns in your table, Word will not automatically re-sort your table. After each edit, you will need to repeat the steps above to re-sort your table before finalising the document.
Happy sorting!
Looking for an easier way to collaborate in Word?
It’s a frustration we all know too well. When you are working on the 15th version of the same document, accepting and rejecting comments and changes. Knowing in the back of your mind that this won’t even be the last round of edits.
With all of these edits, come multiple versions of the same document. The shared drive now looks like a shemozzle with Version6_JMsEDITS_v8_final1 the most recent final but defiantly not the last.

While two colleagues unknowingly open the latest version at the same time, make their edits and press save. Now you’re left with two separate versions of the same document and no way to merge them together without manually making the changes yourself.
This happens too often.
And to too many of us.
Luckily, enough of us screamed help and the tech gods have listened. There are now some pretty cool purpose-built tools out there to help us solve all of our collaborating problems. Companies such as Simul Docs.

Simul Docs works seamlessly with Microsoft Word and allows you to upload and edit your word document without having to worry about version control or merging two versions together if they had been opened and changed at the same time. Simul will fix all of this for you, at the click of the button.
Most of the time Simul will just fix the problem without you even asking because we all have the same issues, and Simul knows that when you open the document and make changes you will want them tracked – you don’t have to remember to turn them on, Simul Docs will automatically track them for you.

Simul also knows that when you start making changes to the document you are going to want it saved as a new version, allowing you to refer back to old changes at any time and avoid saving over anyone else’s edits. It also does that for you, automatically.

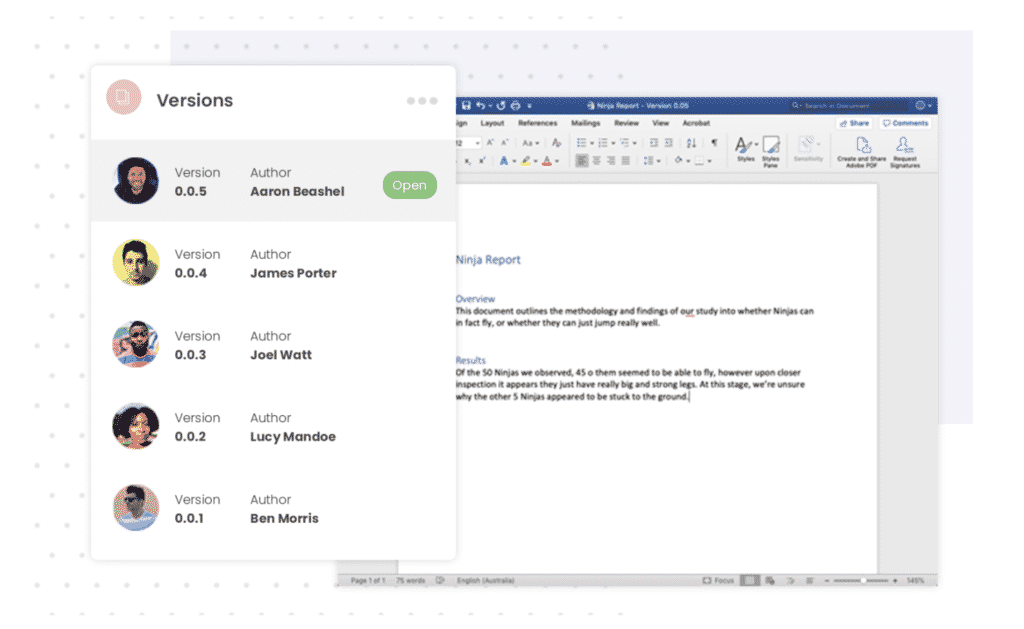
Now without sounding too smug, Simul will also keep a neat list of all versions saved for you. So now even your shared drive is feeling less confused as well.

So if you are tired of managing a messy shared drive and struggle with version control, a tool such as Simul Docs is quite literally, made for you.
Give it a try, your shared drive will thank you.
Get Started For Free
See how Simul can help you with a 14 day free trial, and paid plans start at just $15 per month.