Simul Blog
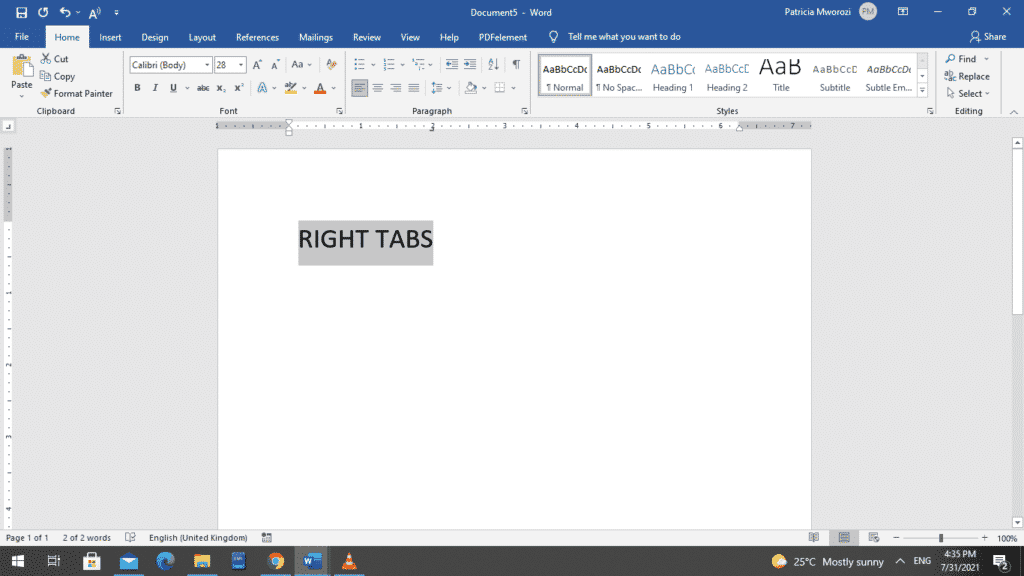
How to use Right Tabs in Microsoft Word
In Word, text is automatically left aligned. However, you can set your document to align text to the right using tabs.
Below is a step-by-step guide to set right tabs in Microsoft Word.
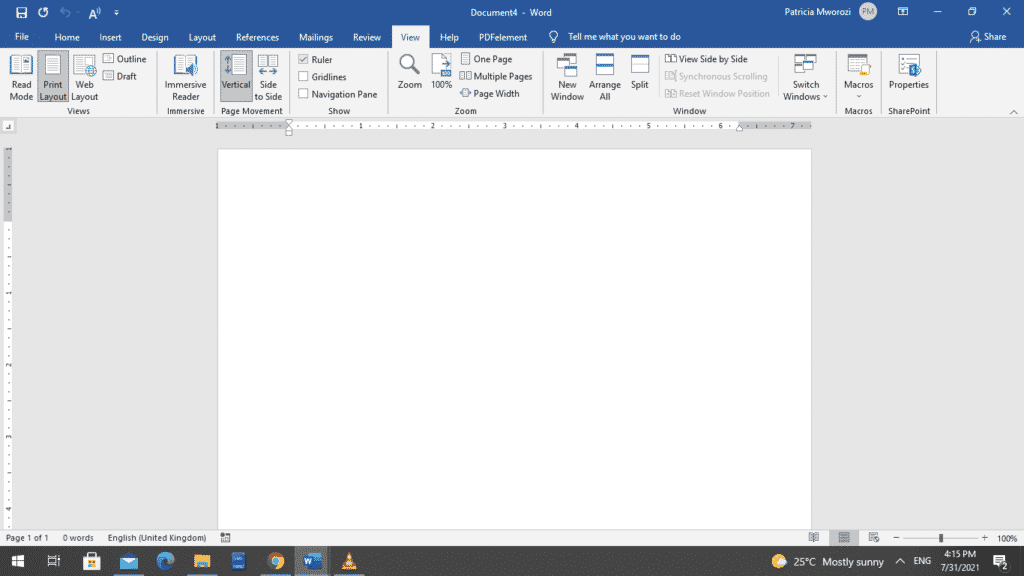
- Make sure your ruler is shown on your screen.
- If you do not see your ruler going across the top of your page, go to the view tab, and on it, there is a ruler choice.
- Check the ruler box, and your ruler will appear.
- There is a button on the far-left side with a capital L on it, and if you hover your pointer right on it, it will show you that it is a left tab.
- When you click on that button once, twice, thrice, it will keep changing to different kinds of tabs.
- Our area of interest in this article is the right tab. The L appears inverted (facing the opposite direction. If you are not sure and want to confirm that you have picked the right tab, leave the clicker on the ‘L’ and wait for it to display ‘right tab.’
- You also have the option of picking the size of the indent. Let us use two inches in our example. On the ruler, point to the two-inch mark (at the bottom) and click once.
- Next, press your Tab key.
- You will notice that whatever you type is right indented.
There is another way to set up right tabs that is even easier and better because you can use the Tabs dialog box to make more changes.
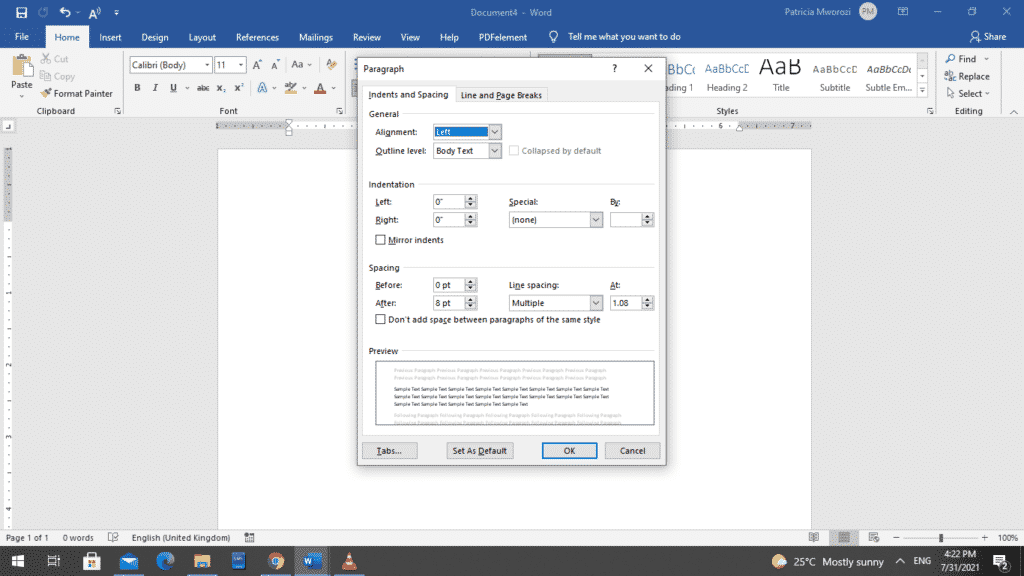
- To open the ‘Tabs’ dialog box, go to the home ribbon.
- Go to the paragraph area
- Click the downward-facing arrow in the corner.
This will open up the paragraph settings dialog box.
- On it, click ‘Tabs’ at the bottom, on your extreme left.
Another dialog box will appear.
- Under tabs, select ‘right.’
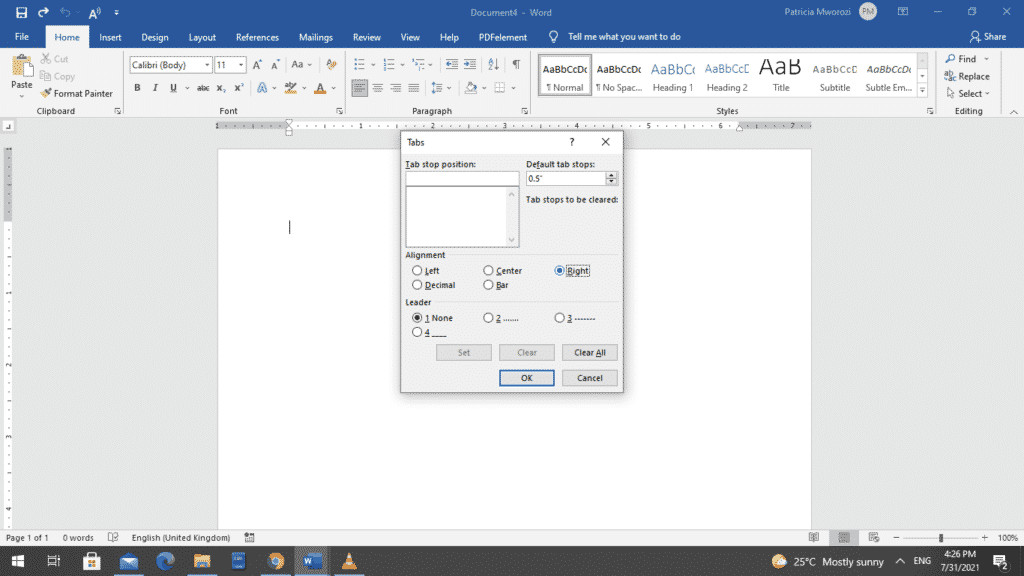
- Click ‘OK.’
- Before you start typing, press ‘Tab’ on your keyboard once.

- You can also add a leader to your right tab. To do this, under ‘Tab stop position,’ type (in figures) the inch mark where you would like your leader to start. Let us use the three-inch mark. For example, ‘3’.
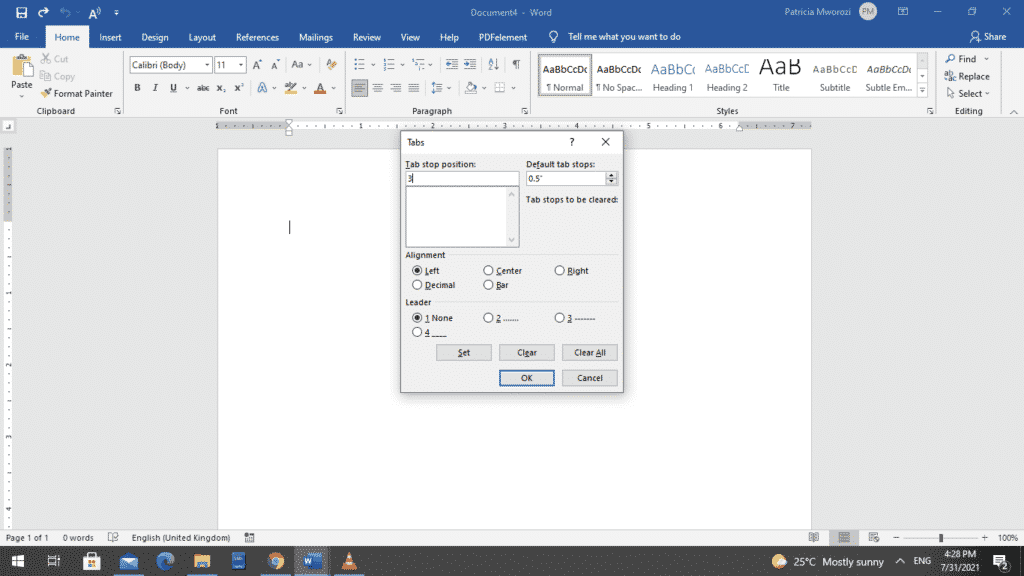
- Under ‘Leader,’ you can either choose the dotted line, the divided line or a solid line. Let us use the dotted line.
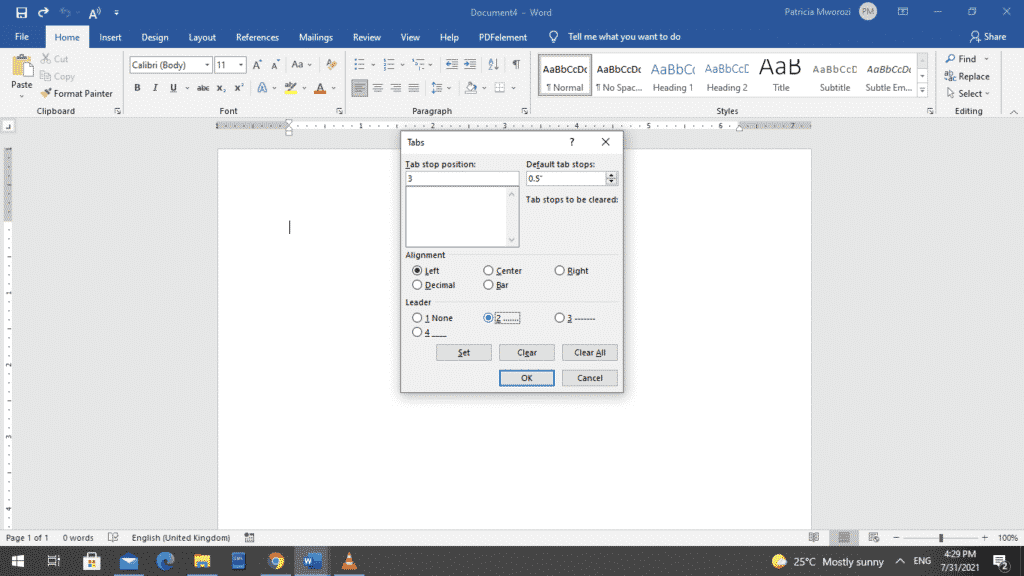
- To make it stick, you have to click ‘Set.’ If it appears in the big window below where you typed it, that means it has been set.
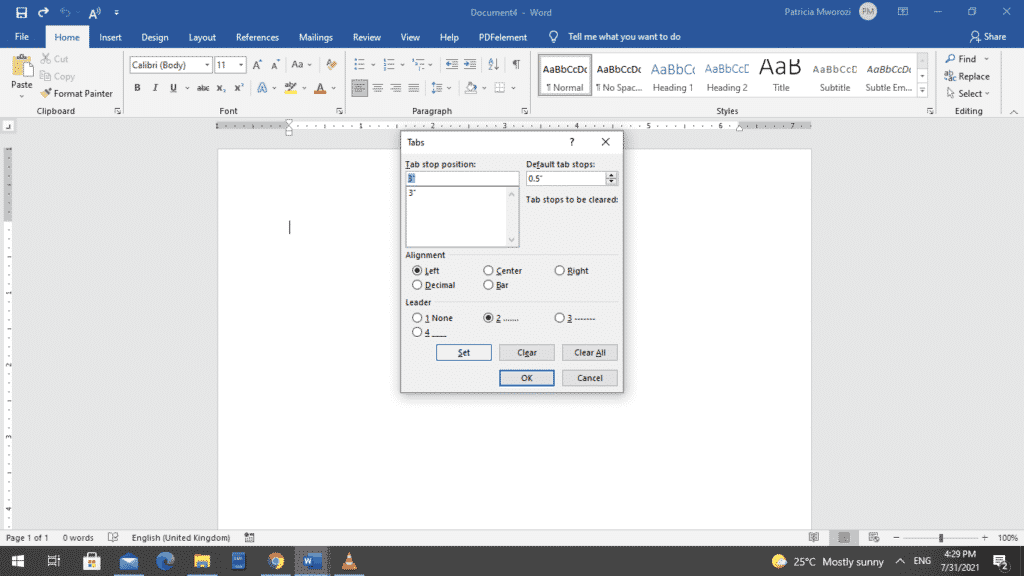
- Click ‘OK.’
- Before you start typing, press ‘Tab’ once.
You will notice that the text you type is indented to the right, starting from the three-inch mark with a dotted line.

Have you been called away from work on short notice but still need to collaborate on a written project with colleagues?
It is often frustrating to keep forwarding and receiving different copies of the same document until you come up with your masterpiece. It is much easier to sit with your colleagues and work on a document together. However, if you cannot meet with your workmates physically, Simul Docs will give you the same experience, just virtually.
The first step is downloading Simul Docs then they can get started.
After writing your first draft in Microsoft Word, upload it to Simul Docs. This will automatically make it the first version. Now, another colleague can open it and make their edits. This will create another version different from the first.
Whenever another person opens a version and makes edits, a new version is created with the latest changes.
Sometimes, you might be in a rush and forget to turn on tracked changes so your modifications can be updated. You have nothing to worry about. Simul Docs automatically records these edits regardless of your online or offline status.
Since it is a collaboration, a bonus feature is the ability to add comments to the document. Later on, these comments can be removed after your groupmates have seen and executed the instructions.
Additionally, you and your groupmates can work on the document at the same time. There’s no need to wait around for someone else to make edits. and Simul Docs keeps each version separately.
Let us say another co-worker is supposed to include their input, but they do not have Simul Docs. All you have to do is download the document or forward it by email. Alternatively, you can upload it to any storage software like one drive, and once their changes have been made, they can forward it to you once again, and you can open it in Simul Docs.
Once all the necessary edits have been made, you can save the final version containing all the modifications with one click.
Visit simuldocs.com and simplify group edits today.
Get Started For Free
See how Simul can help you with a 14 day free trial, and paid plans start at just $15 per month.